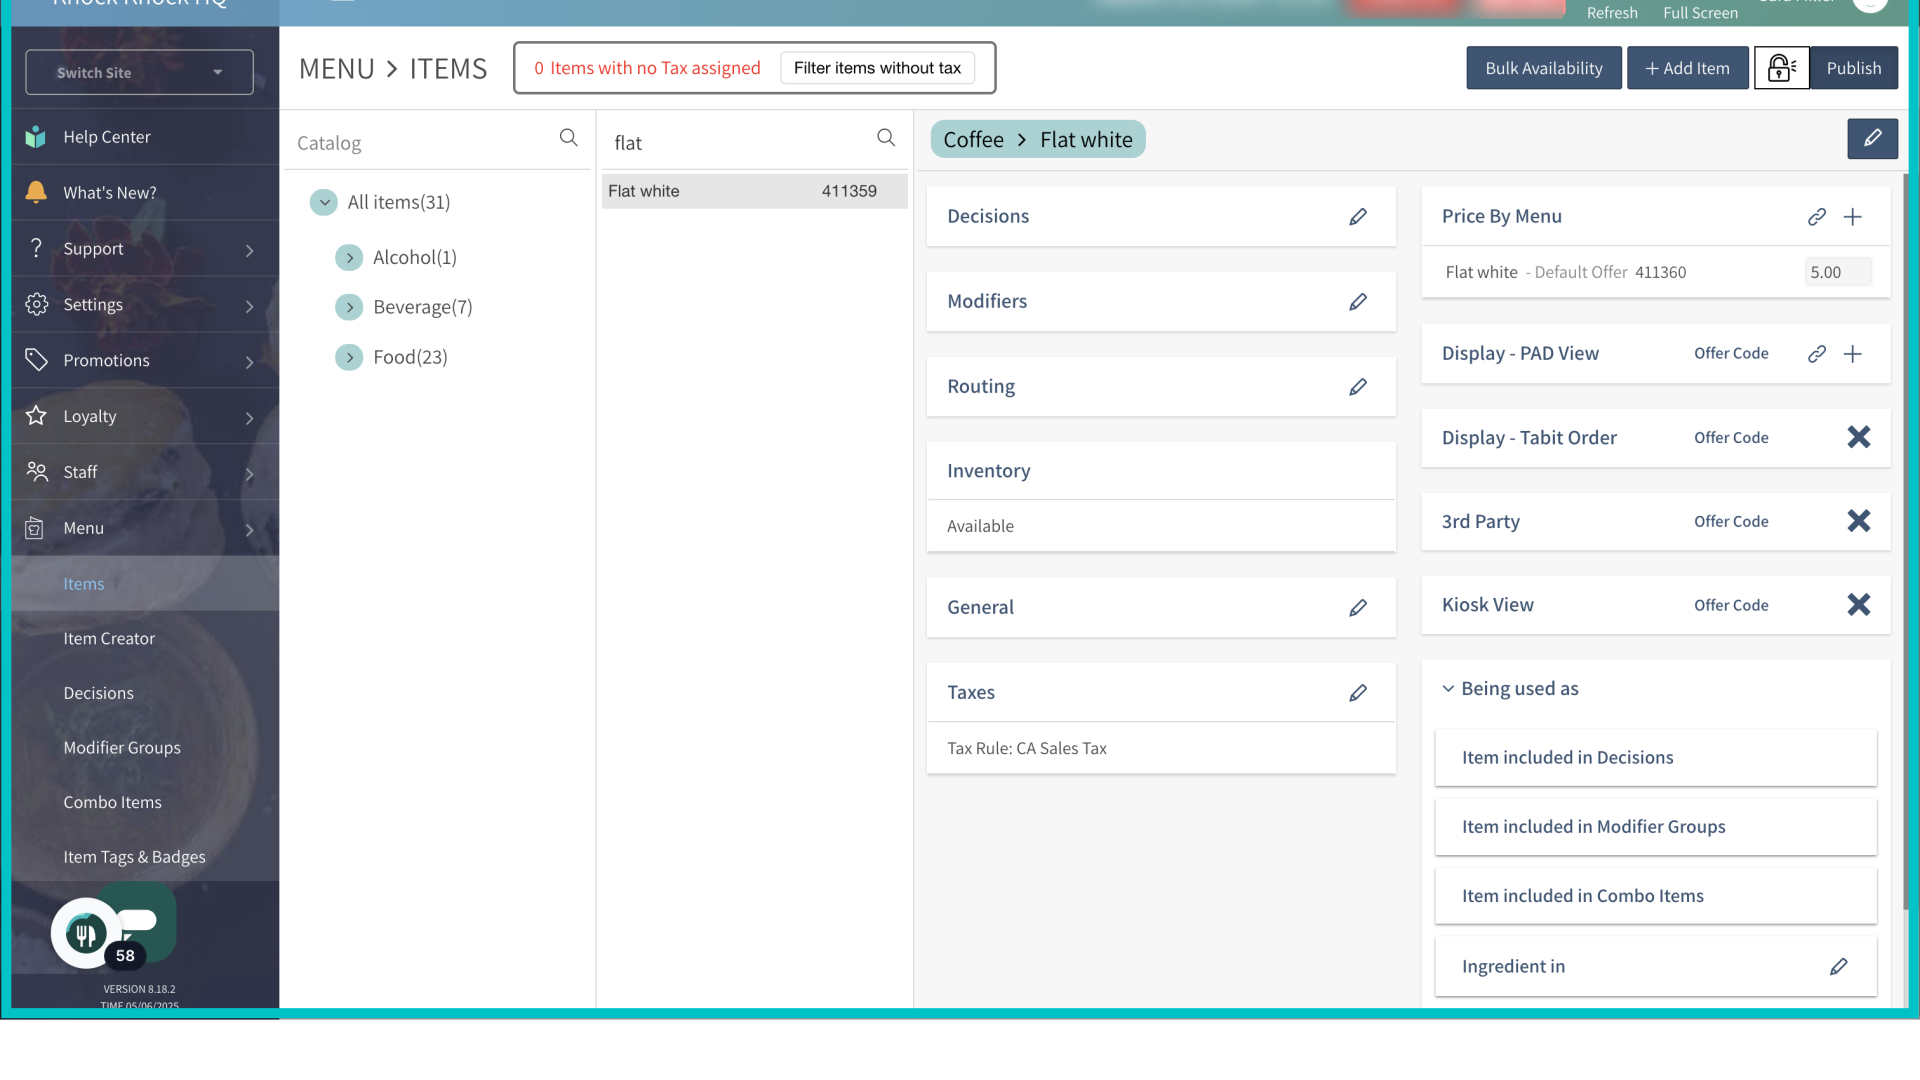
Prepare several menu items together
Use Item Creator in Tabit Office to prepare a batch of items, review their details, and create them together. You need menu permissions to use this workflow.
Import an item file
-
Open Menu > Item Creator.

-
Download the template provided on the page.
-
Complete the template and save the file.
-
Select Upload File and choose your completed file.
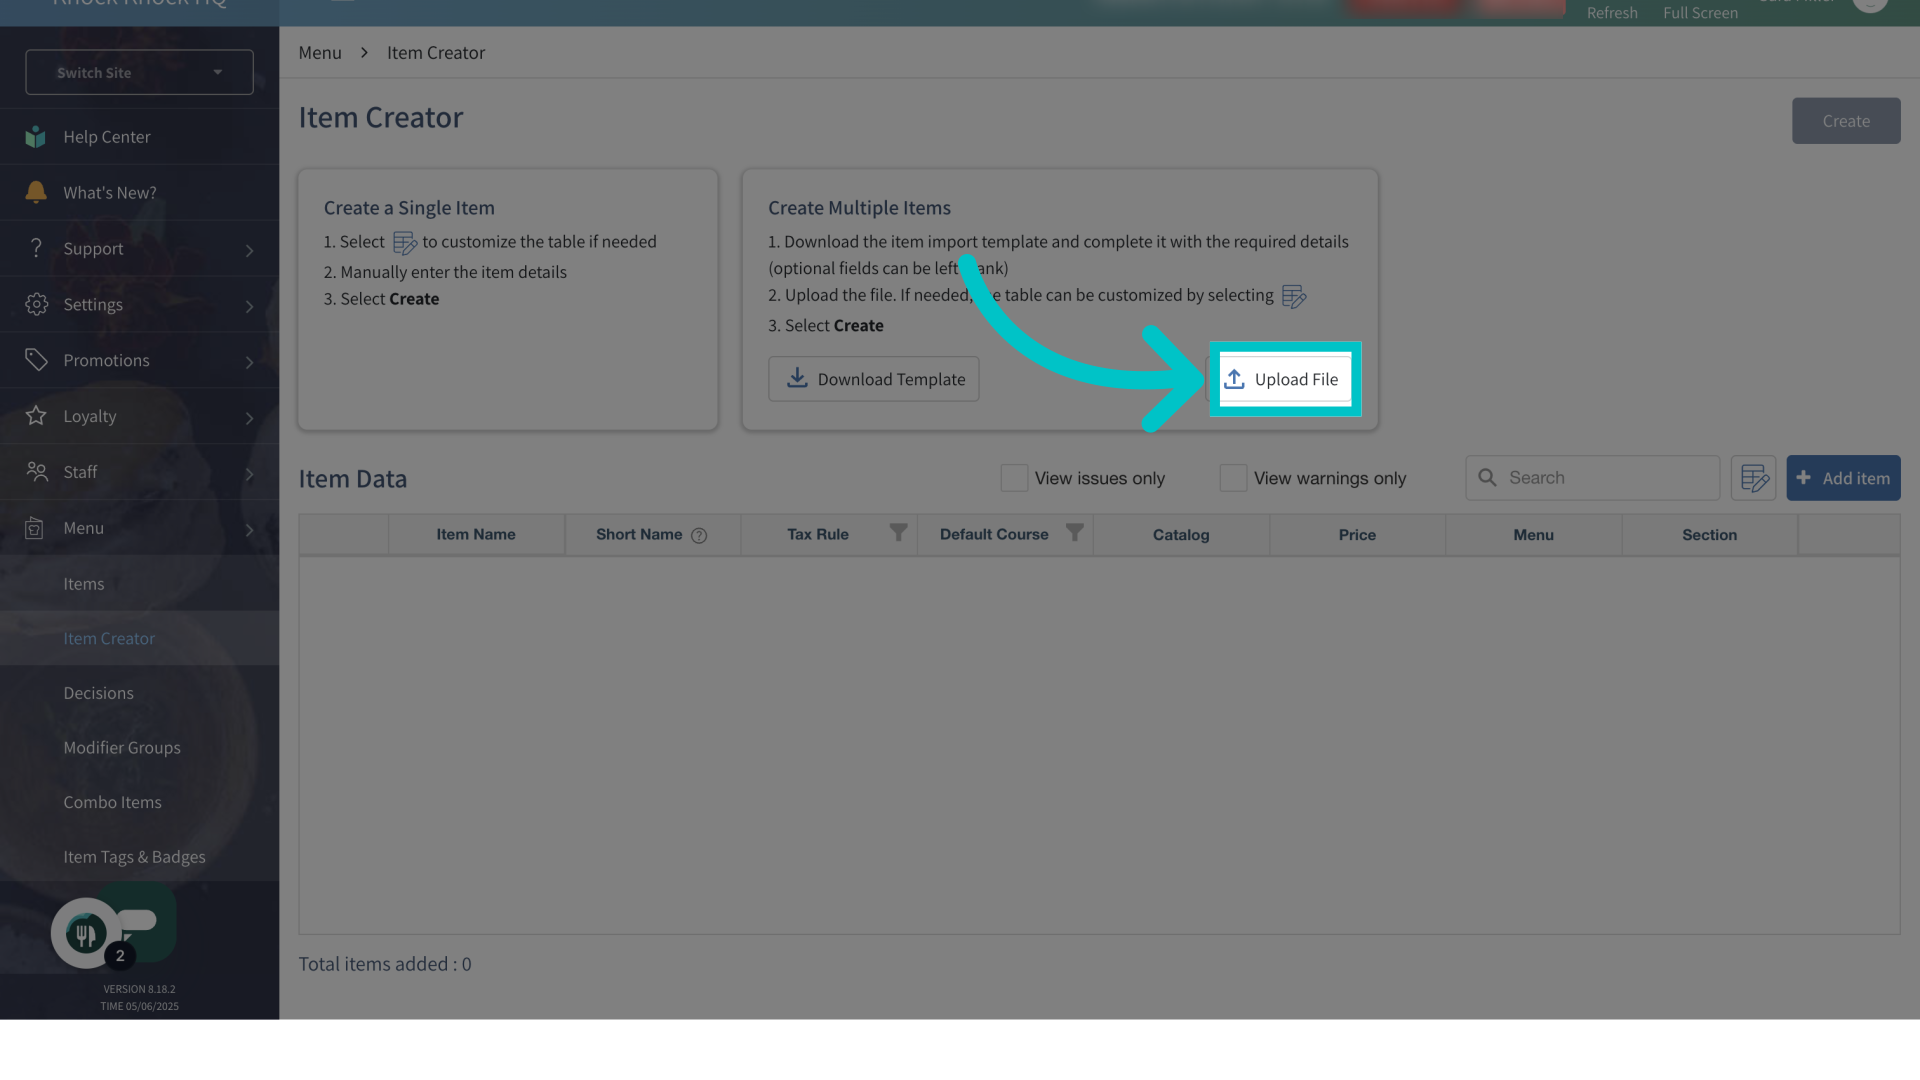
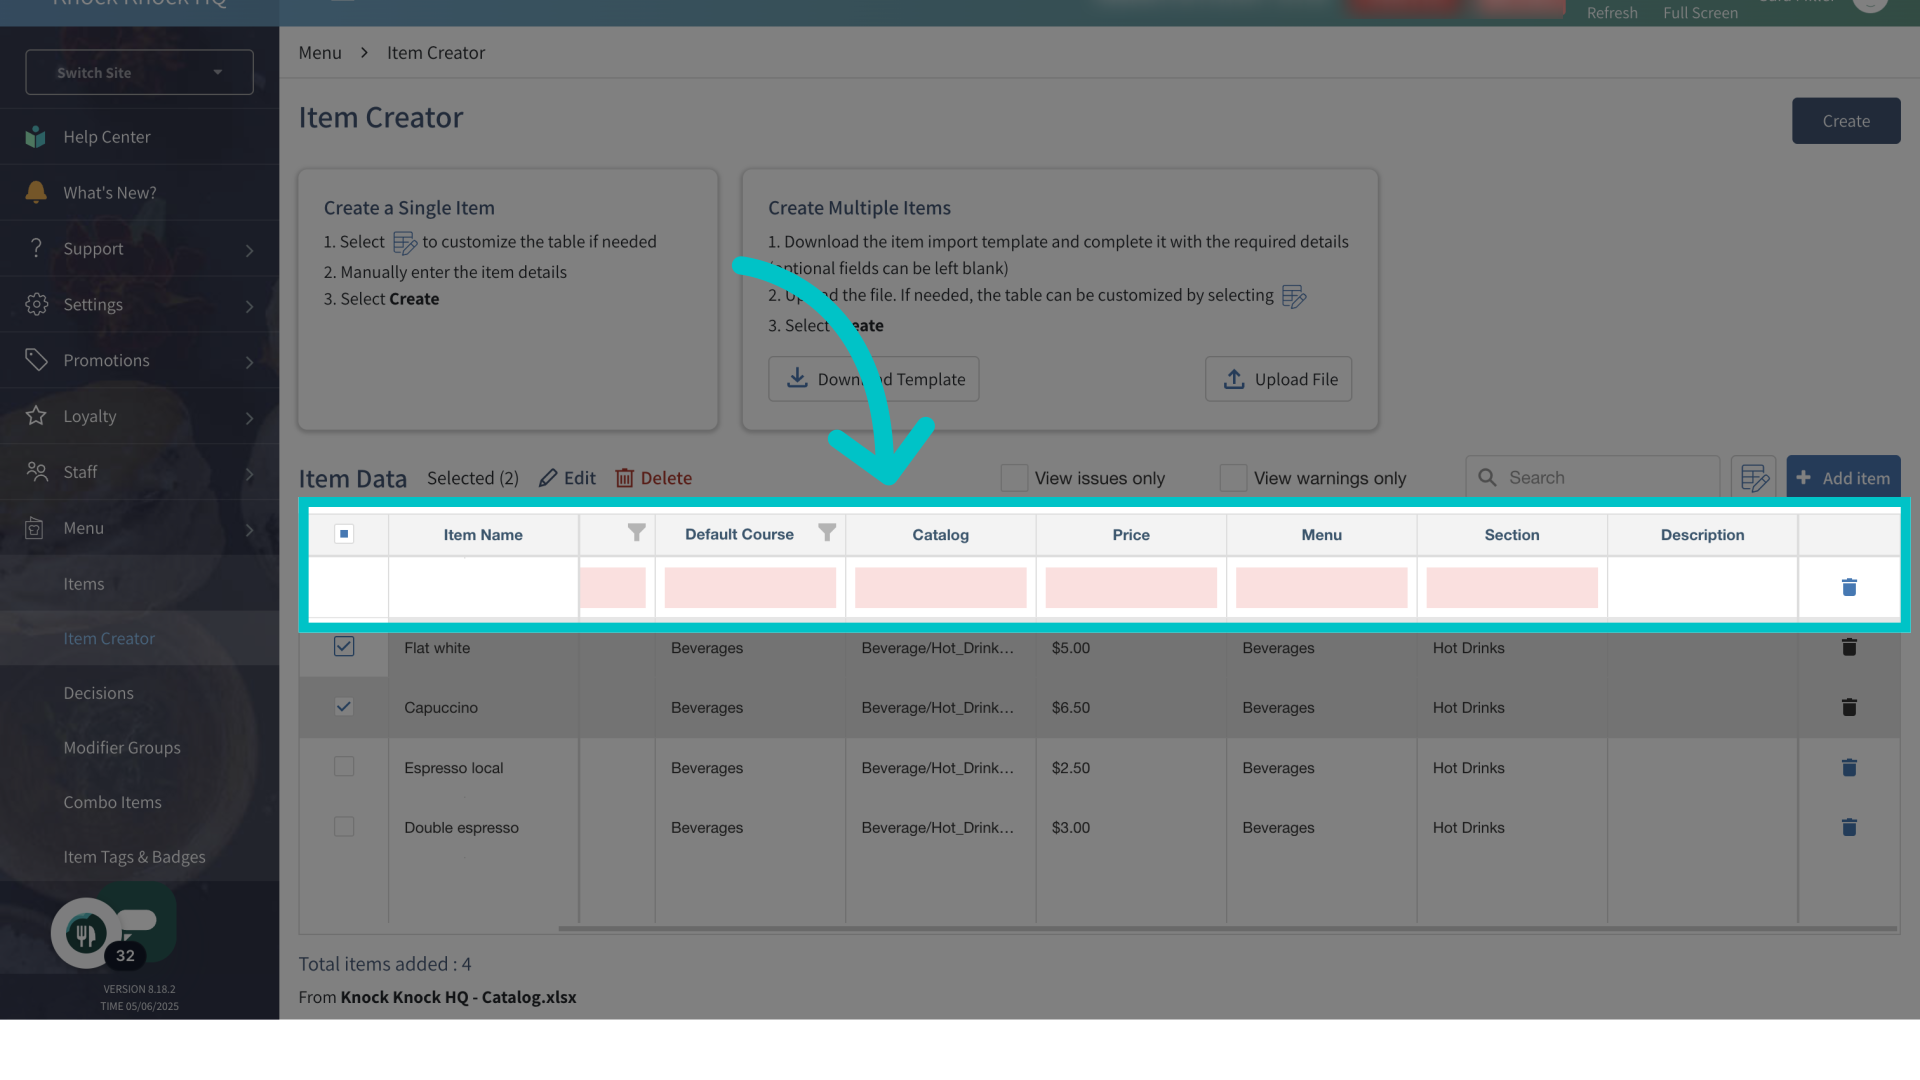
The imported rows appear in the Item Data table. Red warnings identify problems such as duplicate names or missing required information.
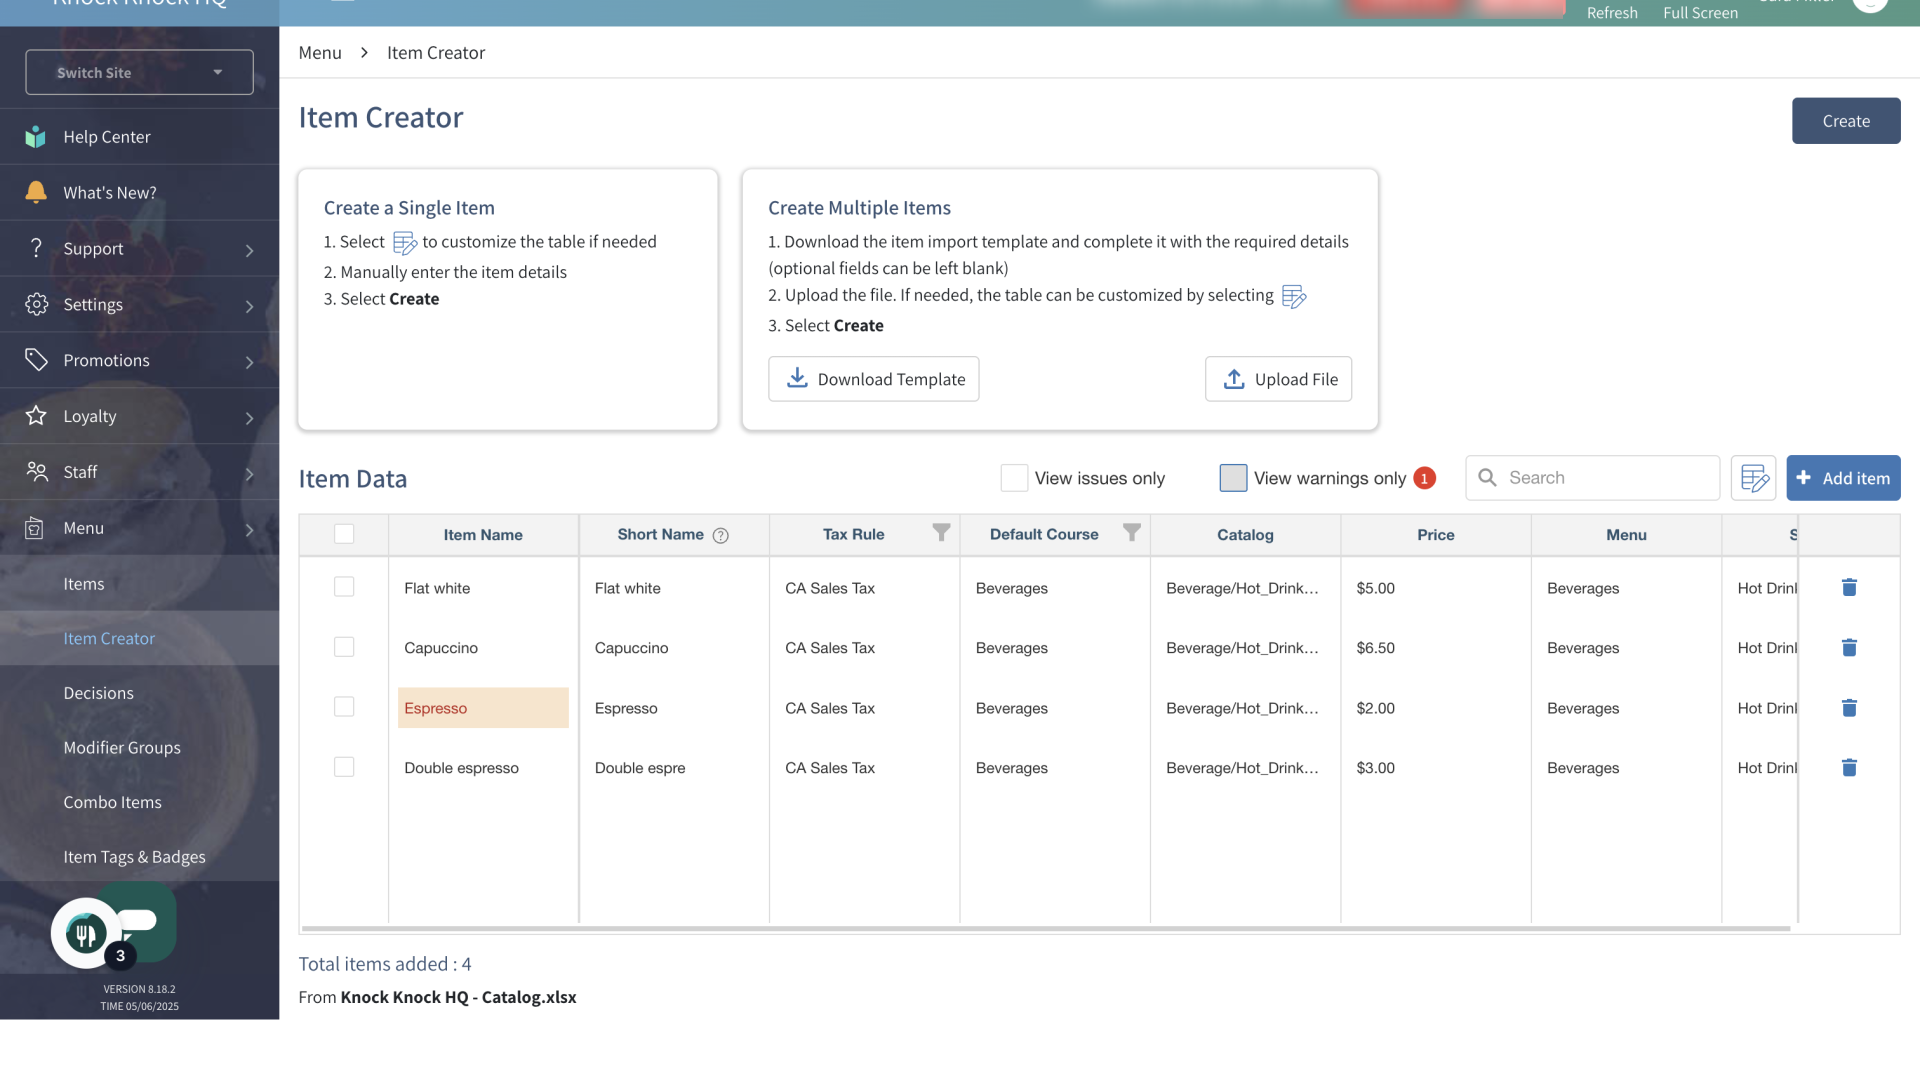
Review the imported rows
-
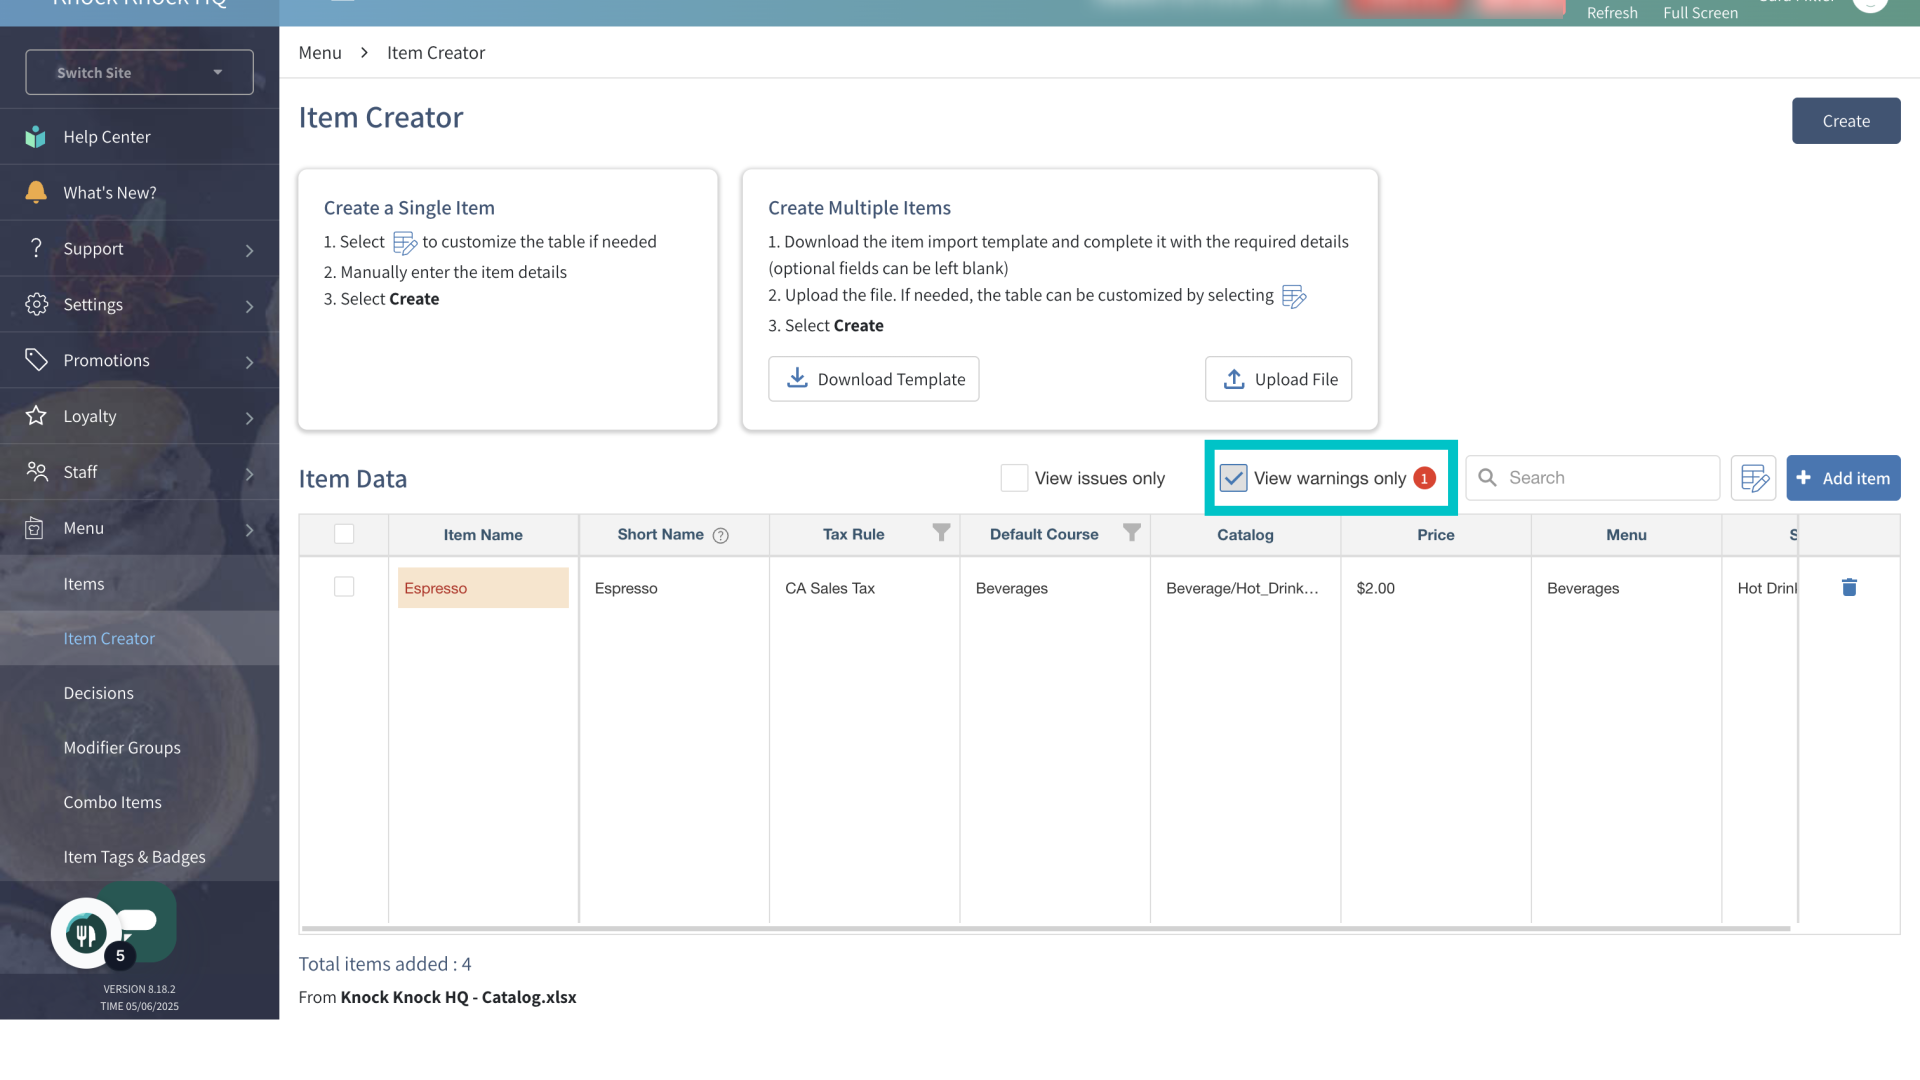
Turn on View warnings only to focus on rows that need attention.
-
Edit the item details in the table before creating the items.
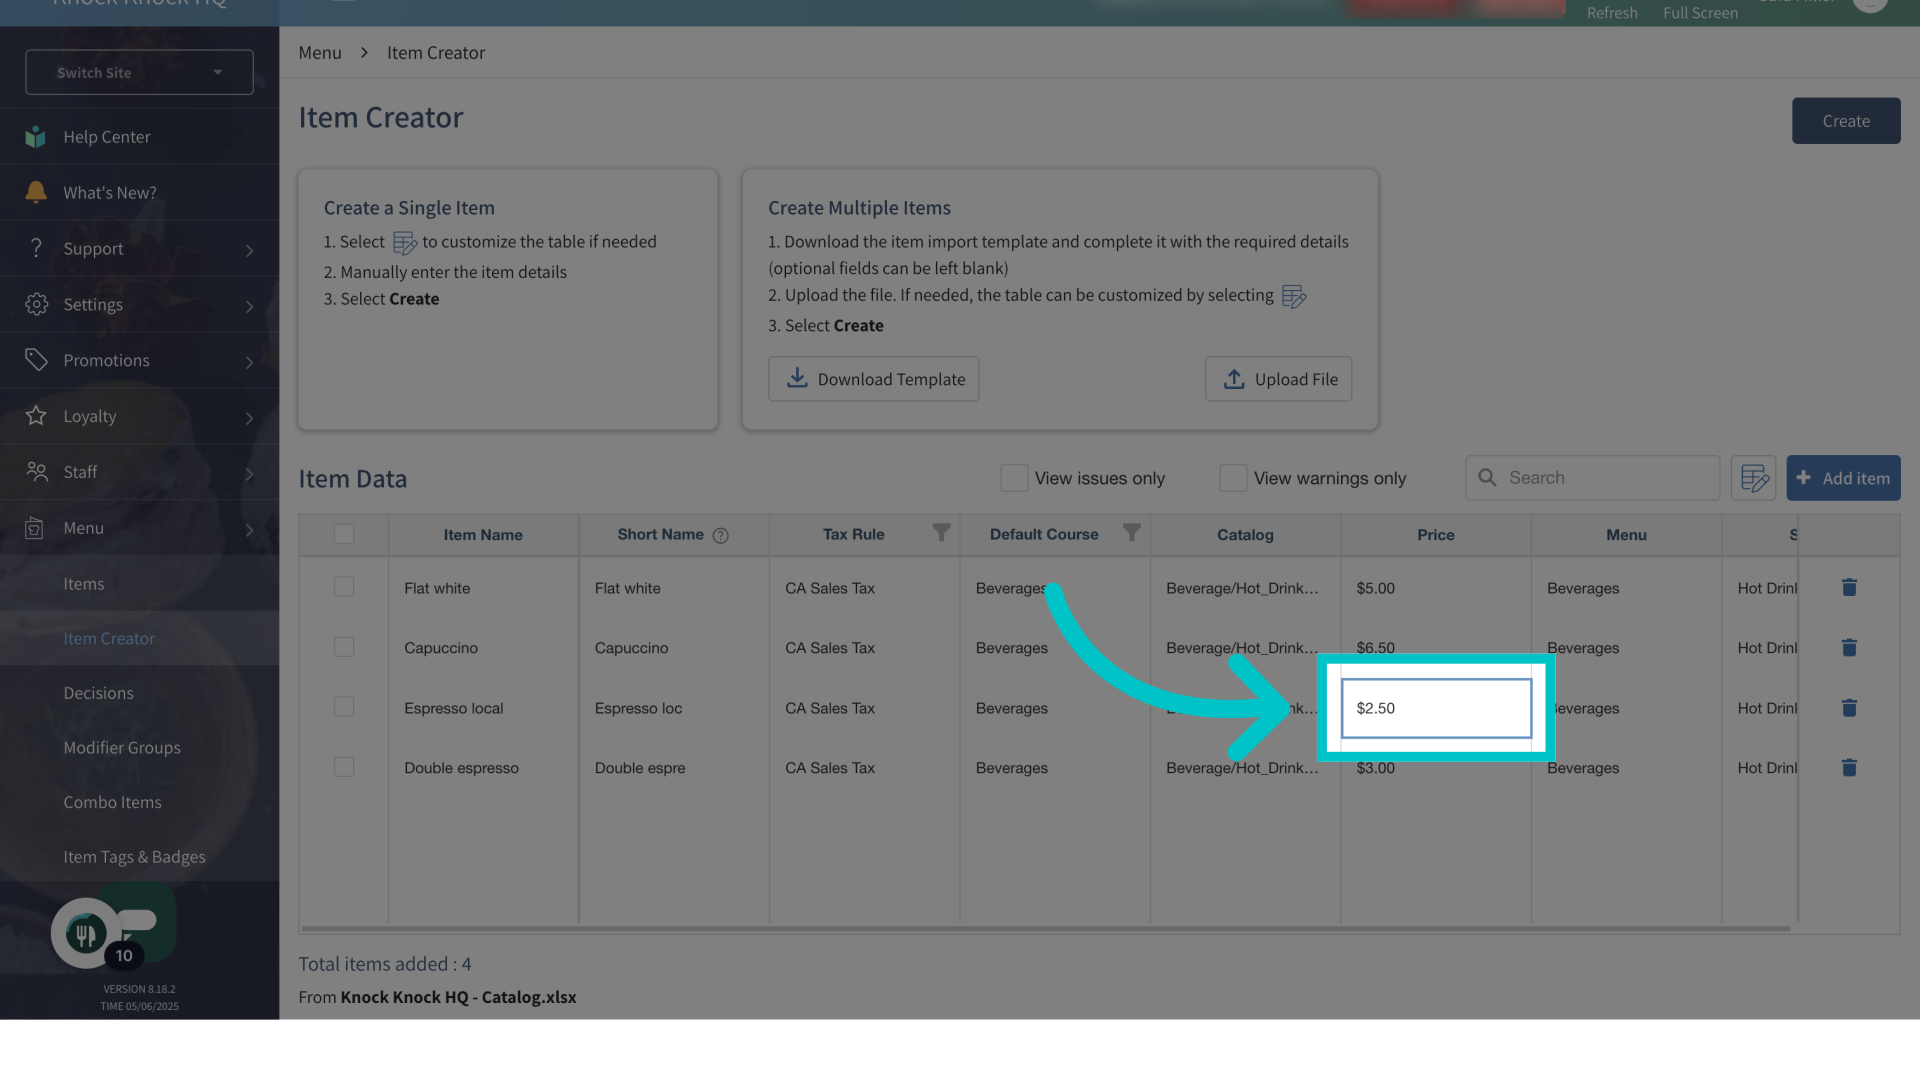
-
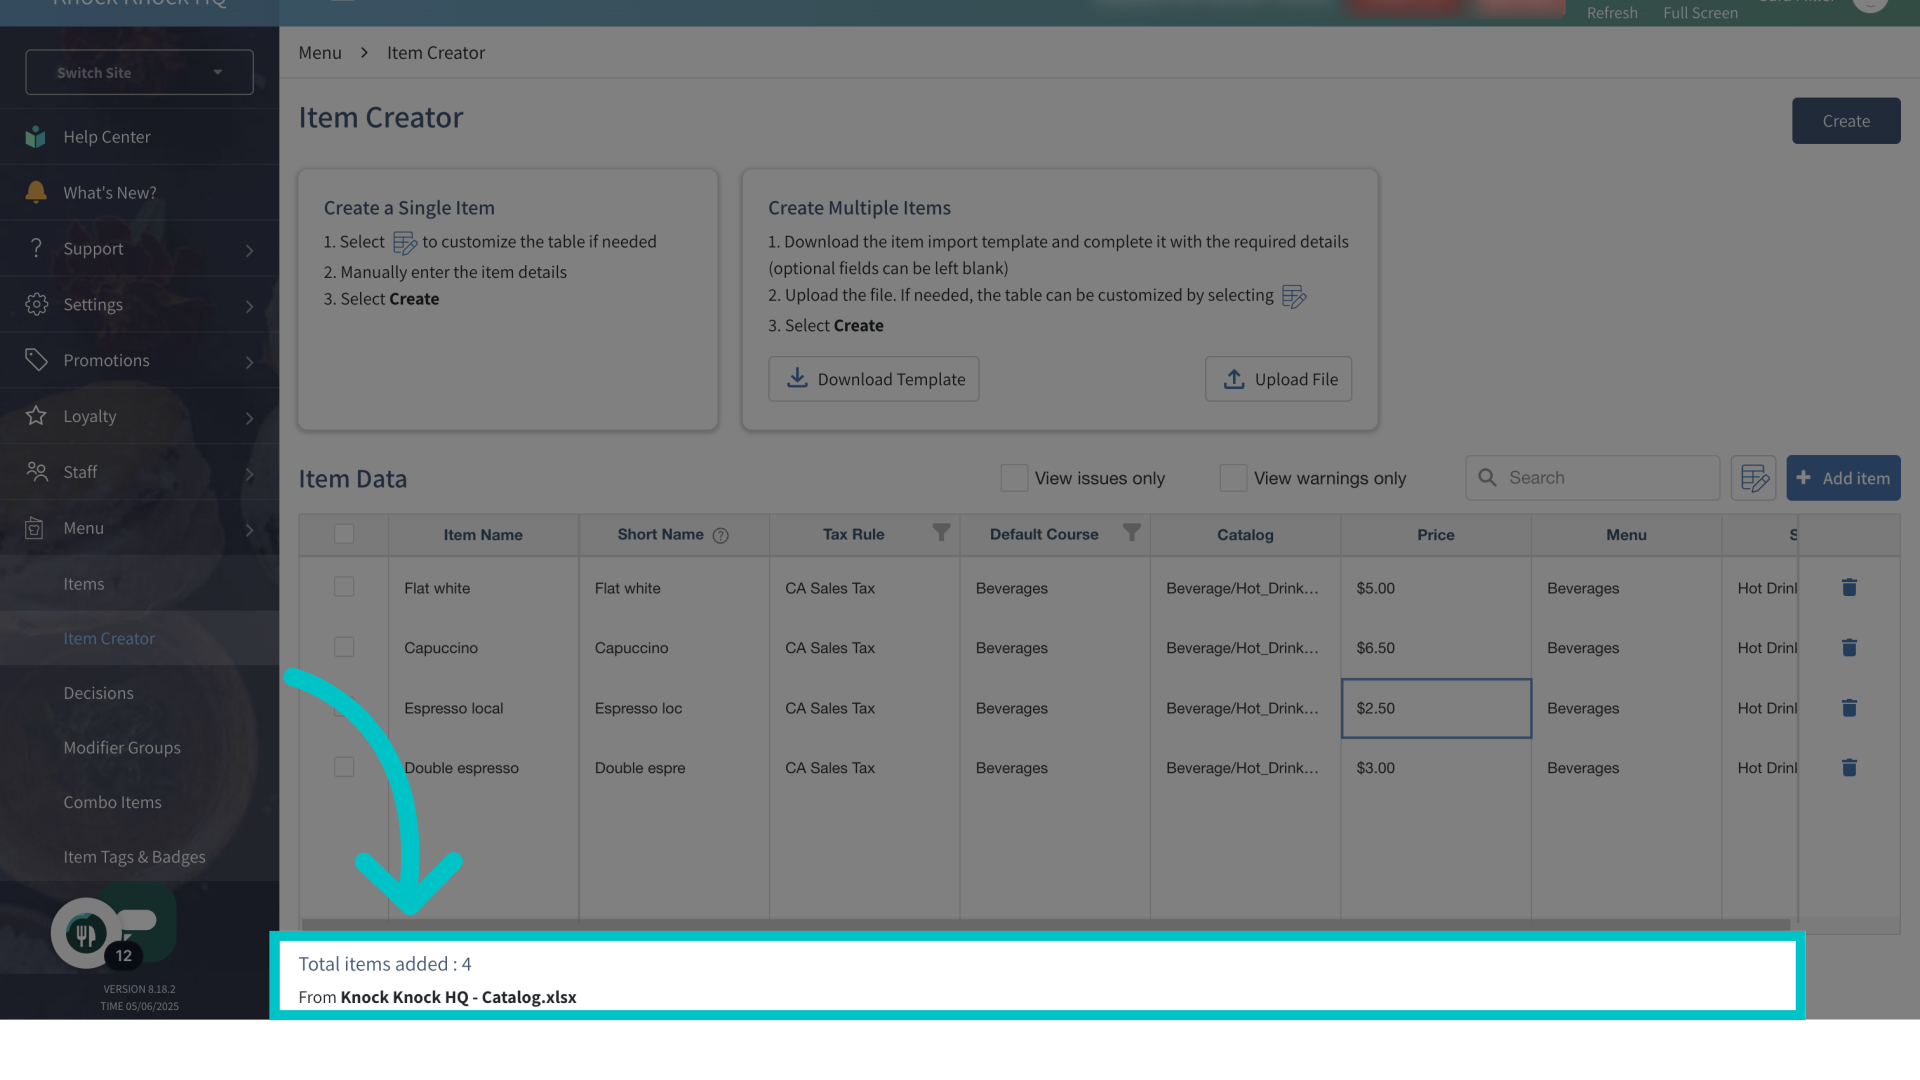
Check the file summary and item count at the bottom of the screen. You can upload more than one file when needed.
Show additional columns
-
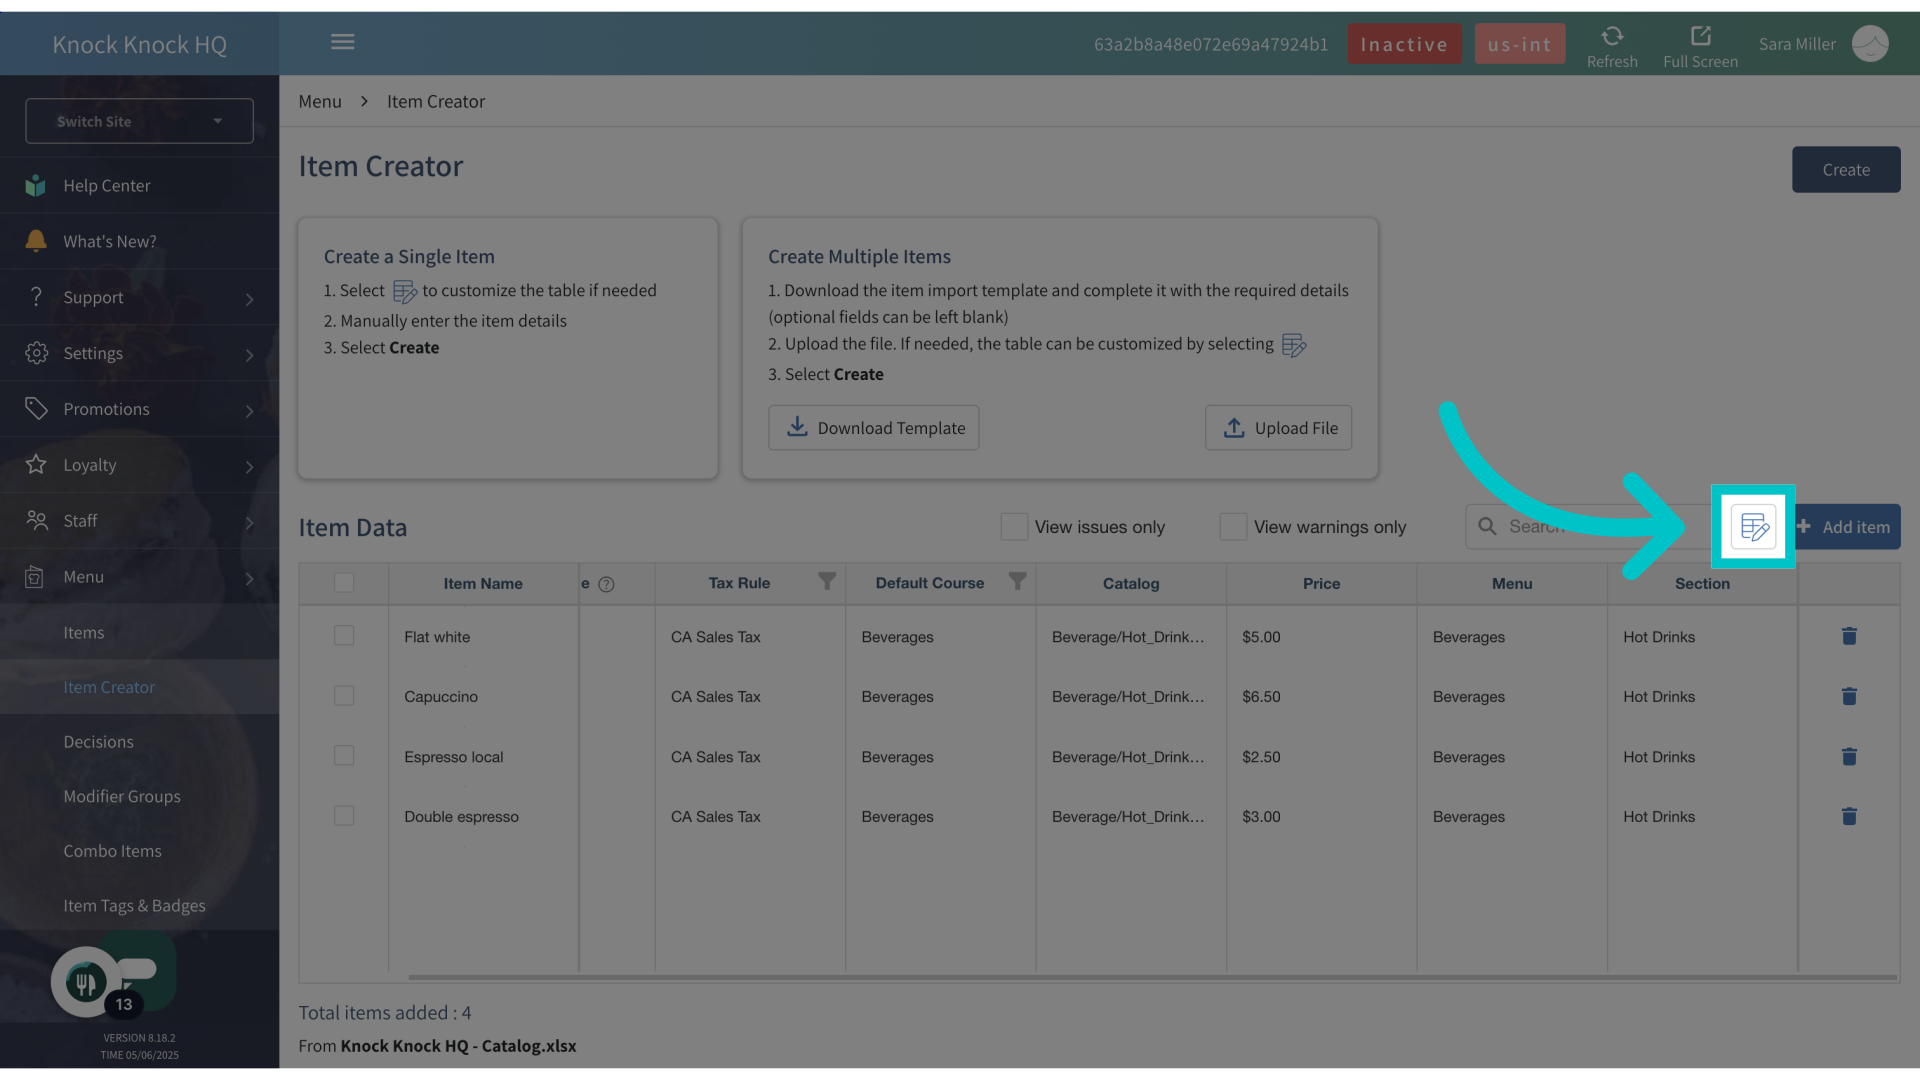
Select the table icon.
-
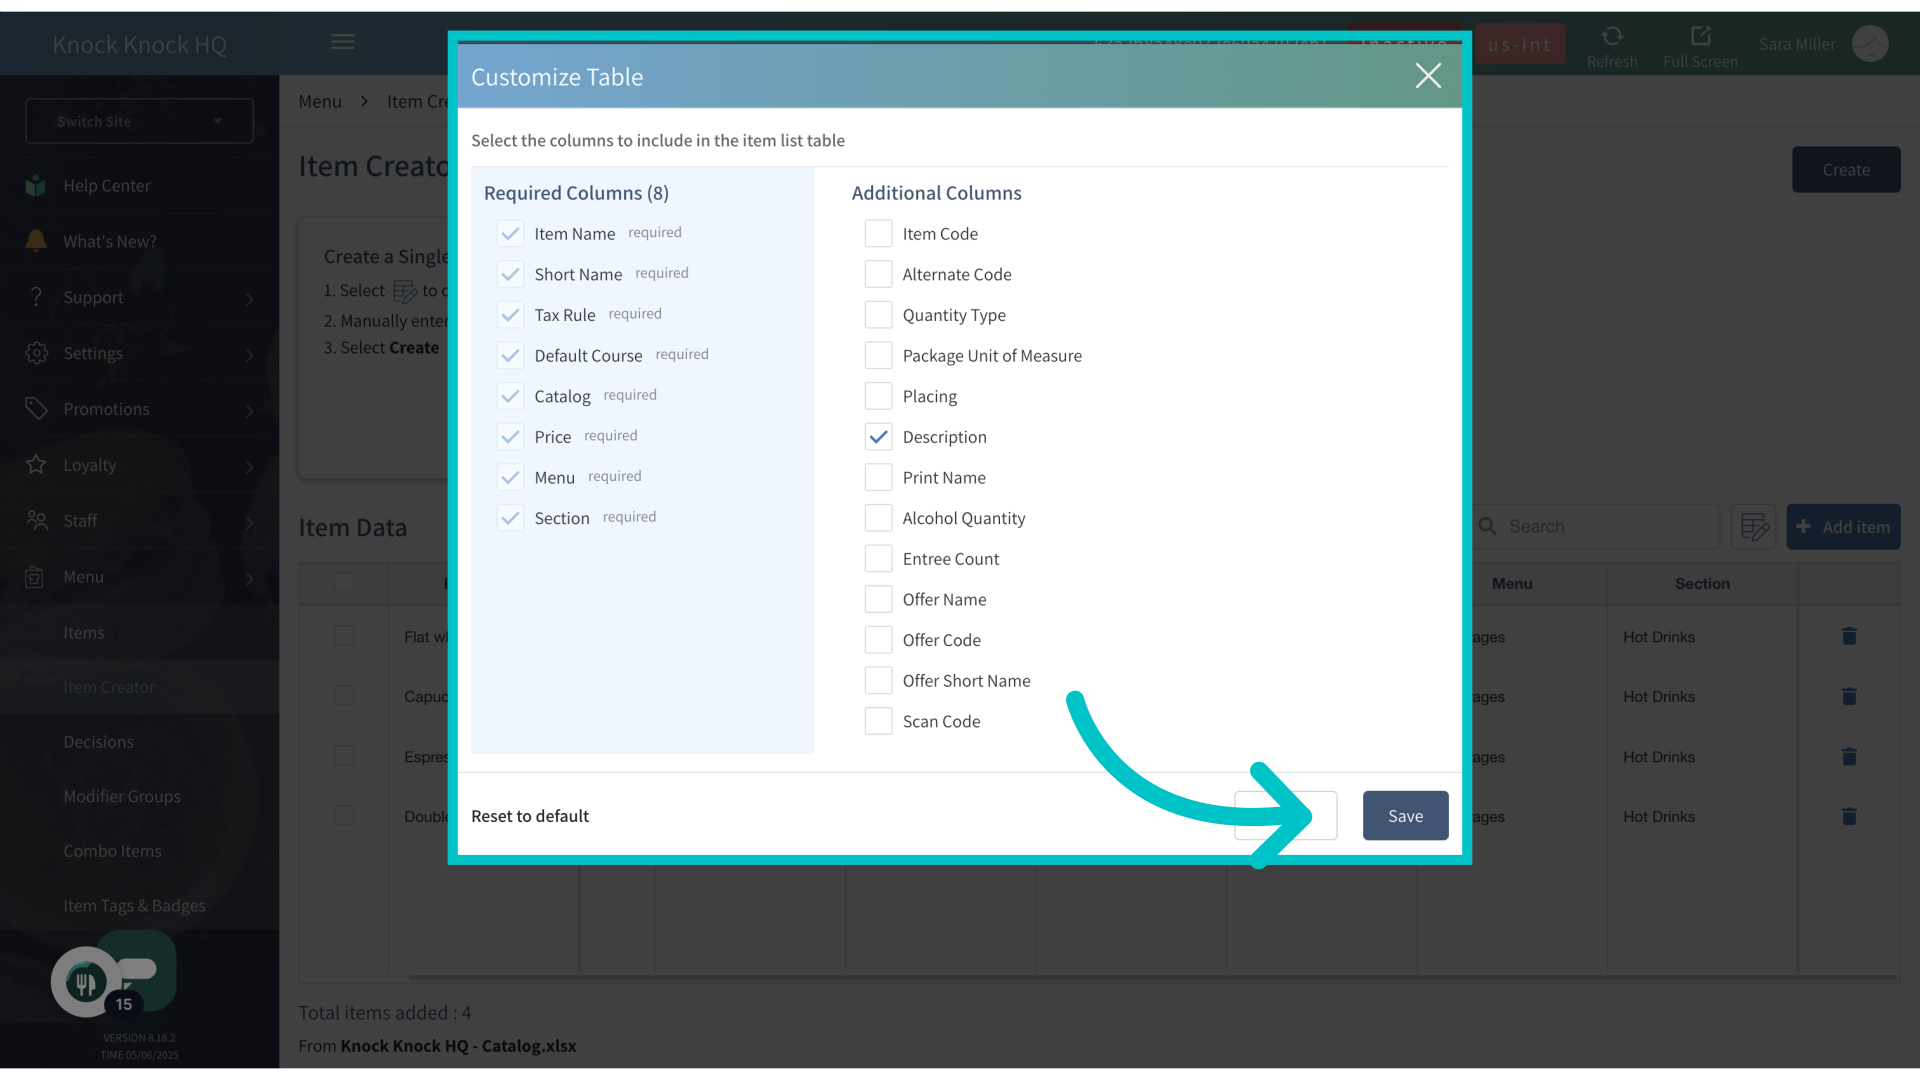
Review the columns already displayed and select any additional columns you need.
-
Select Save.
Change several items at once
-
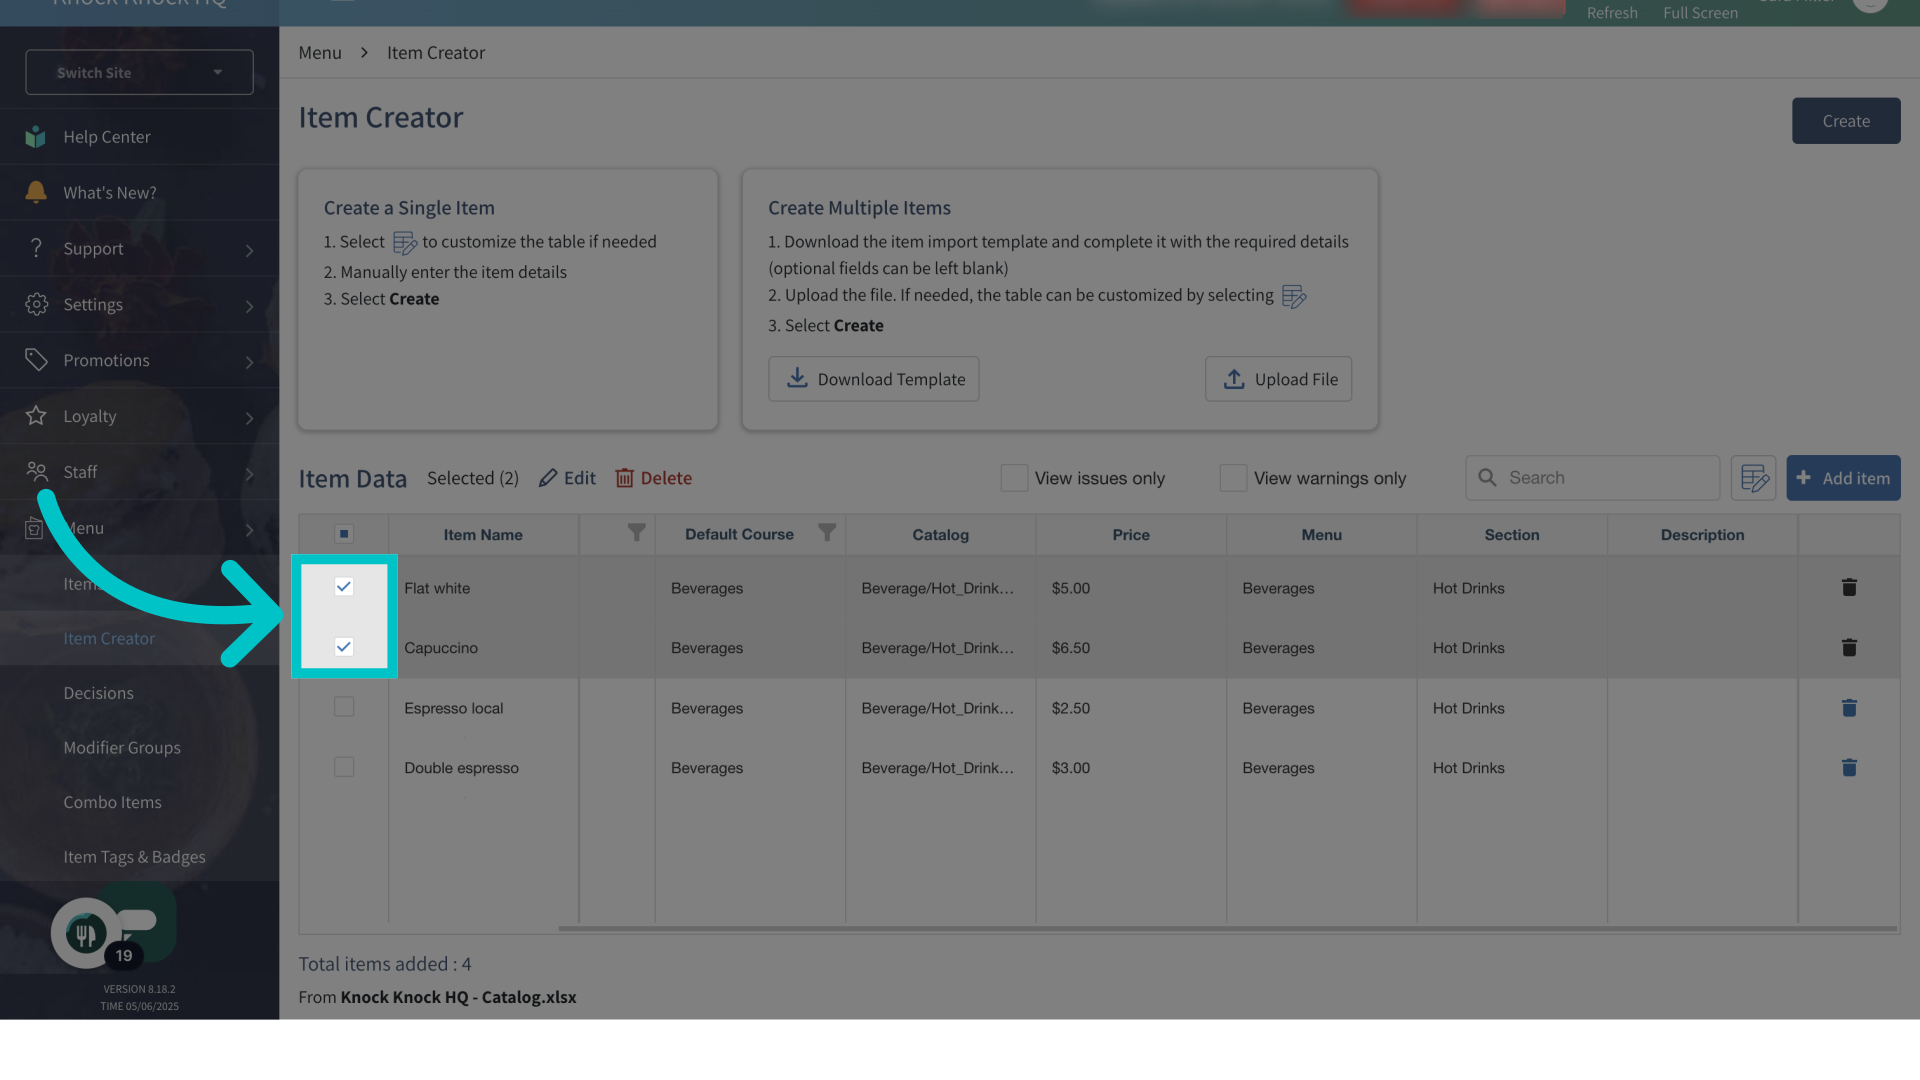
Select the rows you want to update.
-
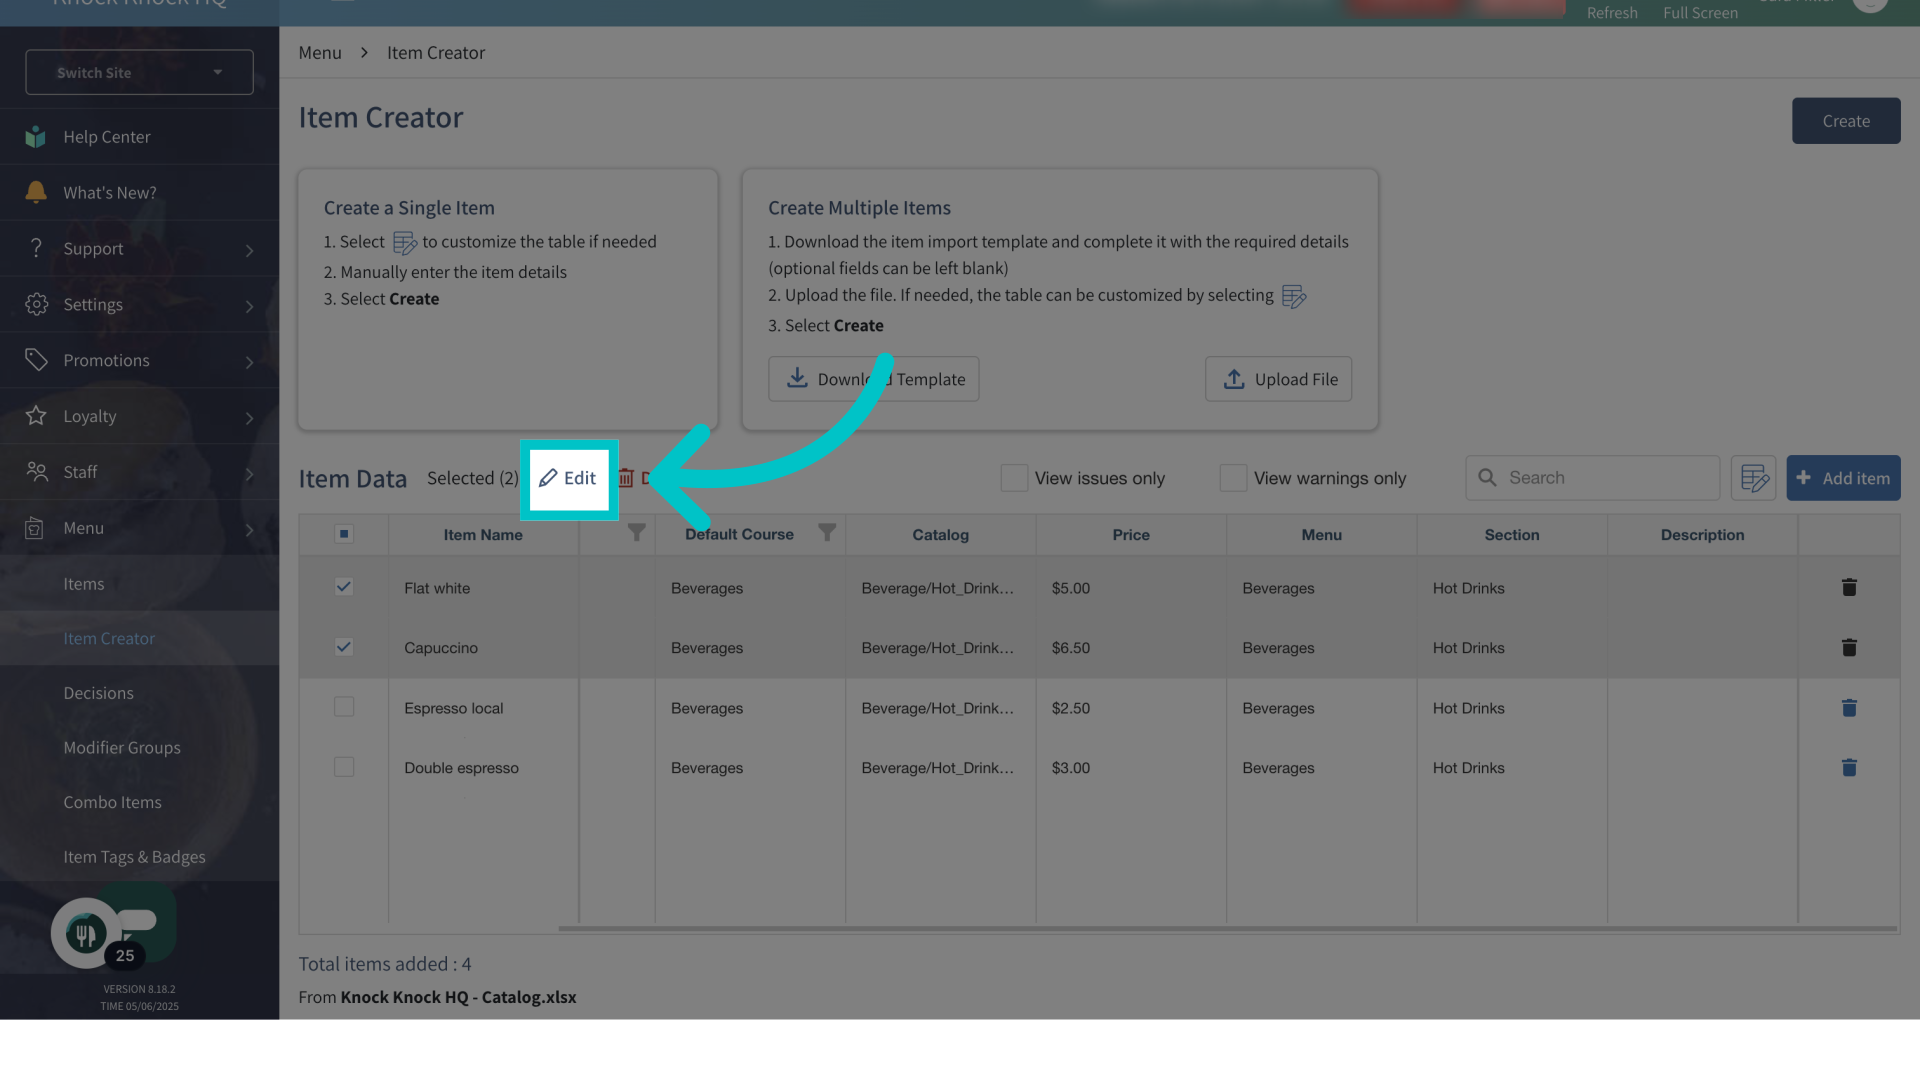
Select Edit.
-
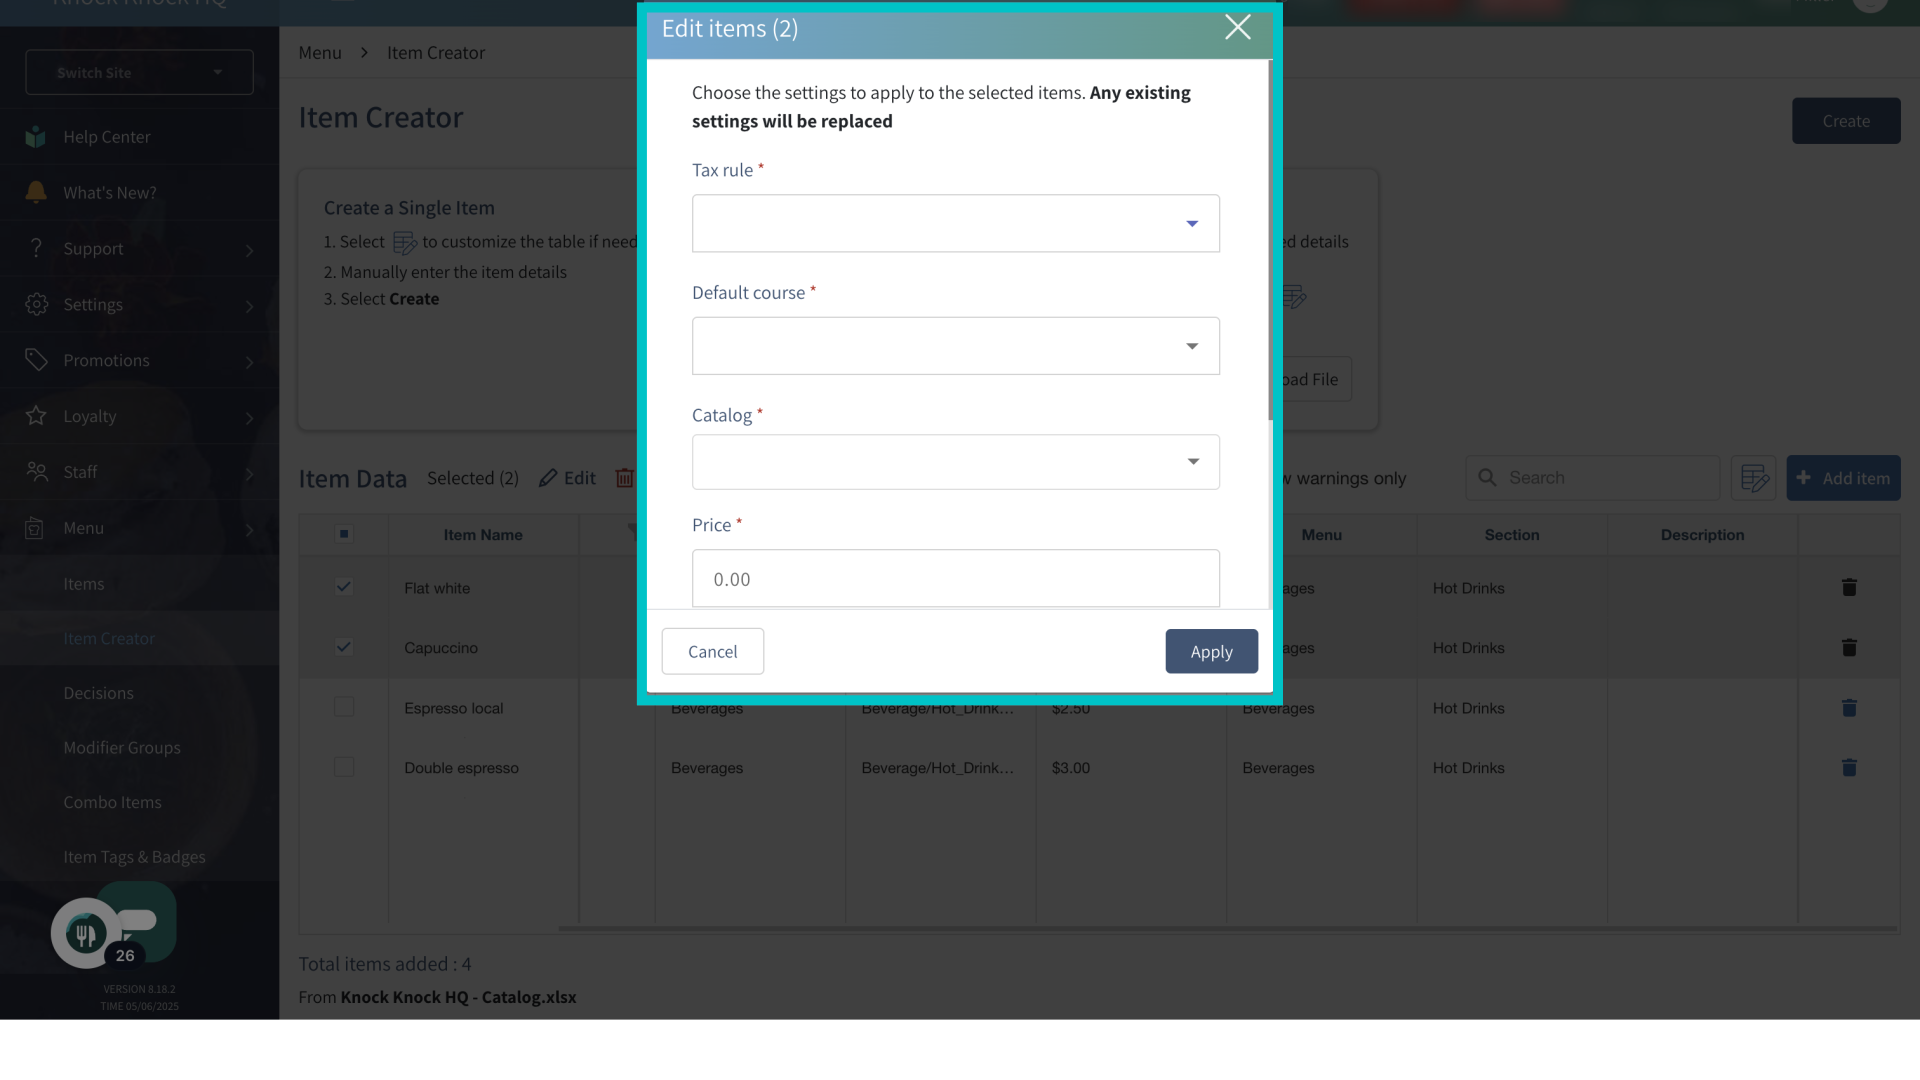
Enter the changes, then select Apply.
Add an item manually
-
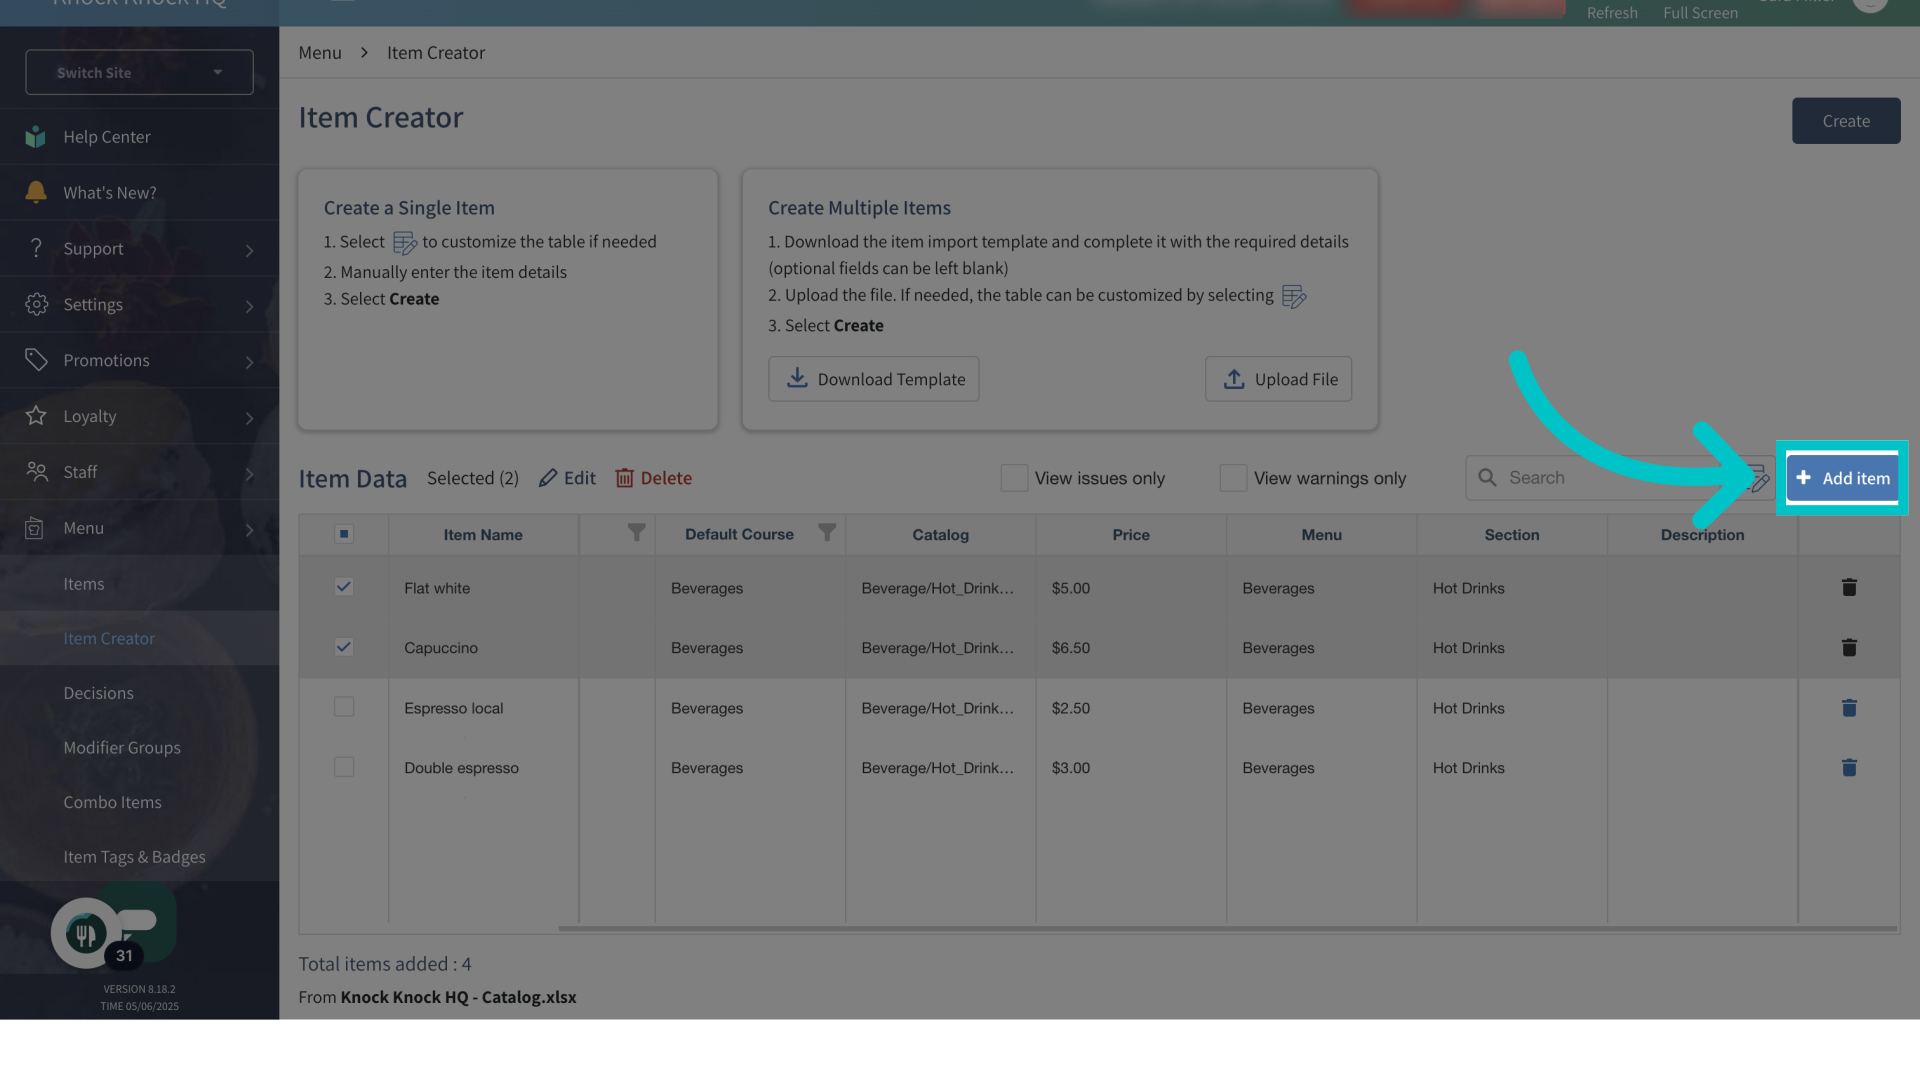
Select + Add Item.
-
Enter the item details.
Finish creating the items
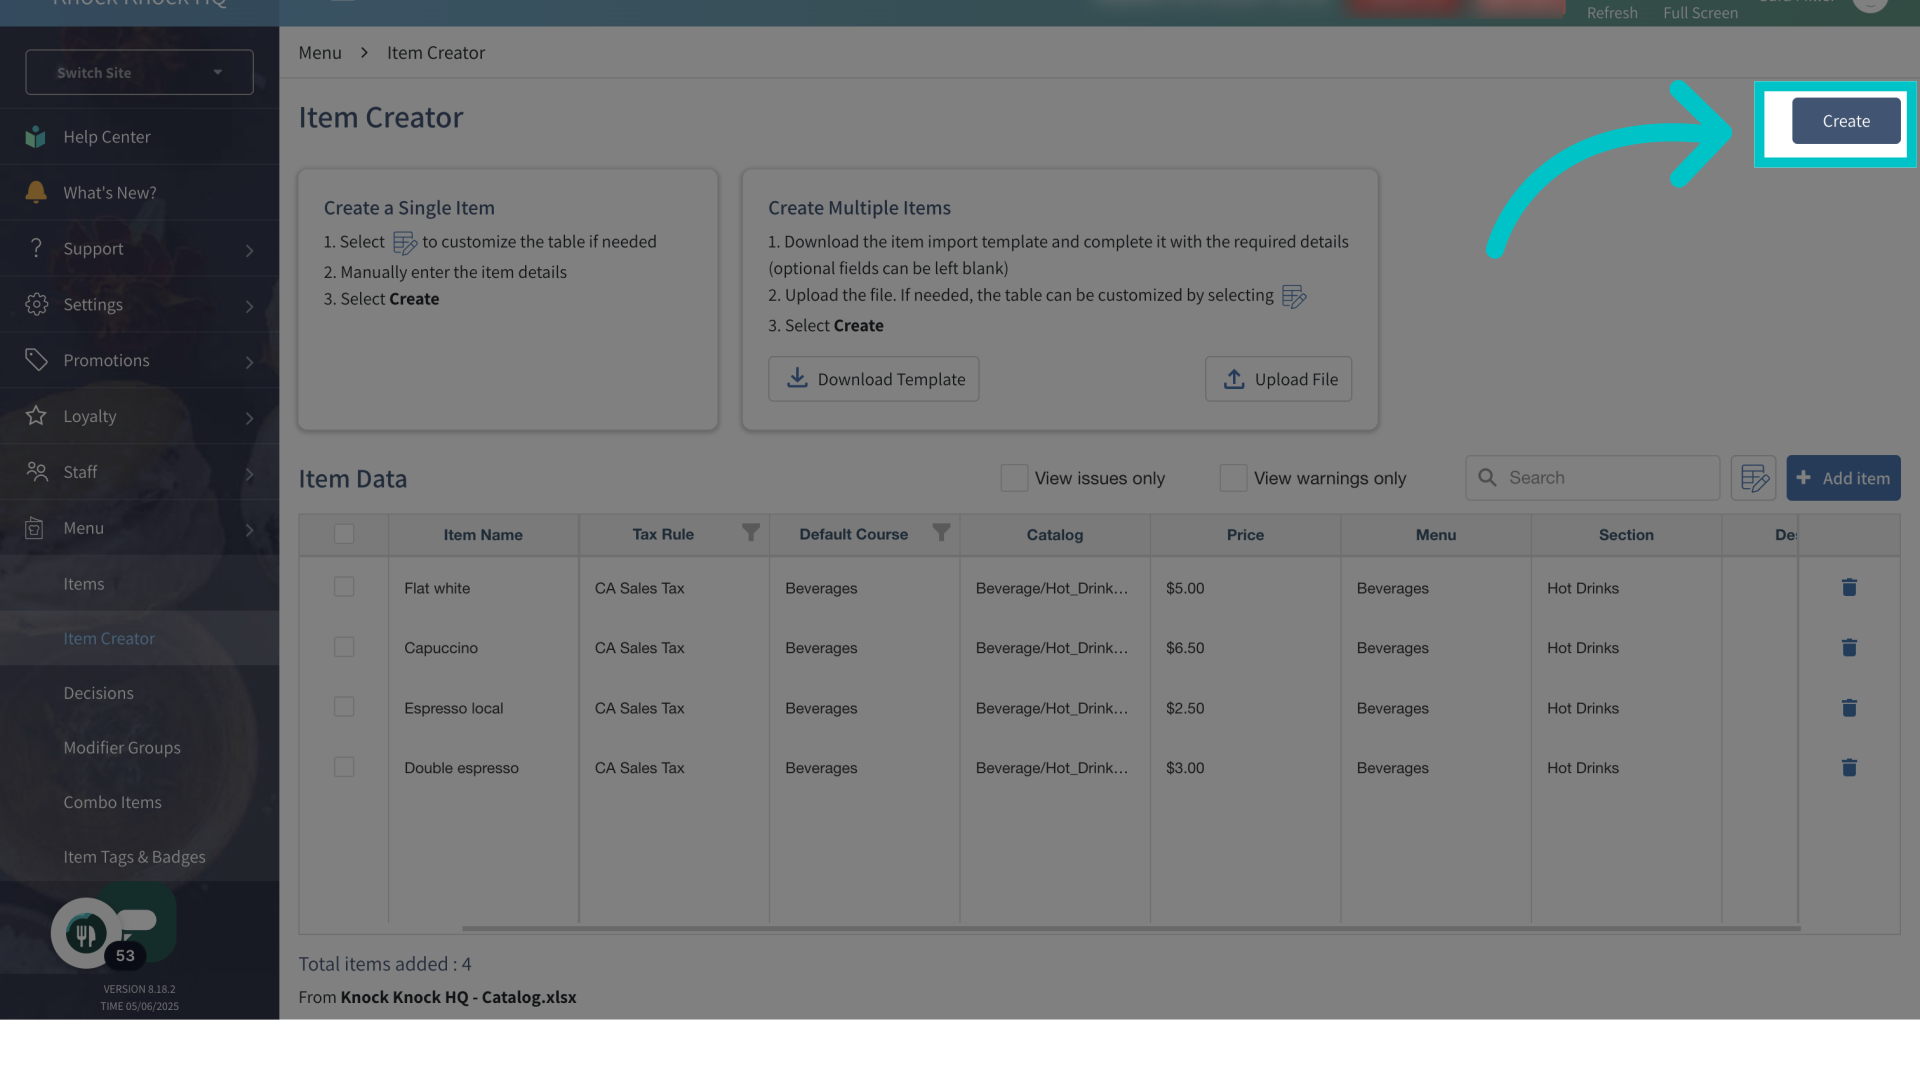
When the rows are ready, select Create in the upper-right corner.
The newly created items then appear in the site’s menu.