
Follow these steps to add a guest to the waitlist in Tabit Guest
-
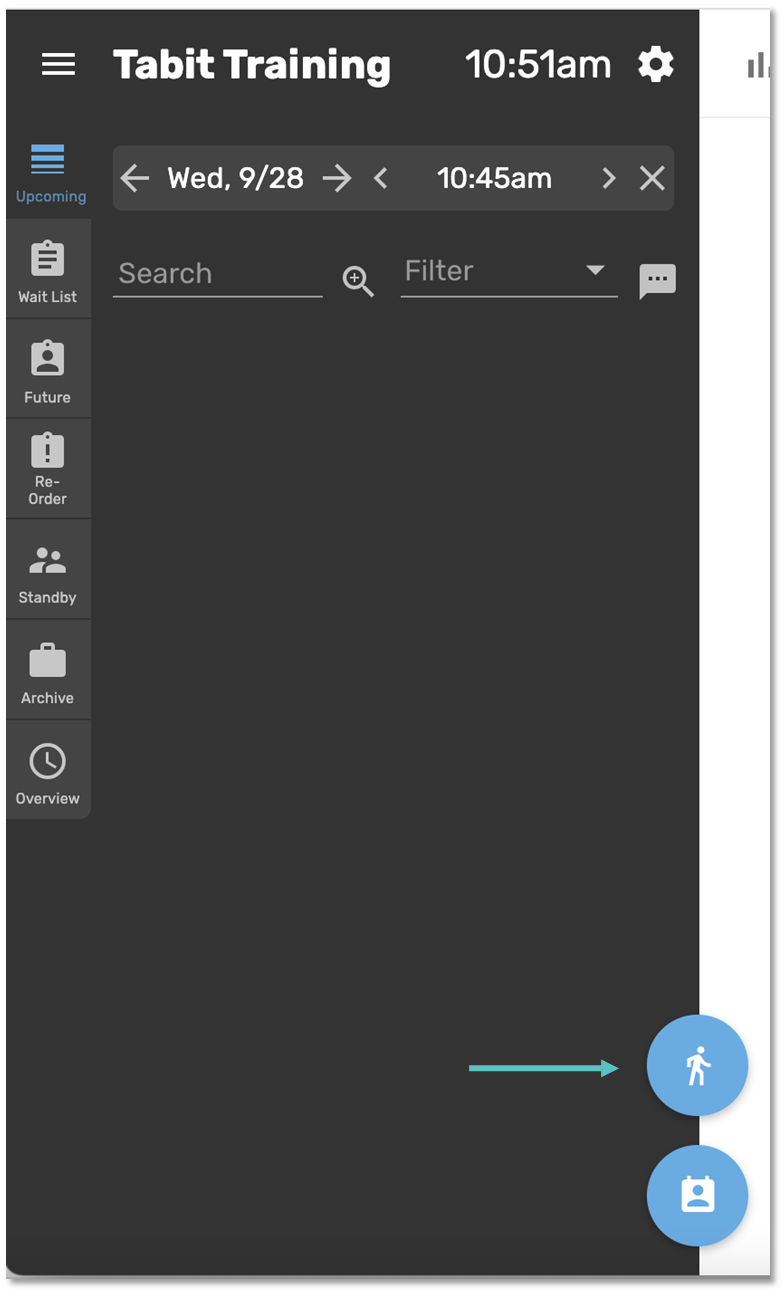
Select the Walk-In Icon located at the bottom of the screen
-
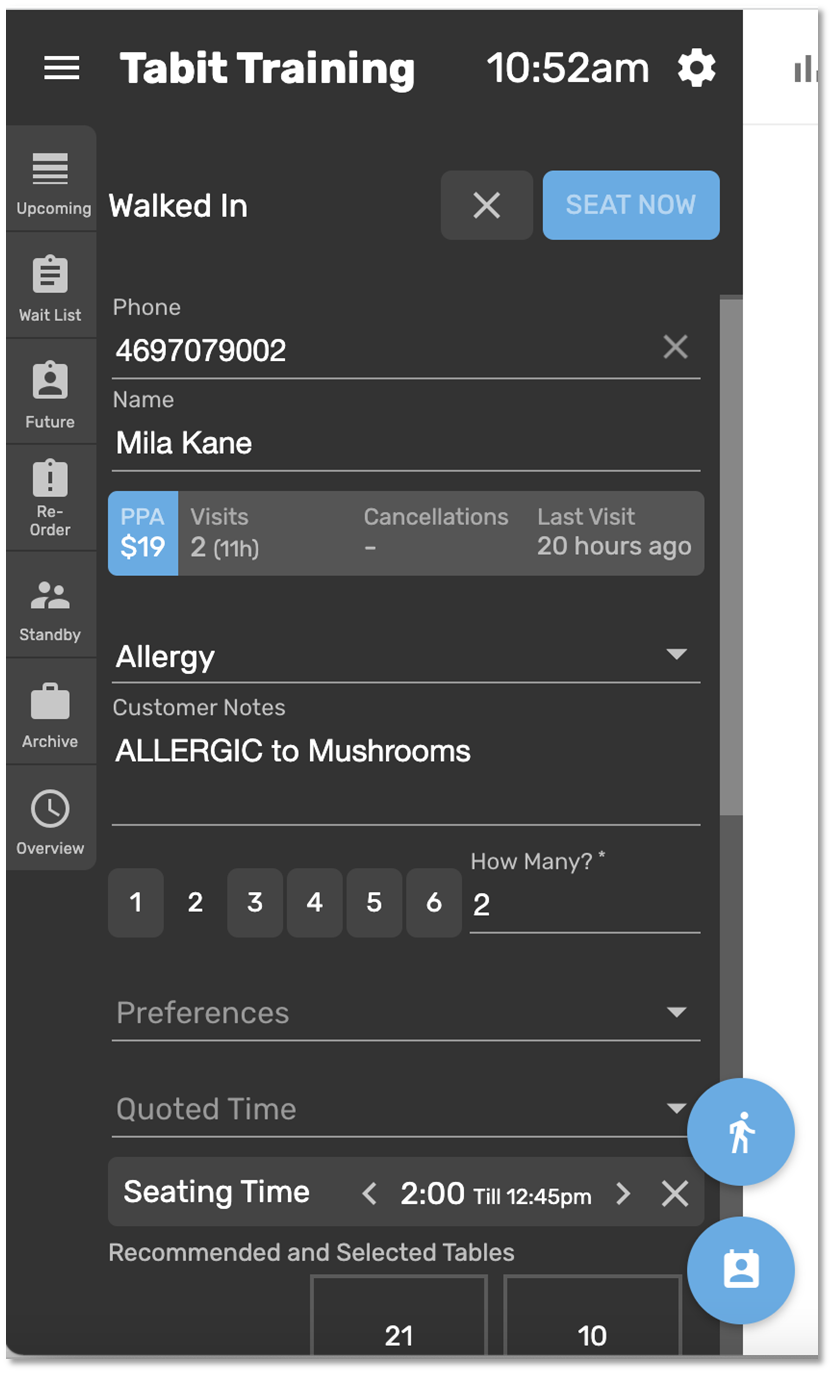
In the pop-up that appears on the left-hand side, select the number of Guests and add any desired guest information:
-
Phone number: this is required if a site wants to notify the Guest that their table is ready by SMS text
-
Name
-
Email
-
Customer tags or notes
-
Reservation tags or notes
-
Preferences: this will allow the guest to request a specific area of the restaurant
-
Quoted Time: allows the Host to mark how long the guest was told the wait would be. This is not visible to the guest
-
-
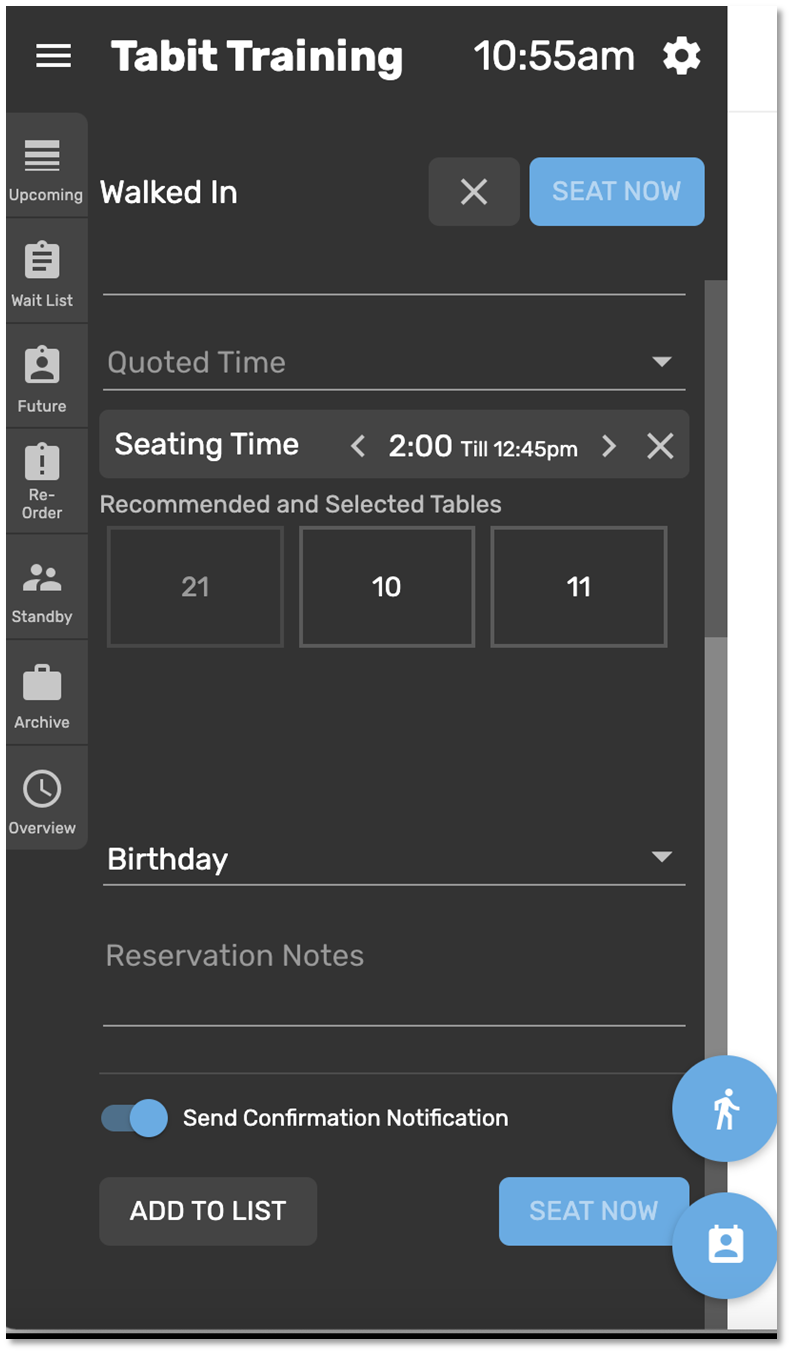
To send a notification to the guest's phone, toggle Send Confirmation Notification to ON (optional)
Please note: any SMS texts may result in additional fees to the restaurant -
Select either Add To List or Seat Now at the bottom of the form
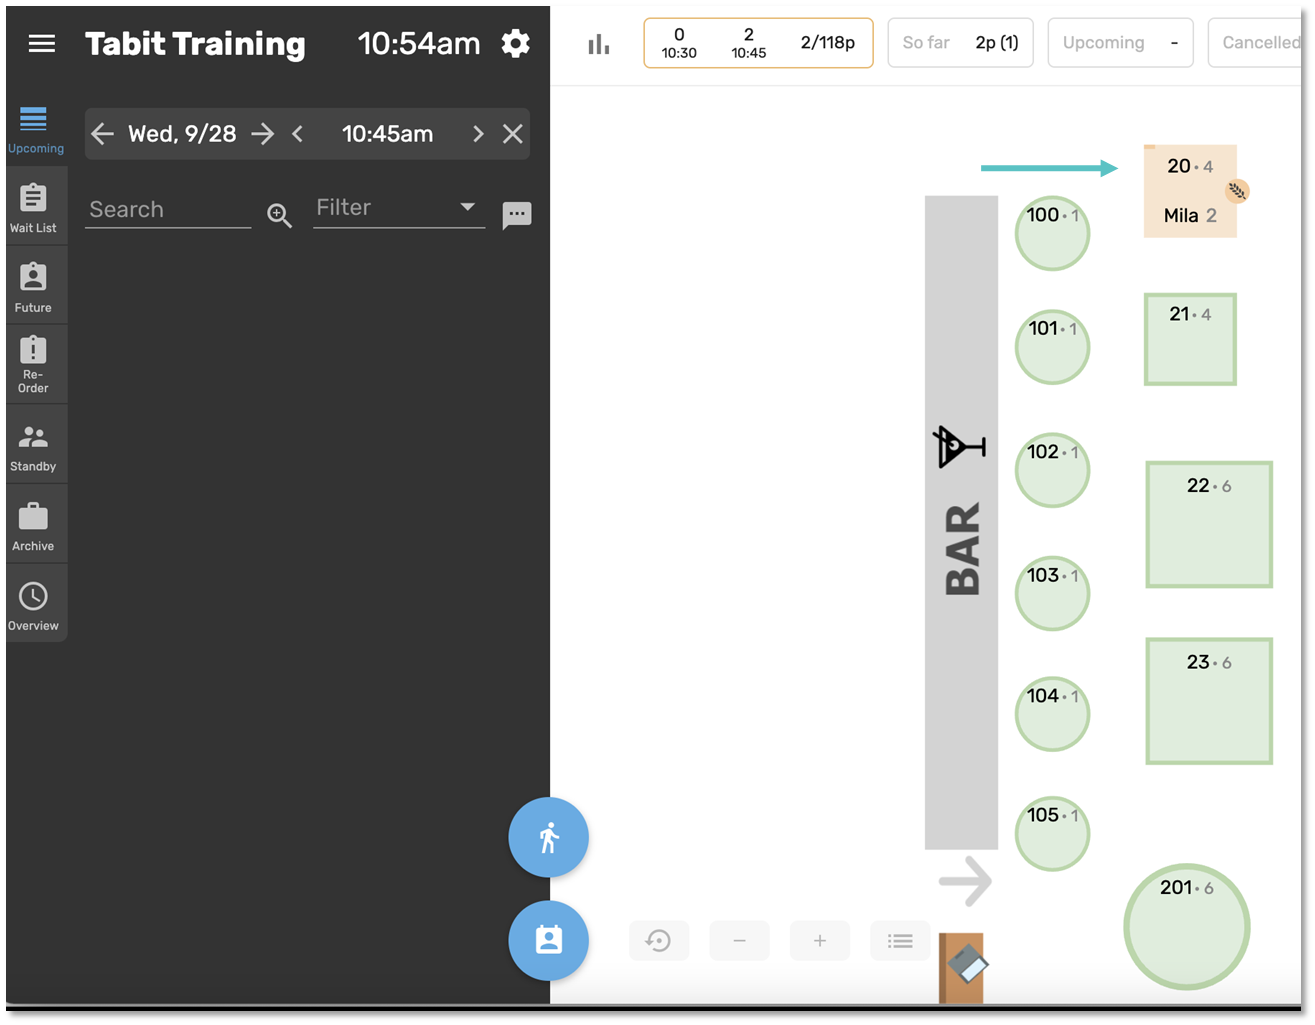
Note: Seat Now can only be selected if a table has been selected on the Map
-
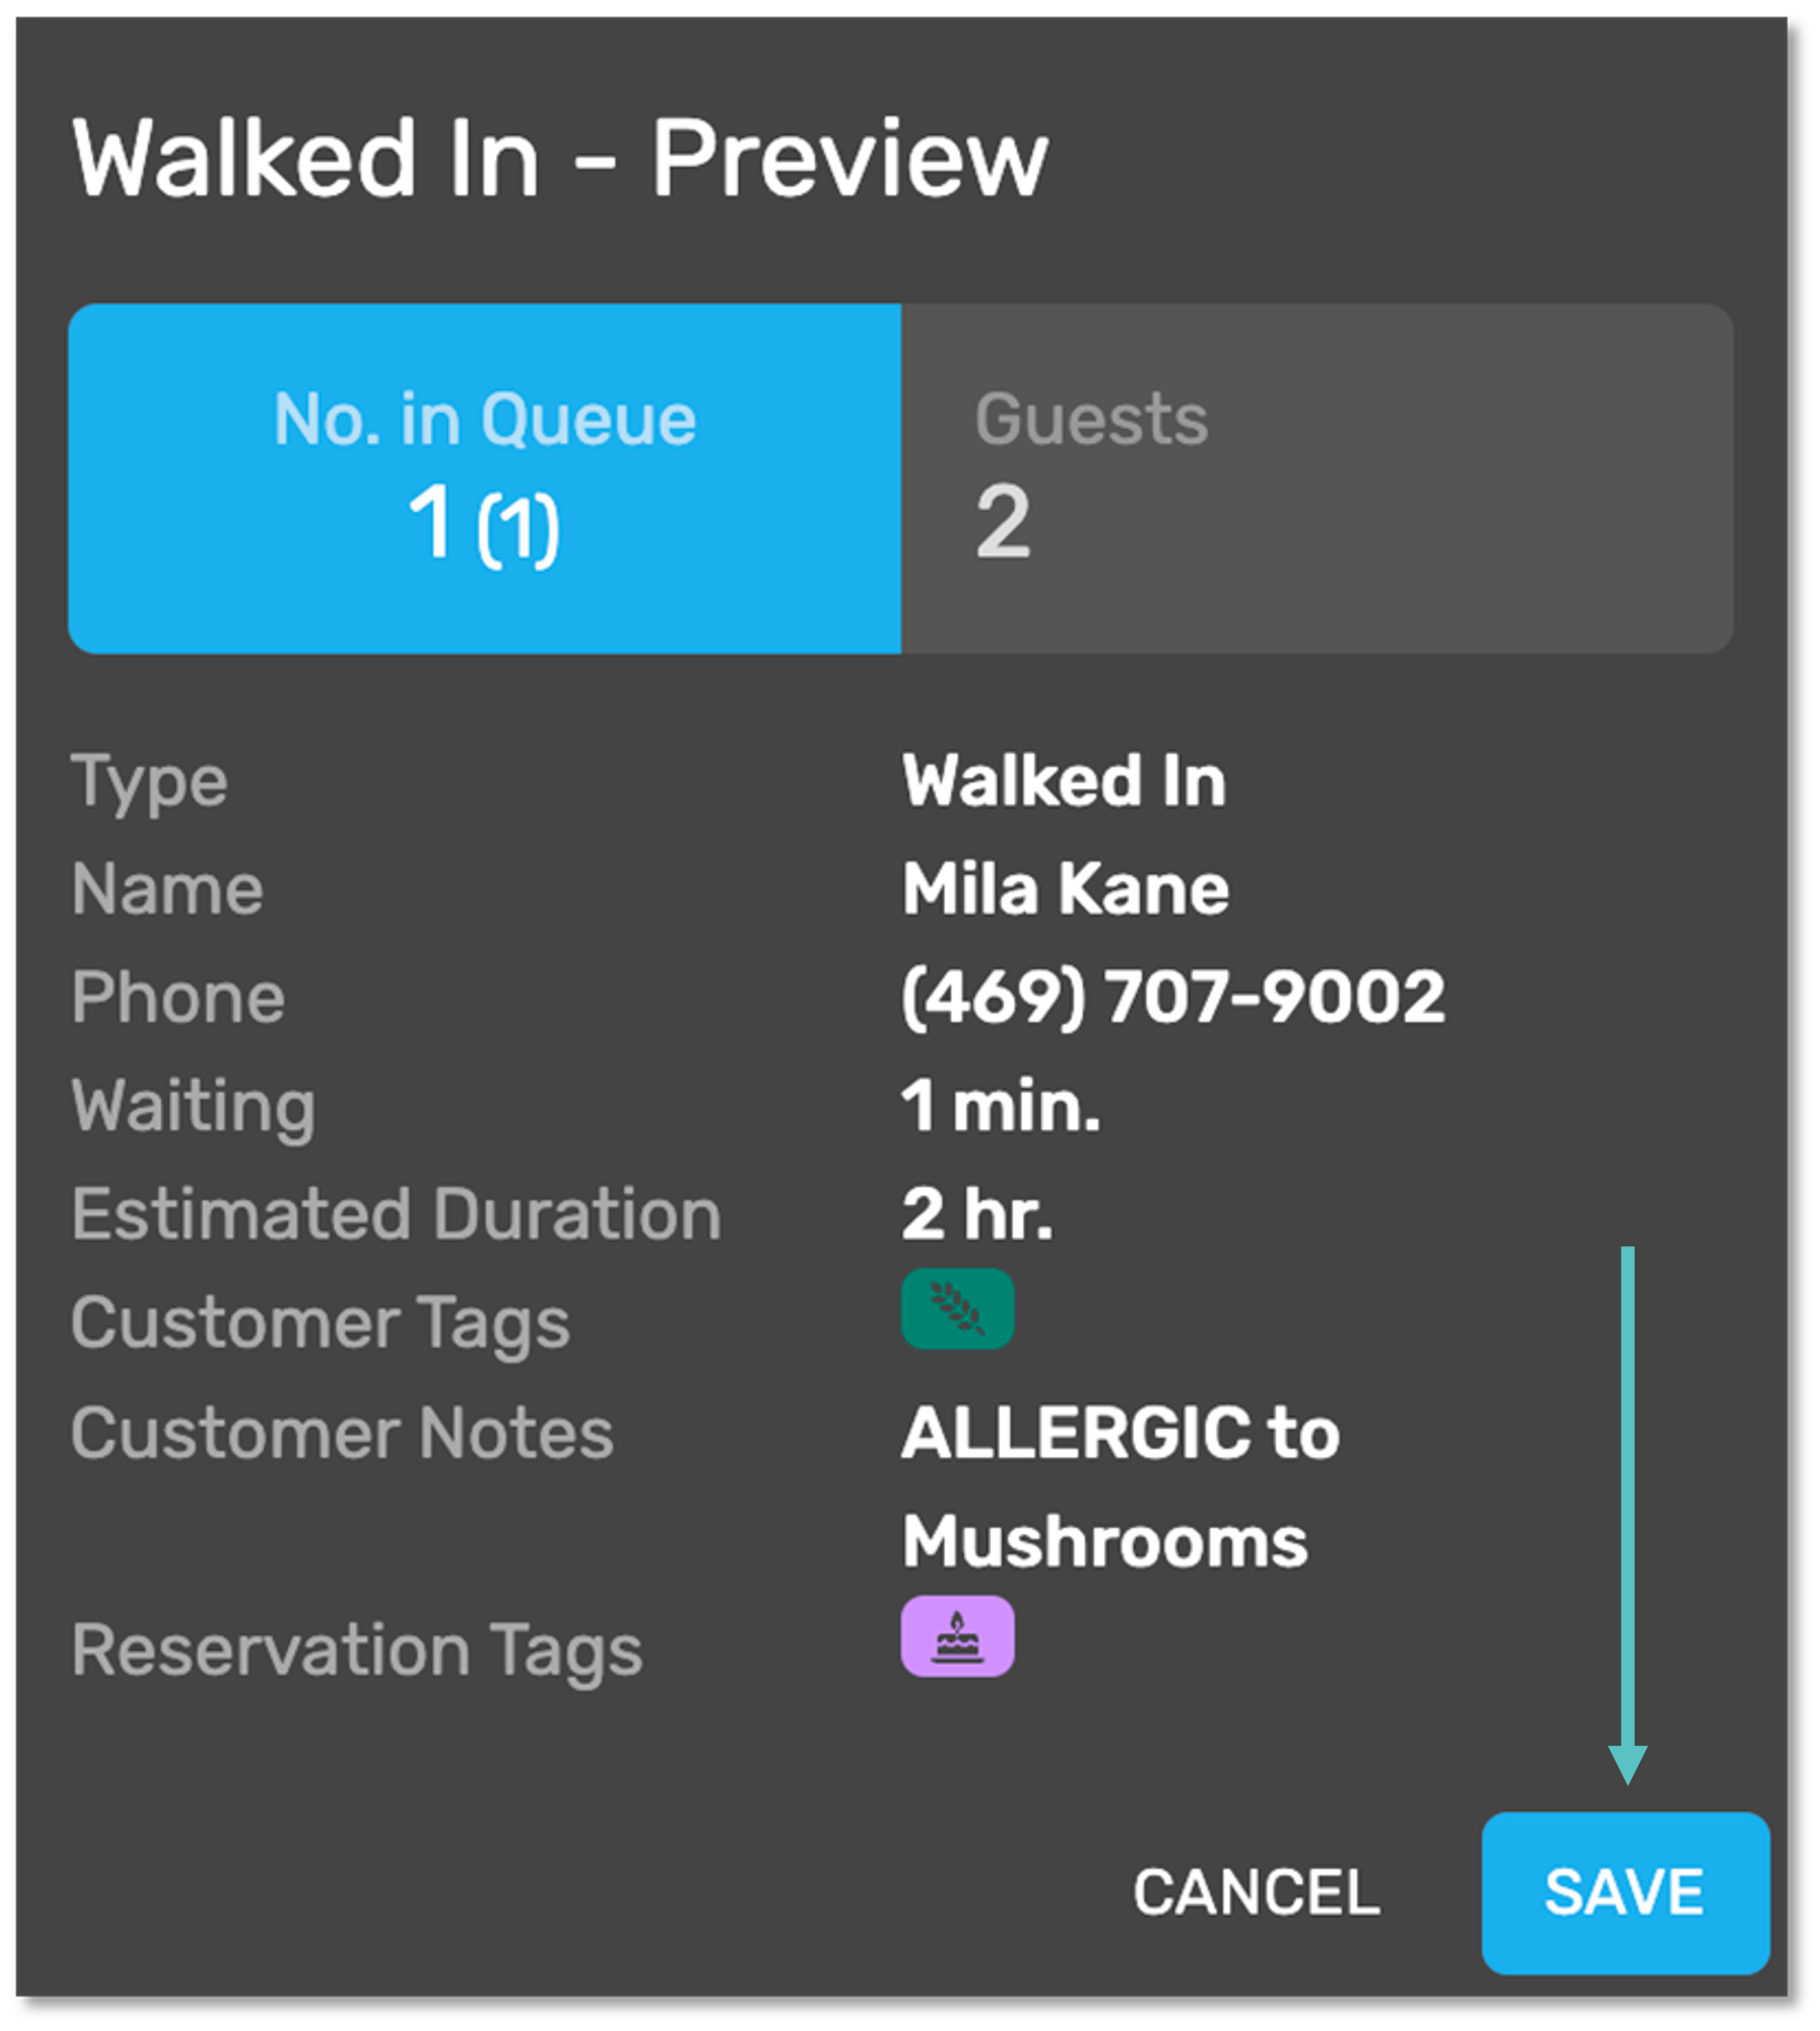
A pop-up will appear displaying the information that was entered into the form. Select Save on the bottom right to save the information
-
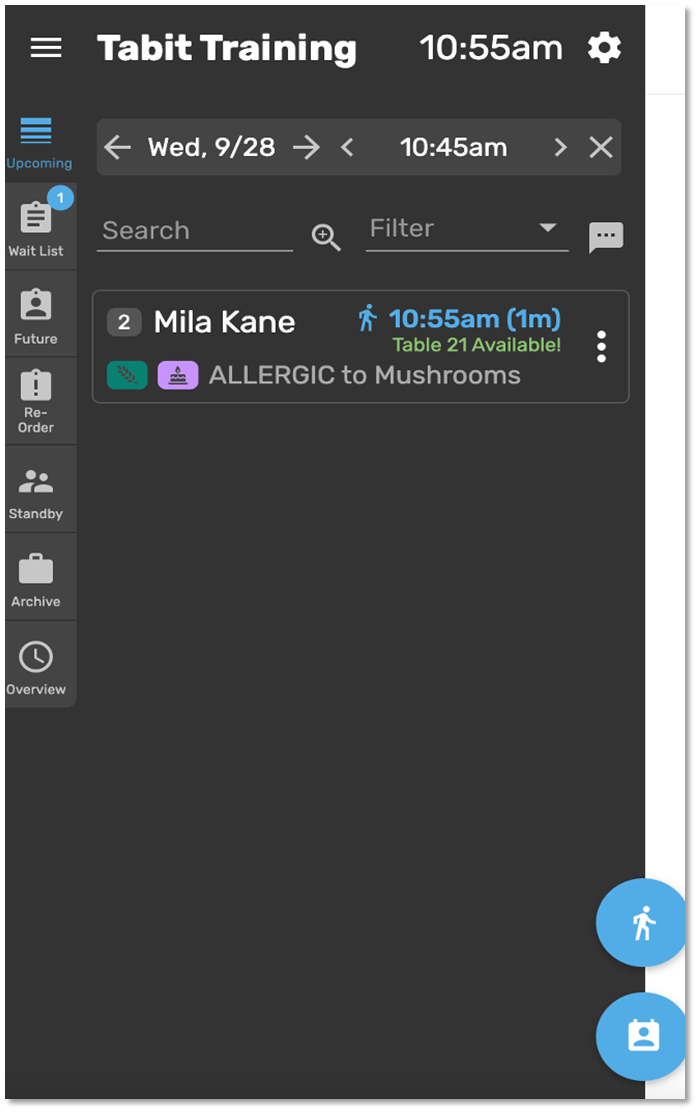
If Add To List was selected, the Guest will now appear under the Waitlist tab on the left-hand side menu
-
If Seat Now was selected, the Guest will be Seated at the selected Table
-
v
-
v
-