
Overview
Time slots provide flexibility by allowing you to schedule the availability for Menus, Payment Method, Delivery Regions, and more.
Follow the steps below to create time slots:
-
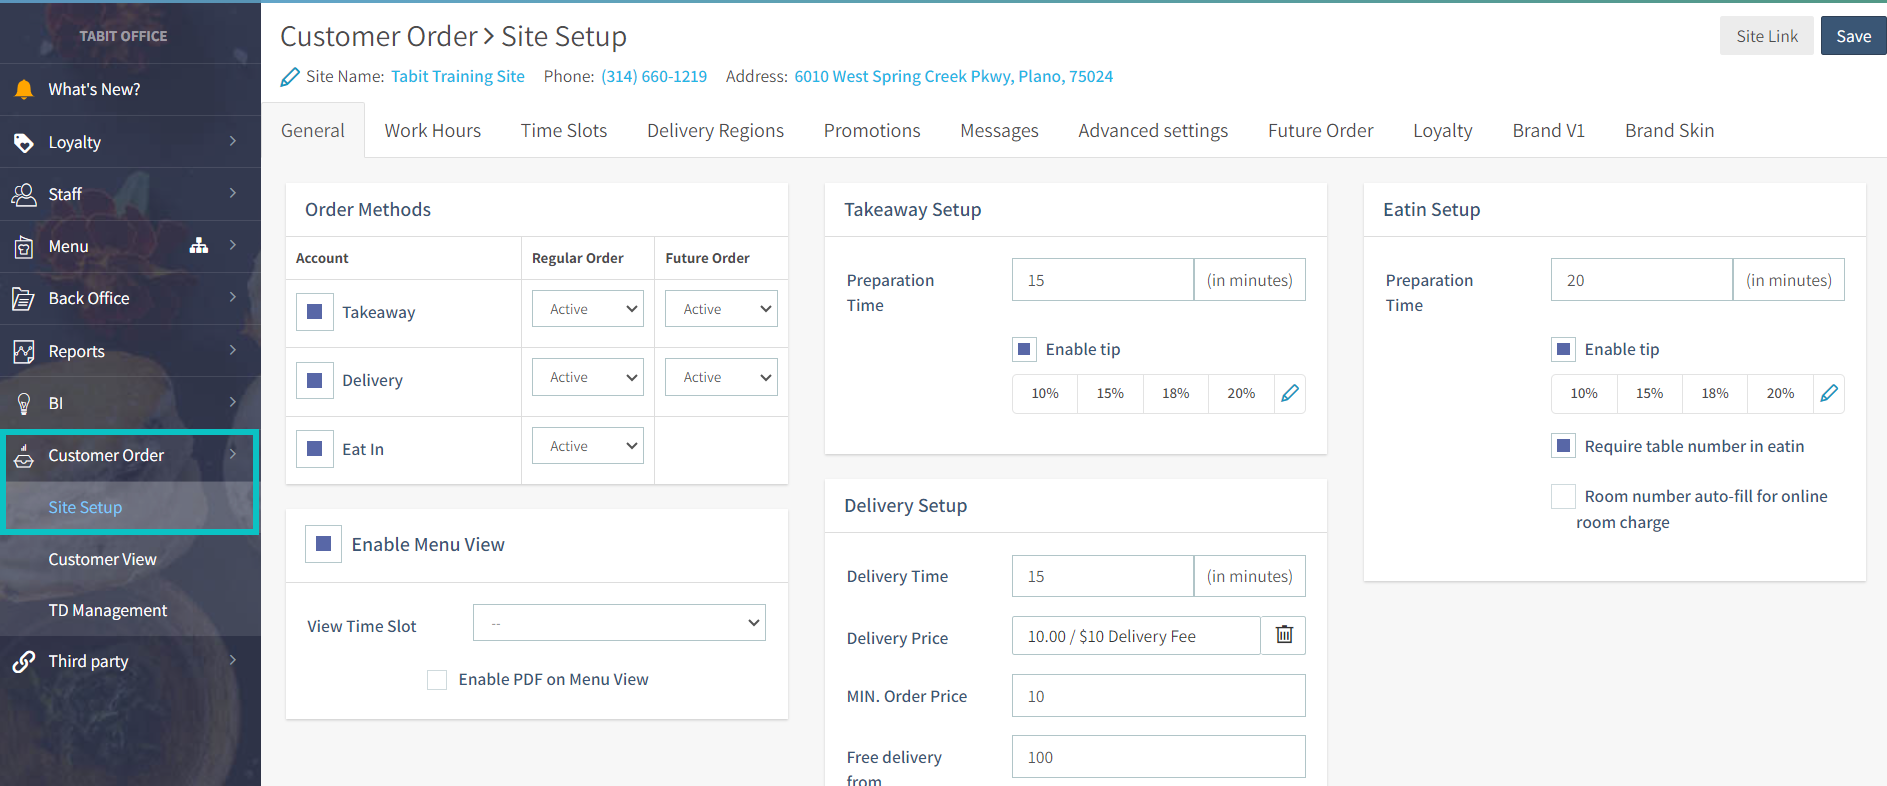
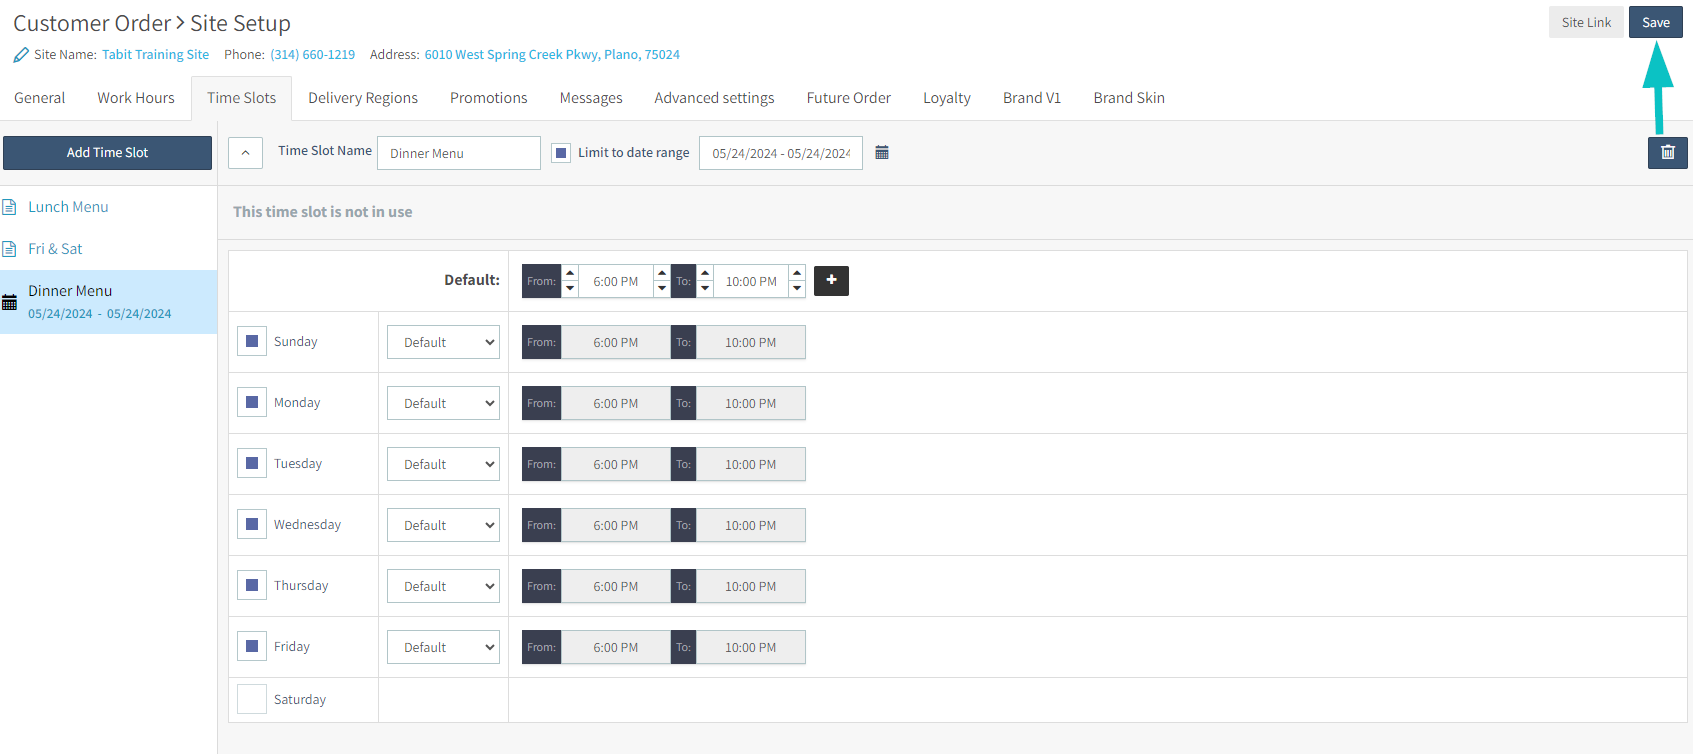
In Tabit Office, go to Customer Order > Site Setup
-
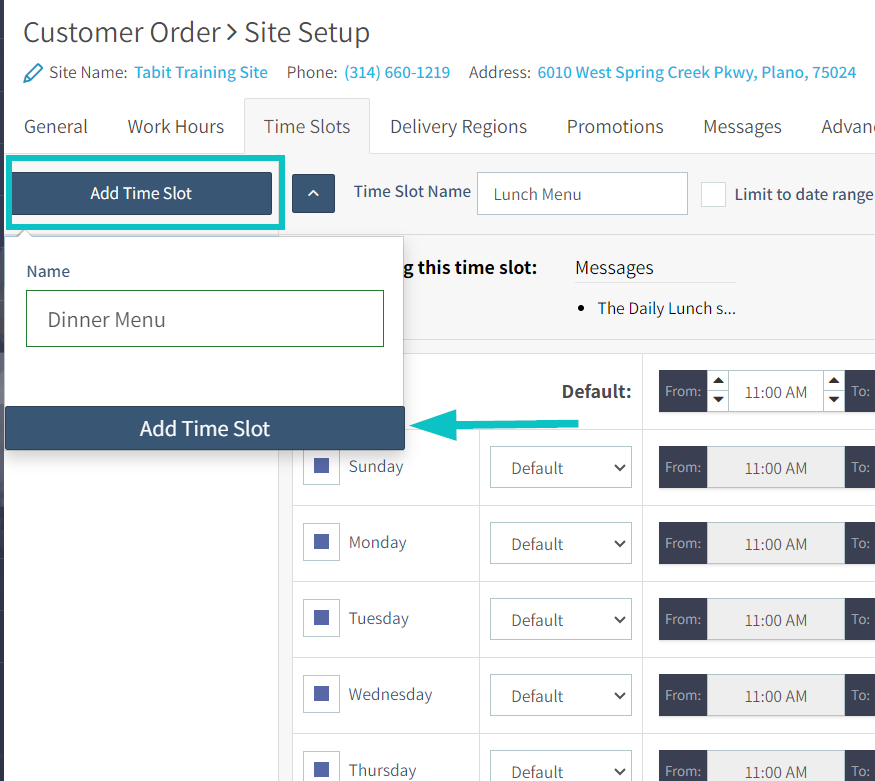
From the Site Setup page, select the Time Slots tab, hen select Add Time Slot and add a name
-
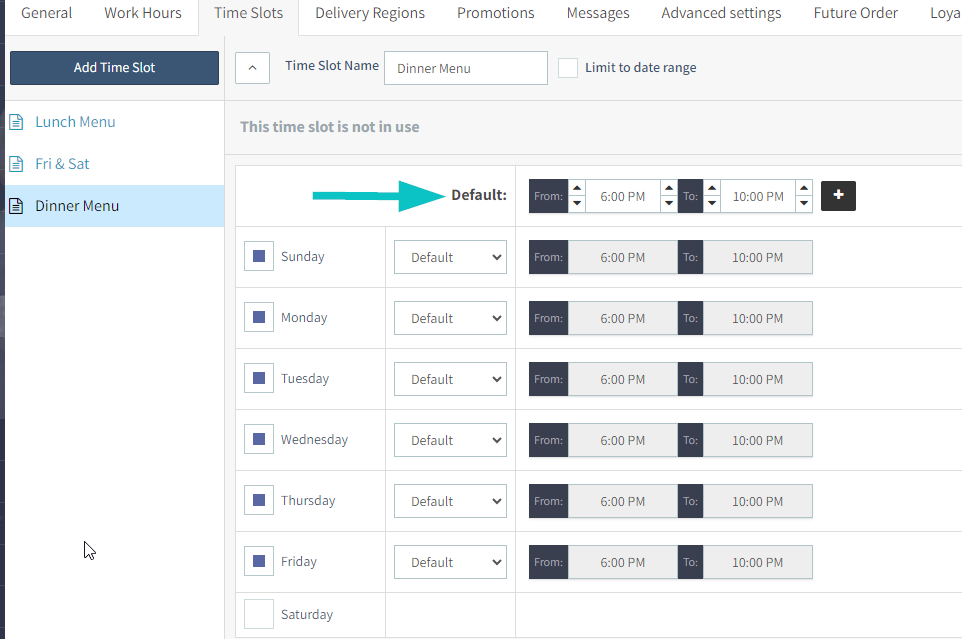
Set default hours: Define the standard hours for this time slot
-
Configure daily availability: For each day of the week, set up the following options
-
Availability: Uncheck the box if the time slot is not active on a particular day
-
Default: Uses the restaurant's standard business hours
-
Custom: Allows deviation from the Default Hours, can override both the starting and ending times
-
All day: Removes time restrictions, making the time slot active throughout the entire day
-
-
Add a time break (optionsl): Use the “+” button to create a break in service, defining a perios when the time slot is inactive
-
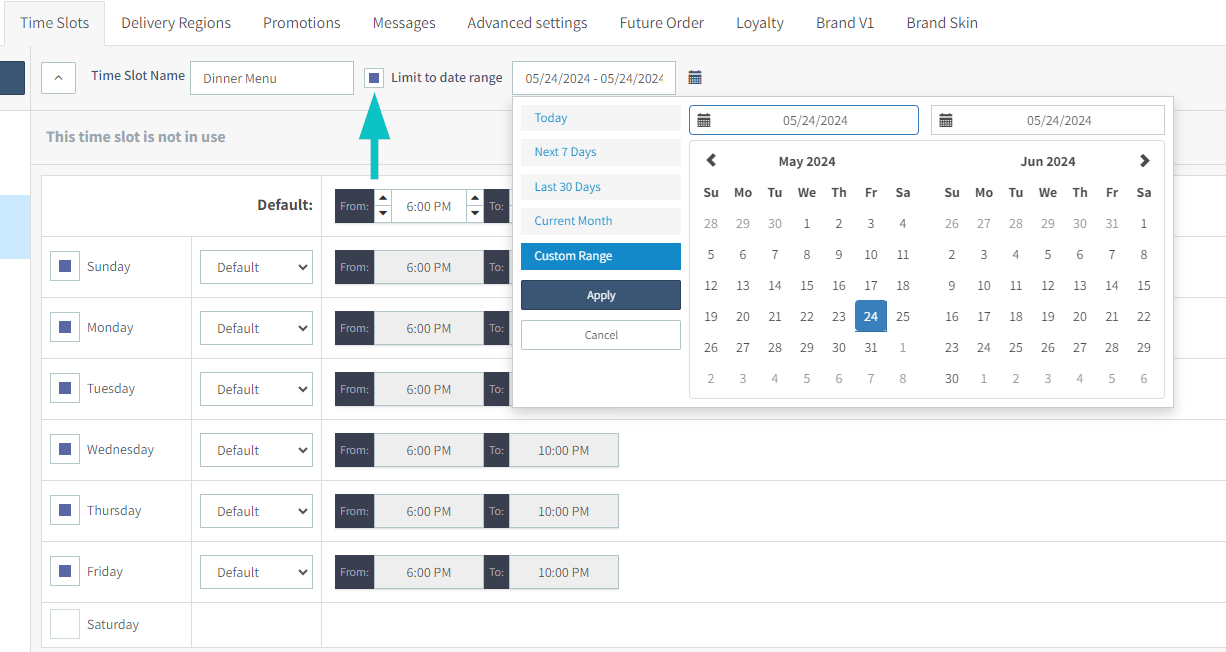
Set a Specific Date Range (Optional): Limit the time slot to certain dates, such as a Christmas Dinner menu available only during specific hours in December
-
Save the new time slot in the top right corner
-
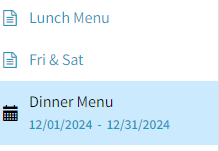
Linking functionalities: Once set up, any functionalities associated with this time slot (e.g., menus, payment methods) will appear below it
