Overview
In this article we will cover all the functionalities of the Time Reporting section of Back Office. In here we will be able to review and revise timecards, create new records, as well as print and download reports.
Functionalities:
-
To view these options, you’ll need to login to Tabit Office with your Manager credentials
-
Go to Staff > Time Reporting
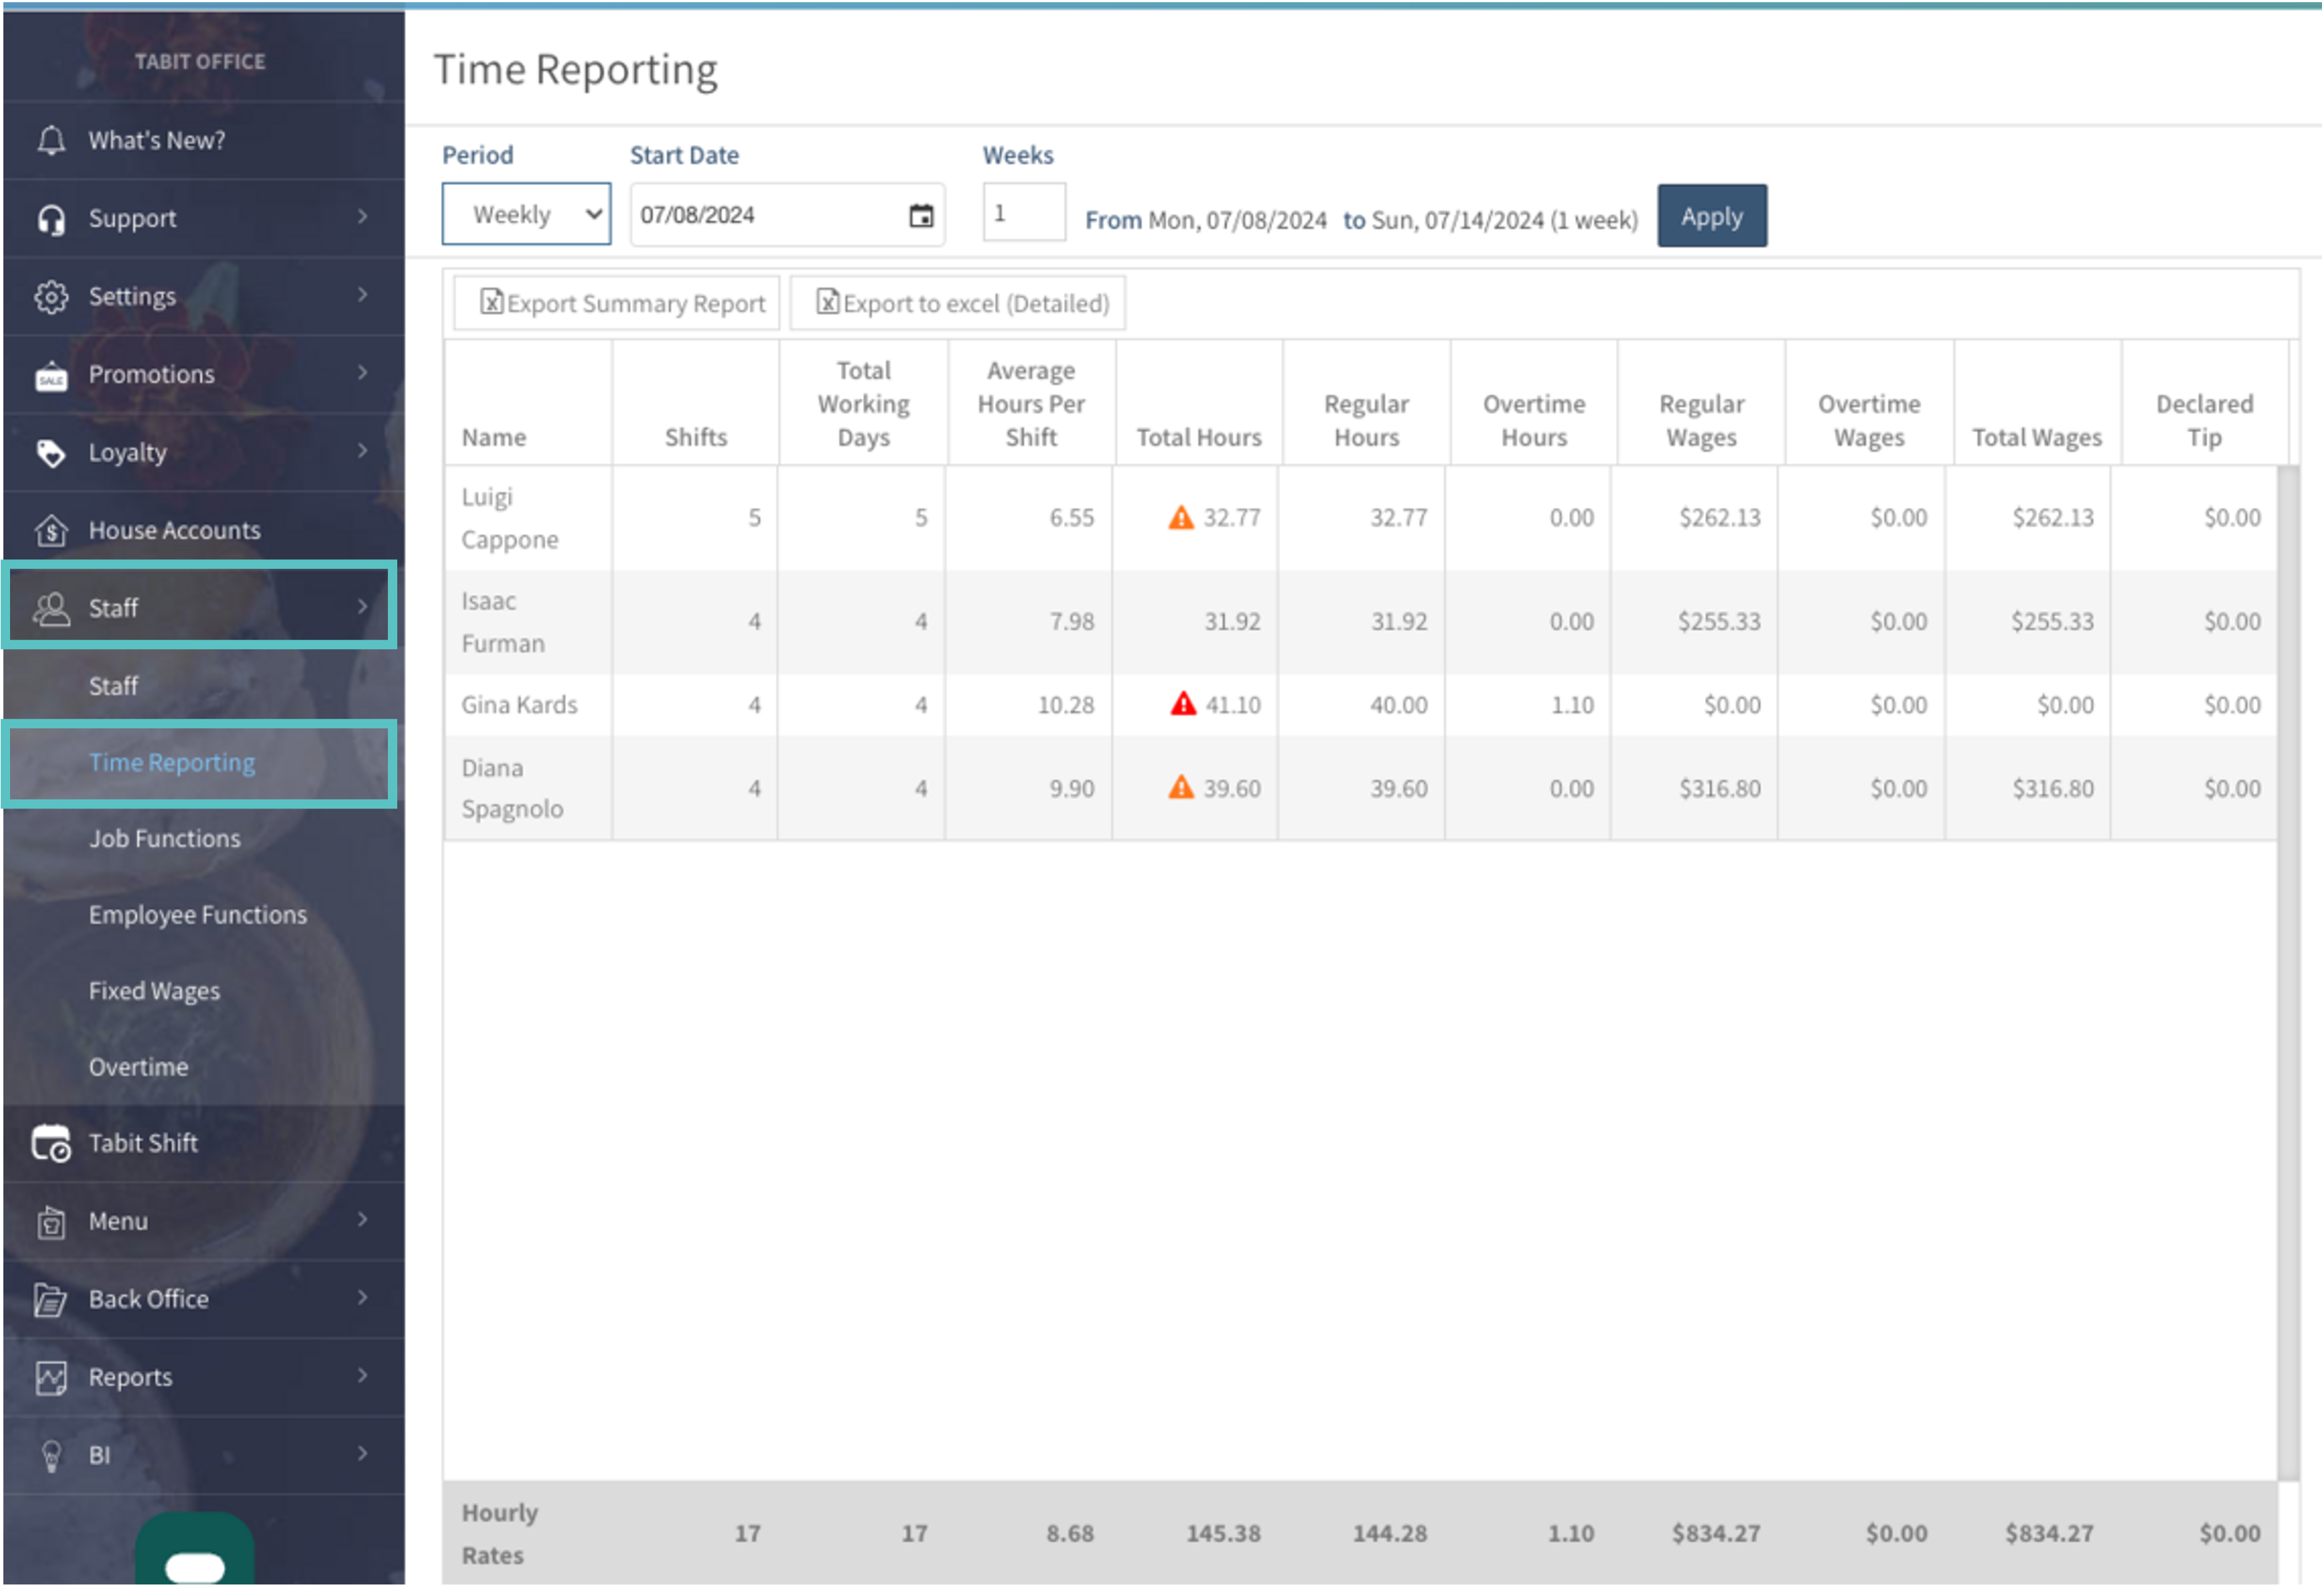
On this page we will be able to see an overview of our employee time records for a defined period. This will include name of the employee, number of shifts worked, total working days during the period selected, average hours per shift, total hours worked, regular hours worked, overtime hours worked, regular wages earned, overtime wages earned, total wages earned, and total declared tips. At the bottom of the screen, we will be able to see totals for all the employees together.
-
At the top left of the screen, we can filter the period that we want to look at. We could select from Daily, Weekly, or Custom. Next to this tab we can select the starting date or date range for the period that we want to look at. If we select to filter by a weekly range, it will allow us to enter the number of weeks we want to look at next to the date selection.

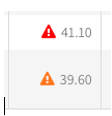
The orange symbol next to the total hours worked indicates that the employee is close to the overtime threshold. If there is a red alert, it indicates that the employee is already past the overtime threshold. These thresholds can be modified upon request of the restaurant
-
To review or export the records for one specific employee, click on the row with their name, and it will open a new window with more detailed information.

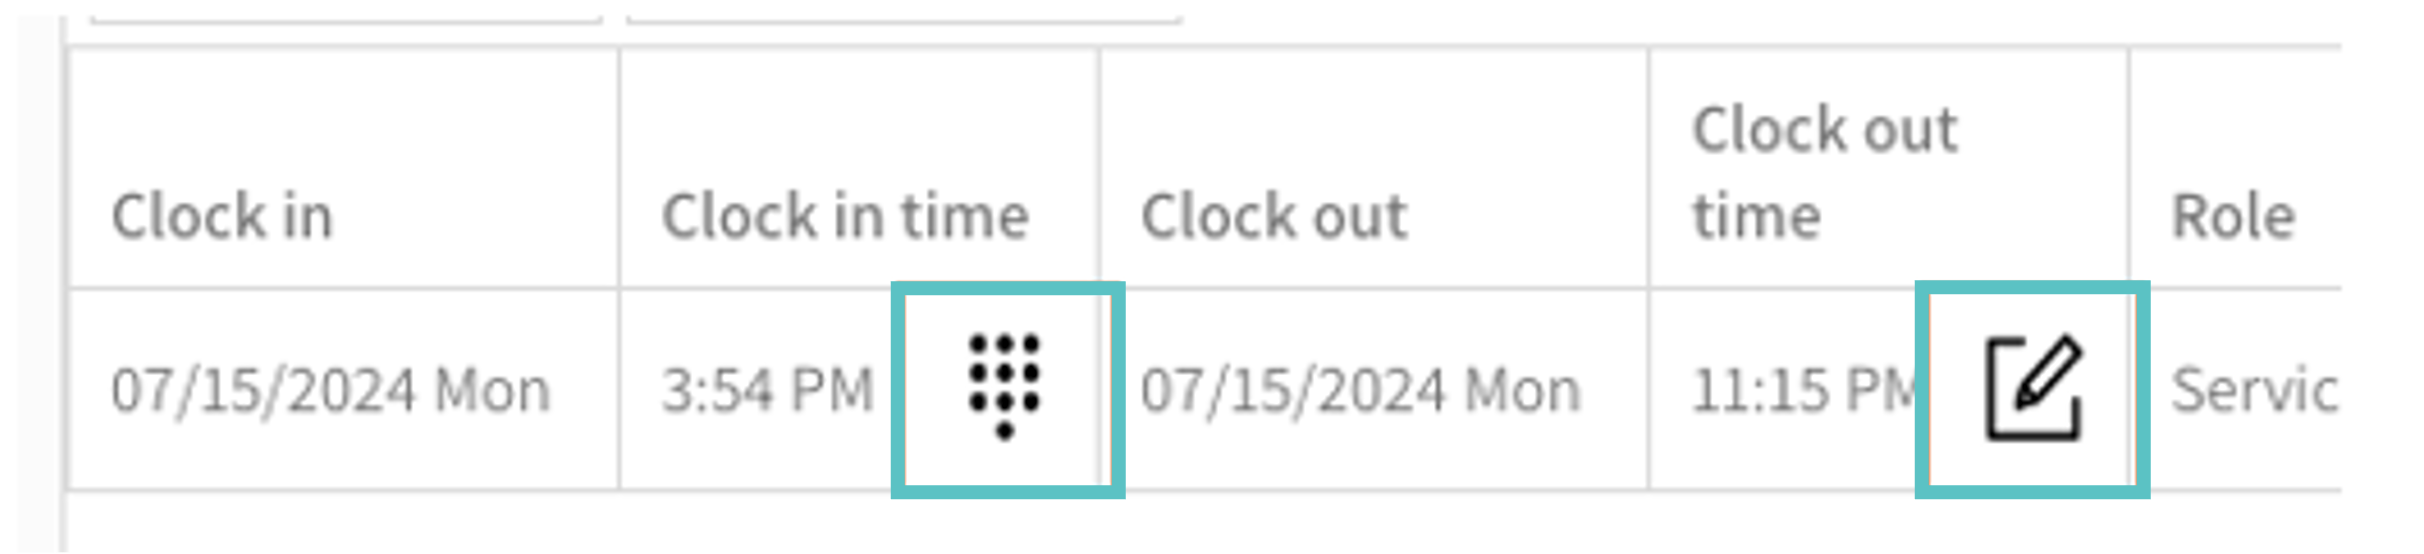
Here we can see date and time of clock in and out, the role and job function assigned to each specific shift, the business day this shift is being reported to as well as the rates and declared tips
-
To modify any of the information displayed on this page, select the pencil icon at the right of the desired row, enter the correct information, and select the checkmark to save

-
To delete this row, select the trash icon (please note that this is not reversible)
-
To add comments to this record, select the clipboard icon at the end of the row
-
From here, we can also add a new record for this employee, by clicking on the button at the top left. Please note that from here we are only able to create complete records, so we would need clock in and clock out times.

-
Lastly, once we have reviewed the records on this page, we can also export a report of these records to Excel, or we can print a PDF document in the buttons showed above. Please note that these reports will only reflect the records for this specific employee during the defined period.
-
Going back to the main Time Reporting screen, we also can create new records from here, as well as download reports.

Three Types of Reports that we can Get:
-
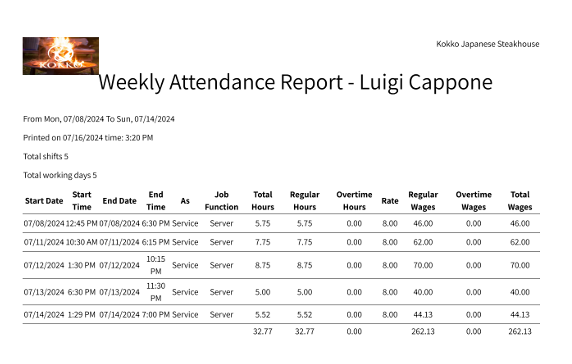
Print/Export PDF: This will create a PDF document including one page for each employee that worked during the defined period, it will include worked hours, job functions and wages
-
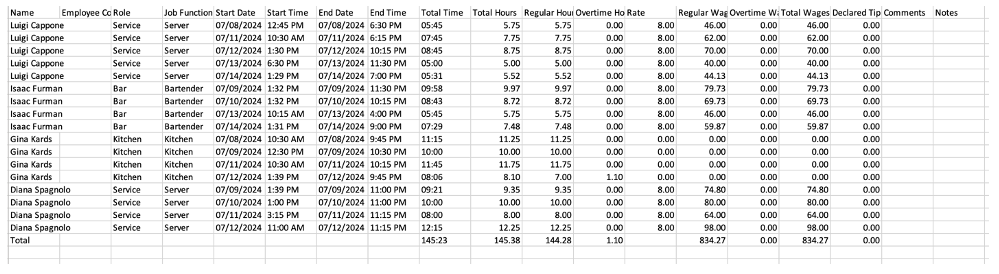
Export Summary Report: This will generate an excel file with a summary of the employees who worked during a defined period, including their total hours, roles, wages and declared tip

-
Export to Excel (Detailed): This will generate an excel file with a detailed report of the employees who worked during a defined period, including all their recorded shifts, roles, wages, declared tips, as well as any notes and comments.