Overview
High-quality visuals play a key role in driving engagement and increasing conversions on Tabit Order. Adding multiple images to an item allows you to better showcase presentation, portion size, variations, or close-up details that help guests feel confident in their selection. Whether you want to highlight different toppings, show the dish from multiple angles, or display lifestyle imagery, additional photos can create a more dynamic and appealing ordering experience.
https://app.guidde.com/share/playbooks/uqFpqeYviwvbExXmhxSJso
Additional images will only appear on Tabit Order and not on other platforms such as the PAD or Tabit Kiosk
Follow the steps below to learn how to add multiple images to an item for Tabit Order:
-
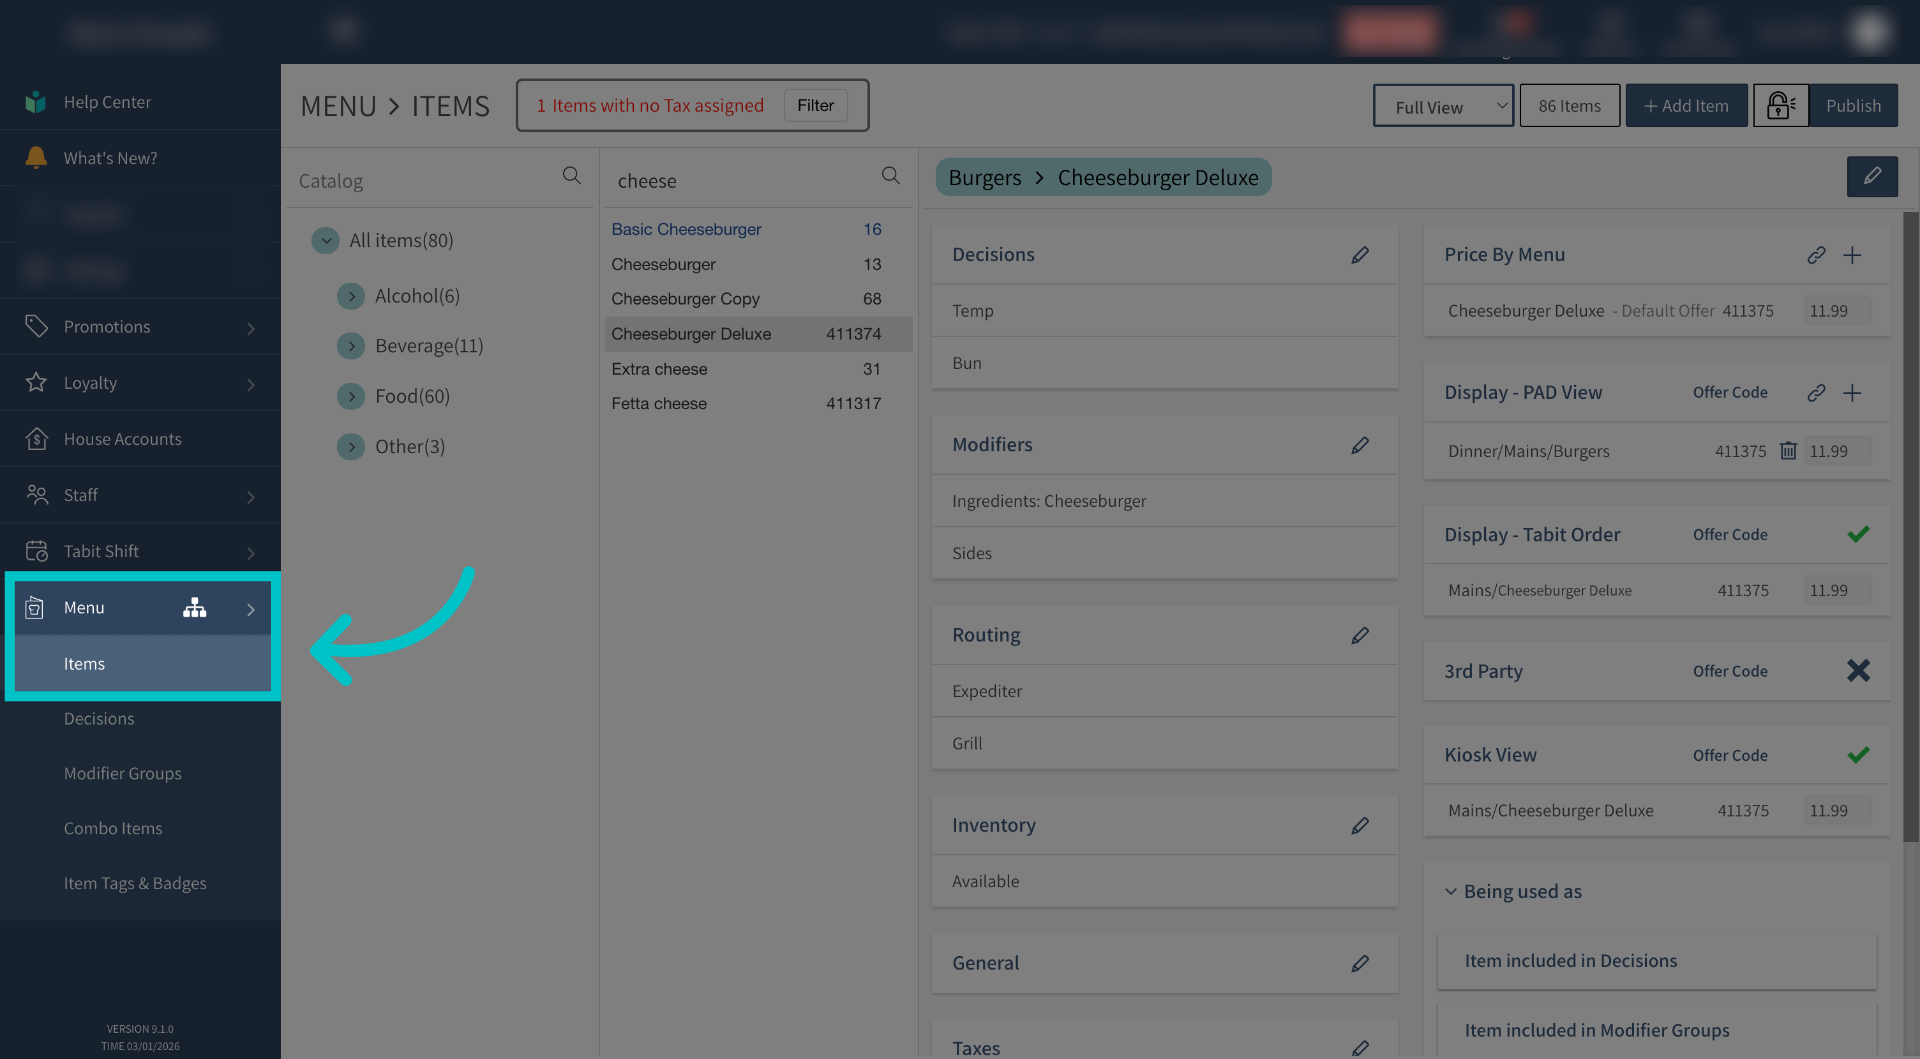
In Tabit Office, go to Menu > Items and find the relevant item
-
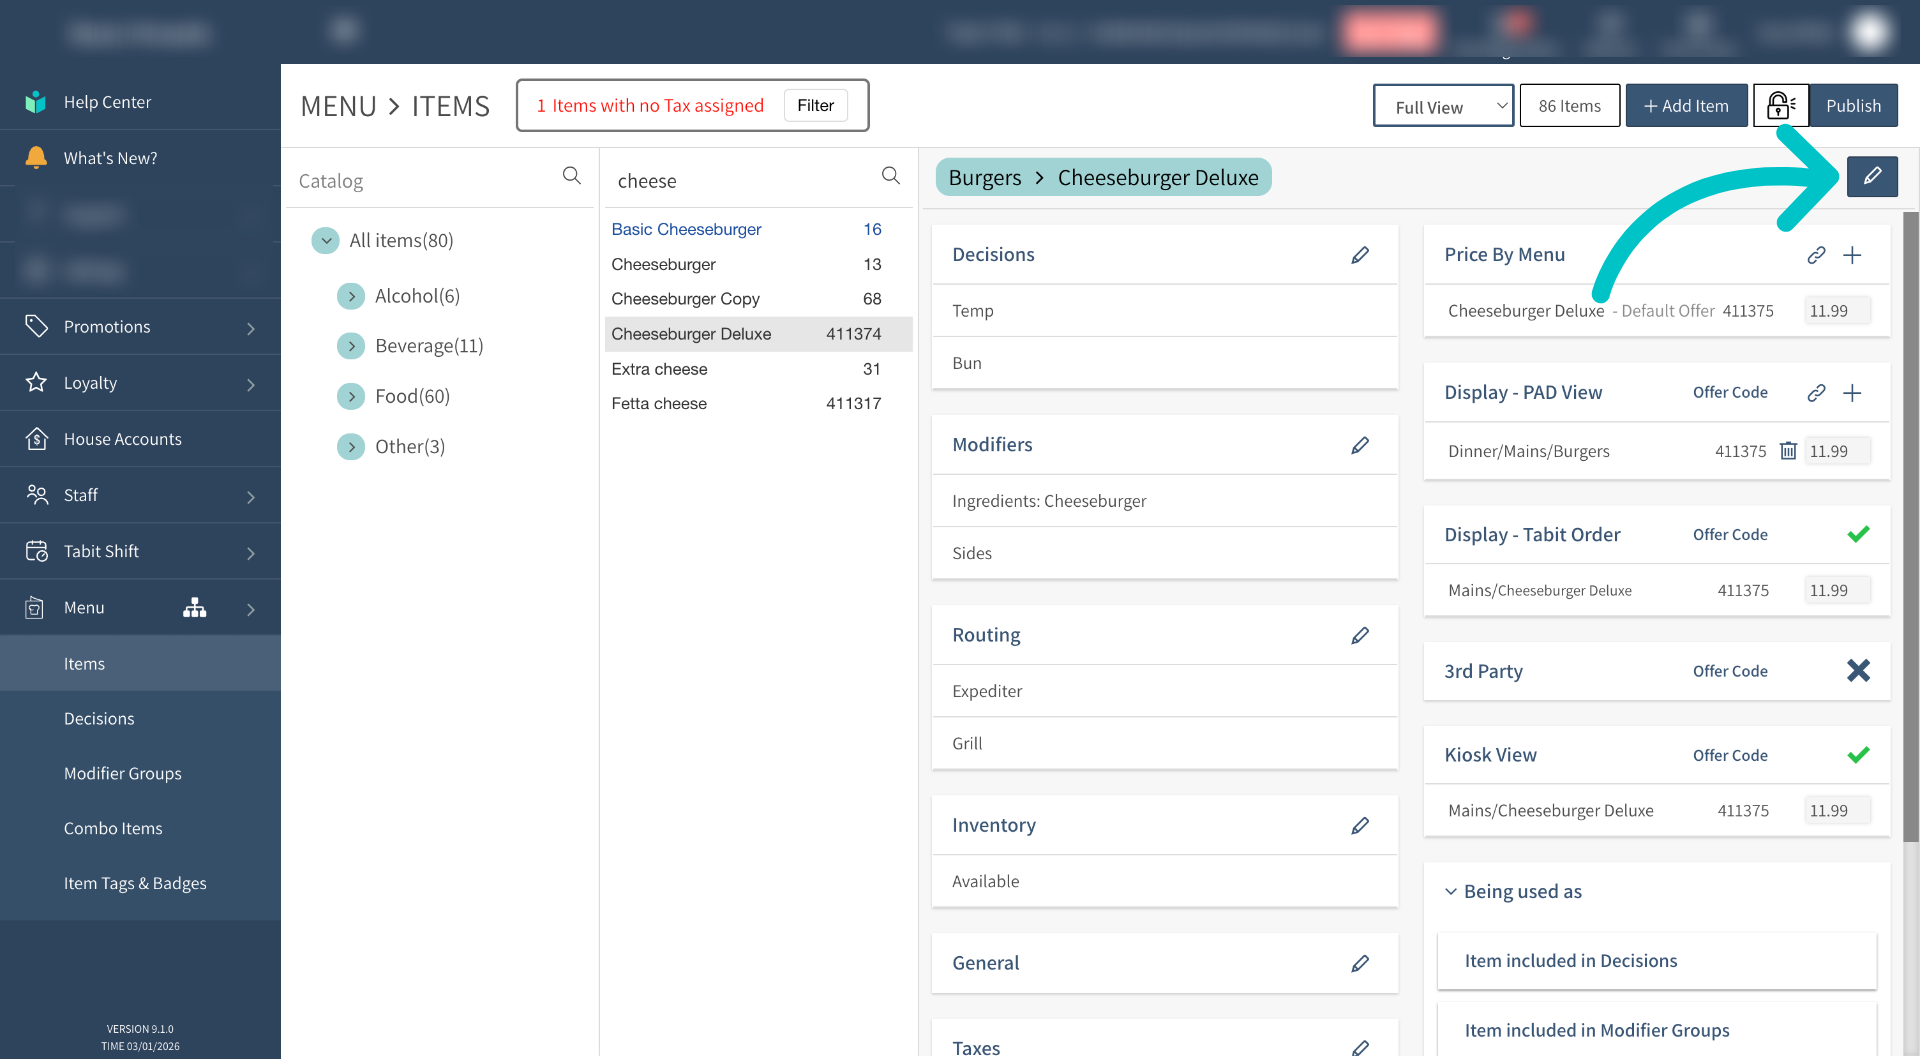
Select the edit icon in the top right of the screen
-
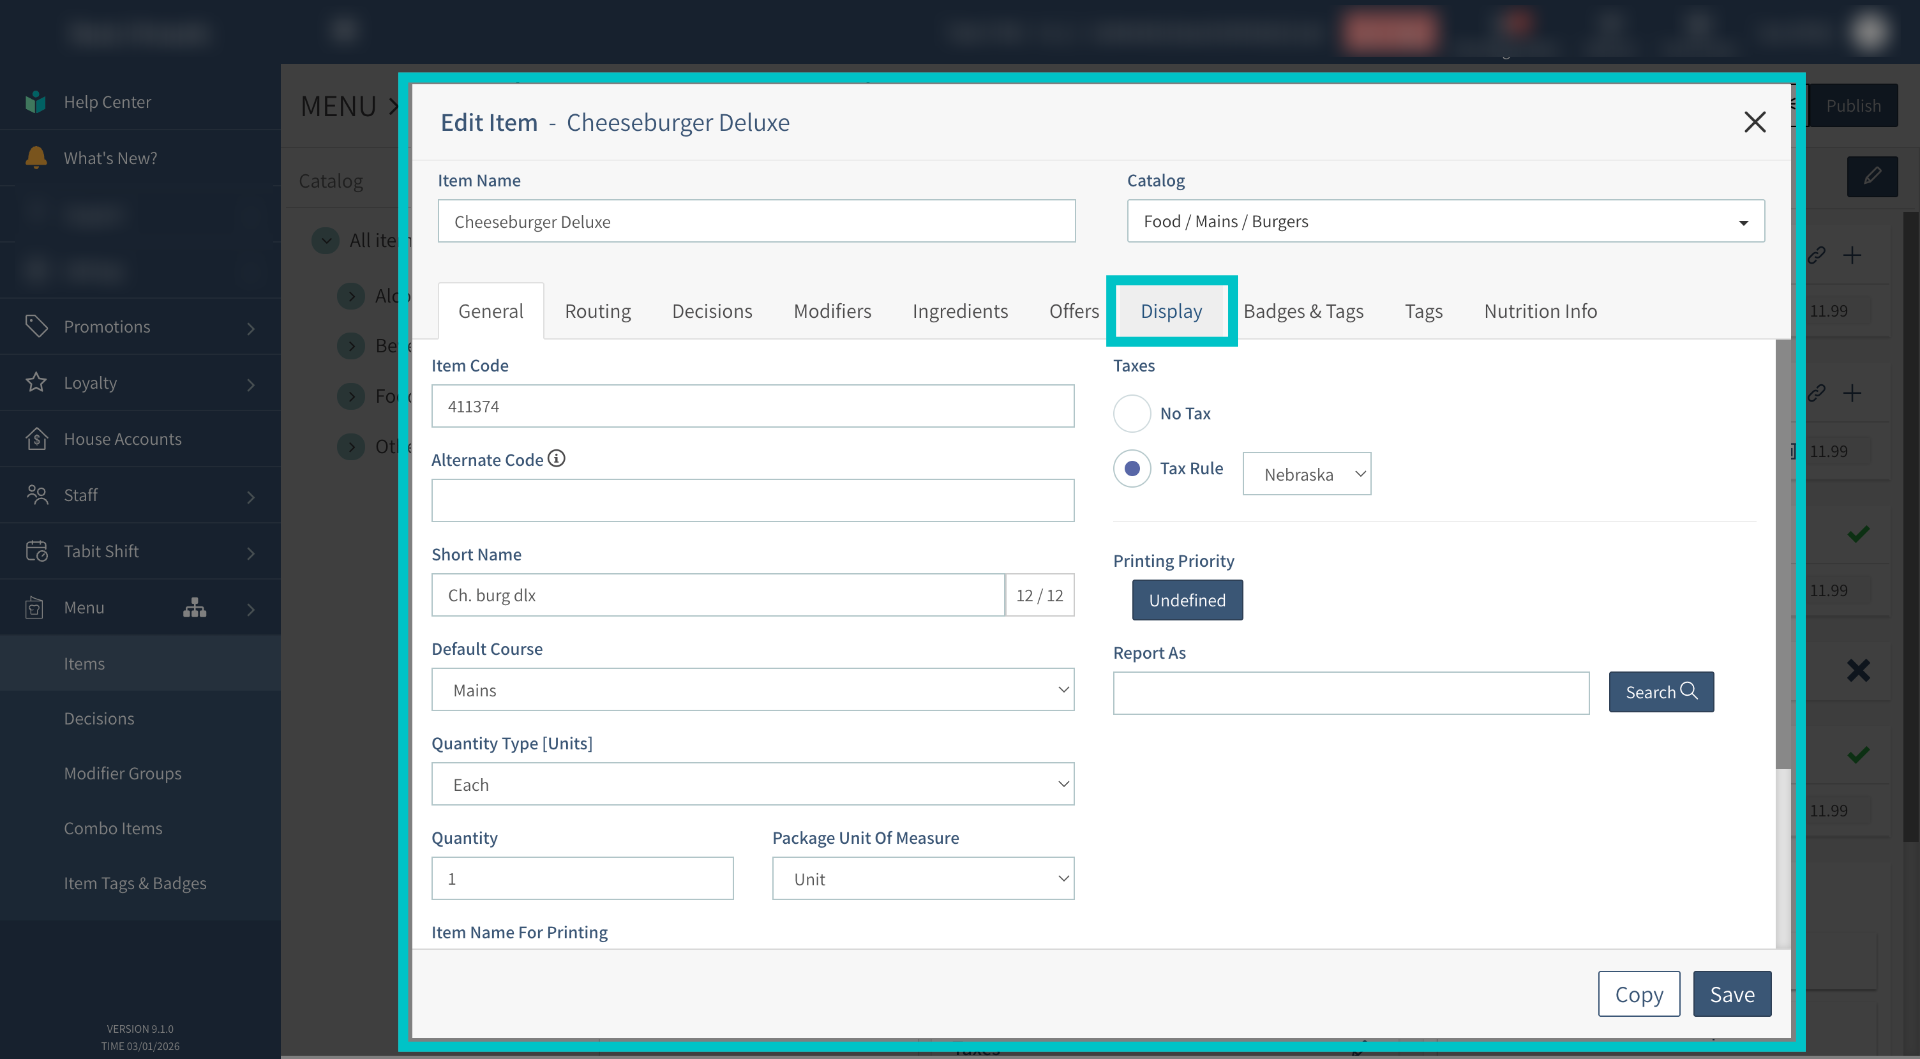
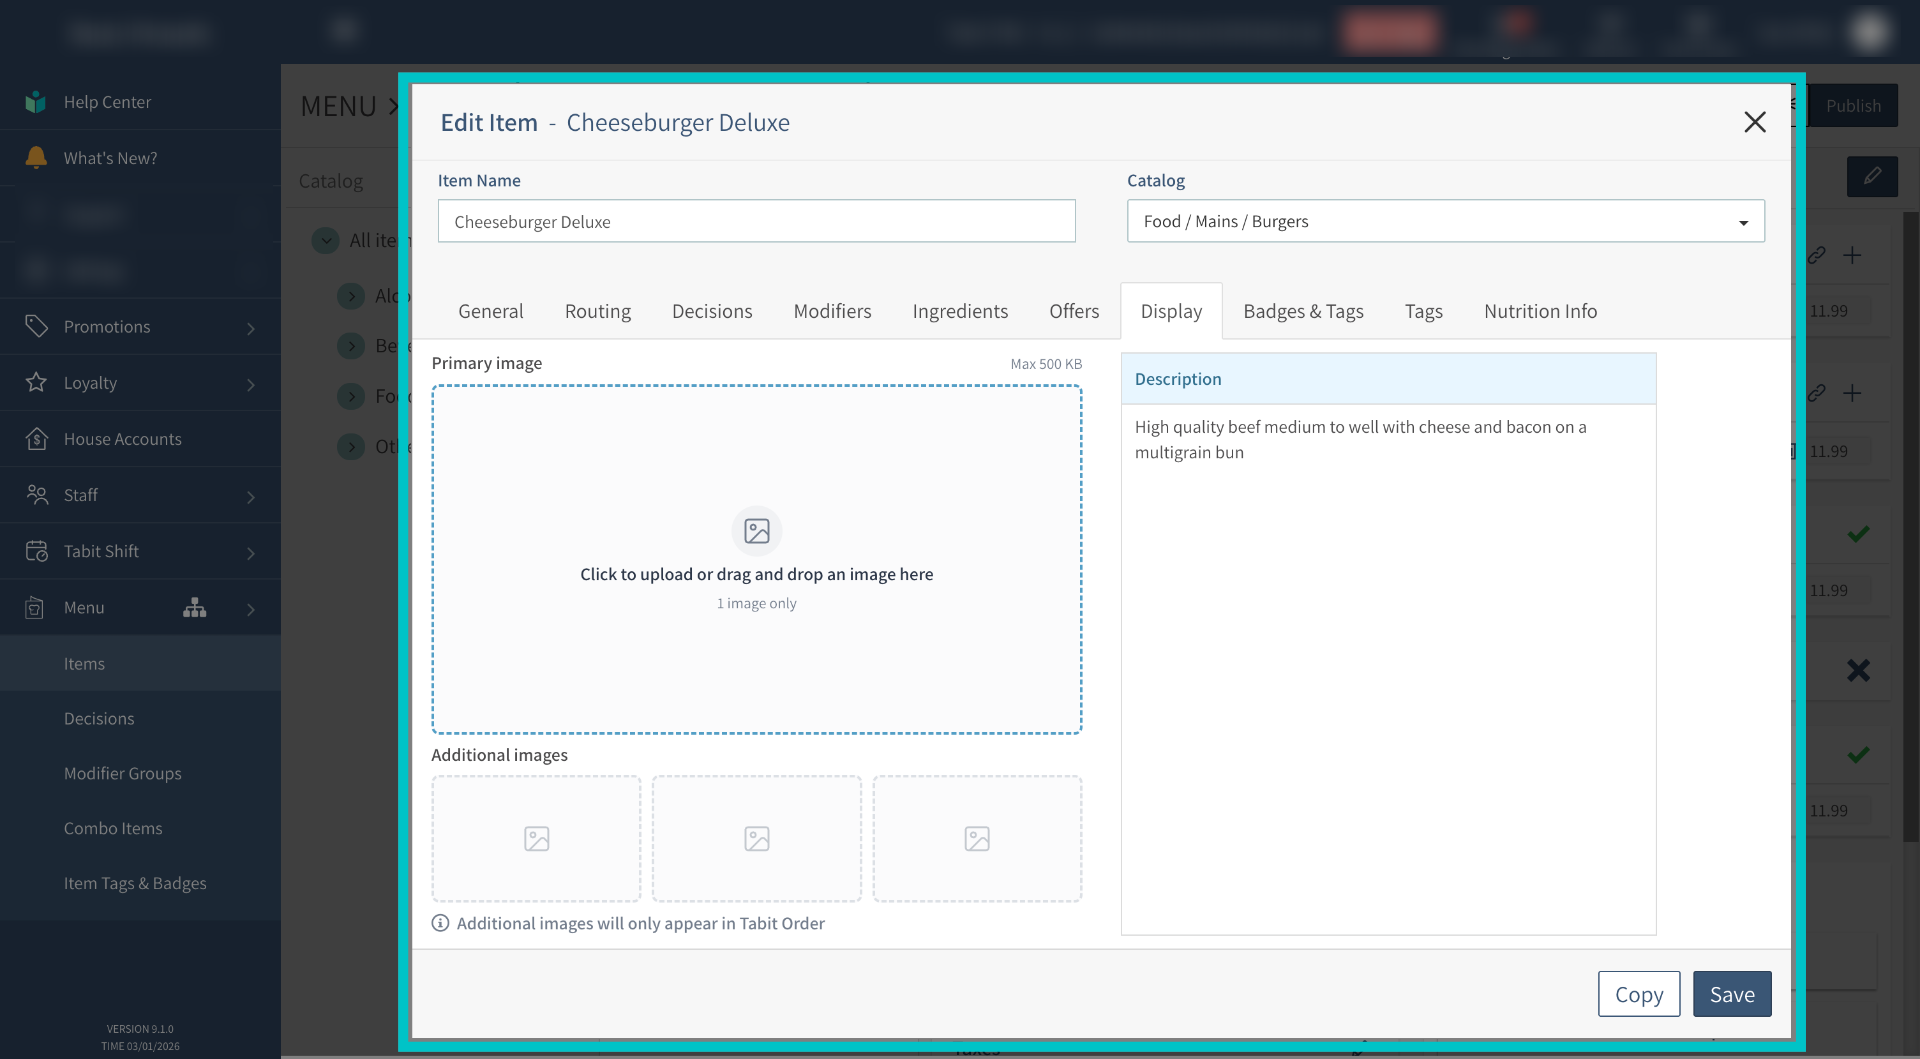
Select the display tab
-
Here you can add images and descriptions to the item. Click to upload or drag an image to the primary image box
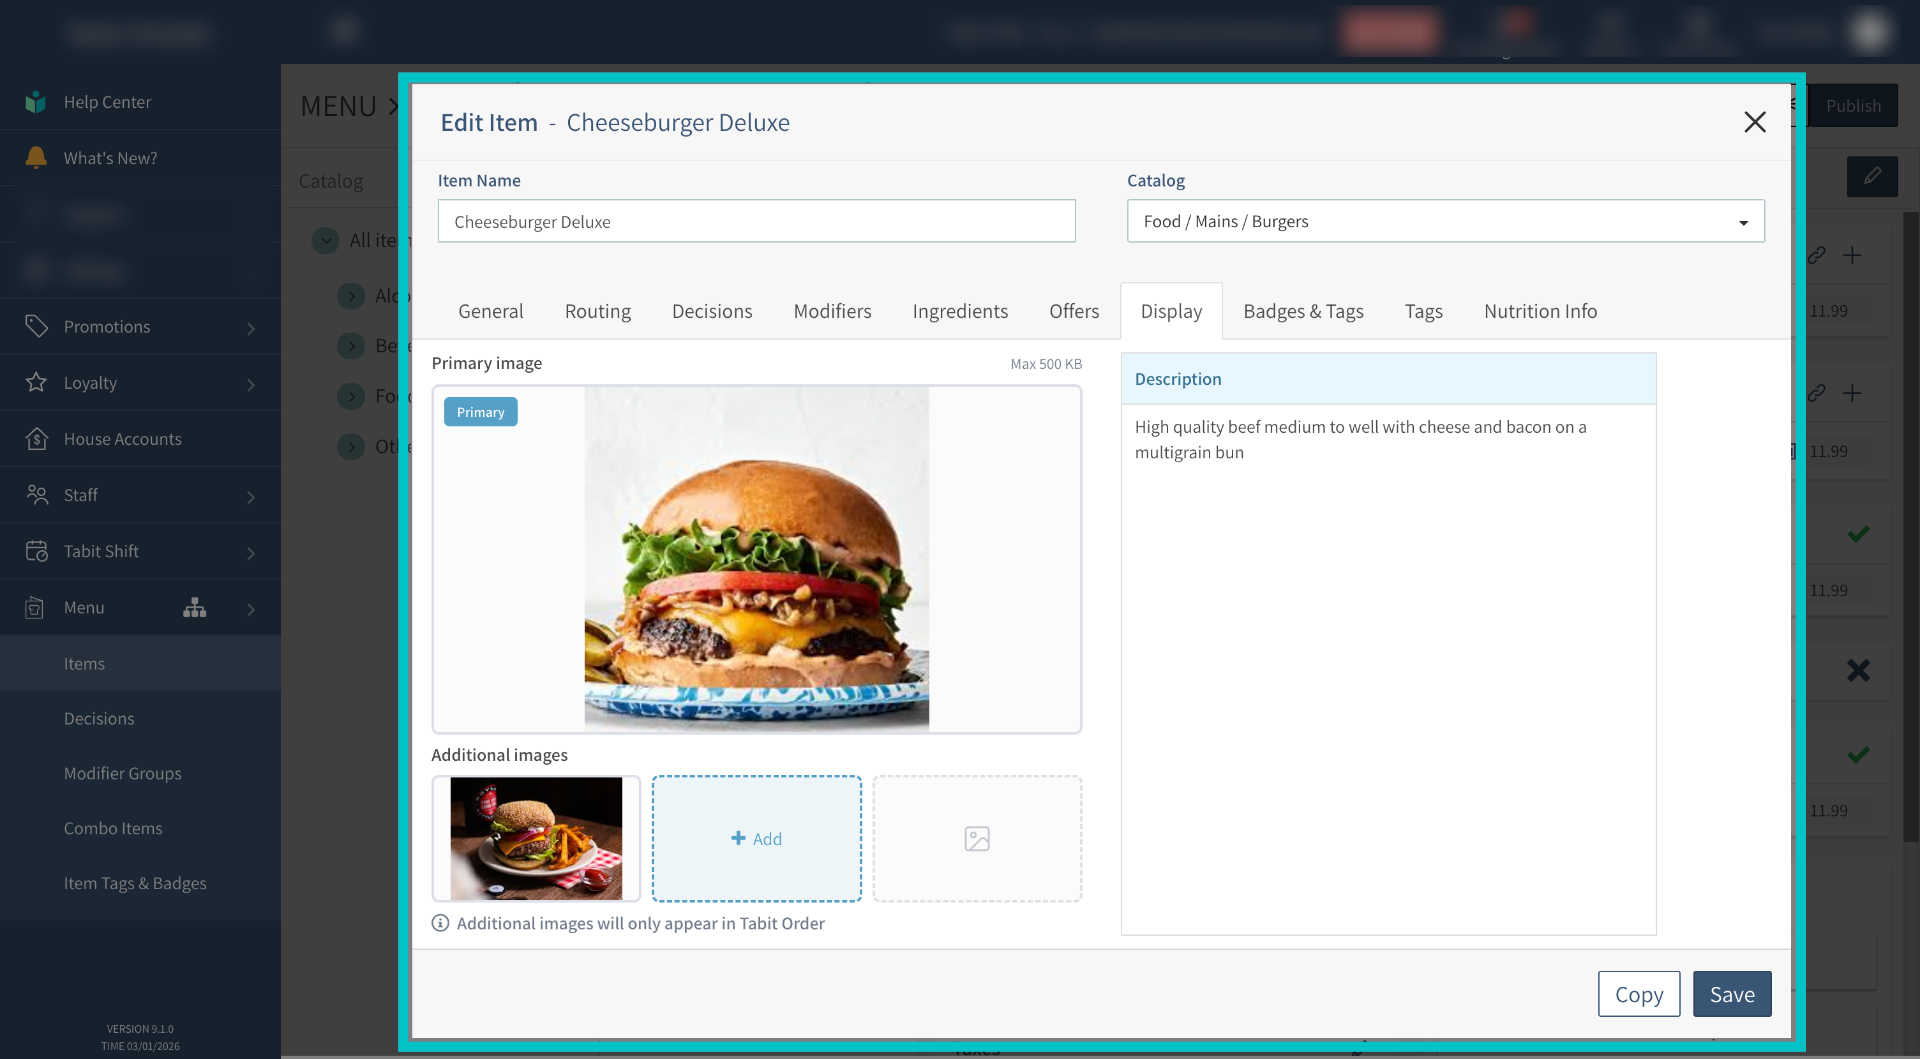
-
Select + Add under additional images to add more images. An item can have up to four images
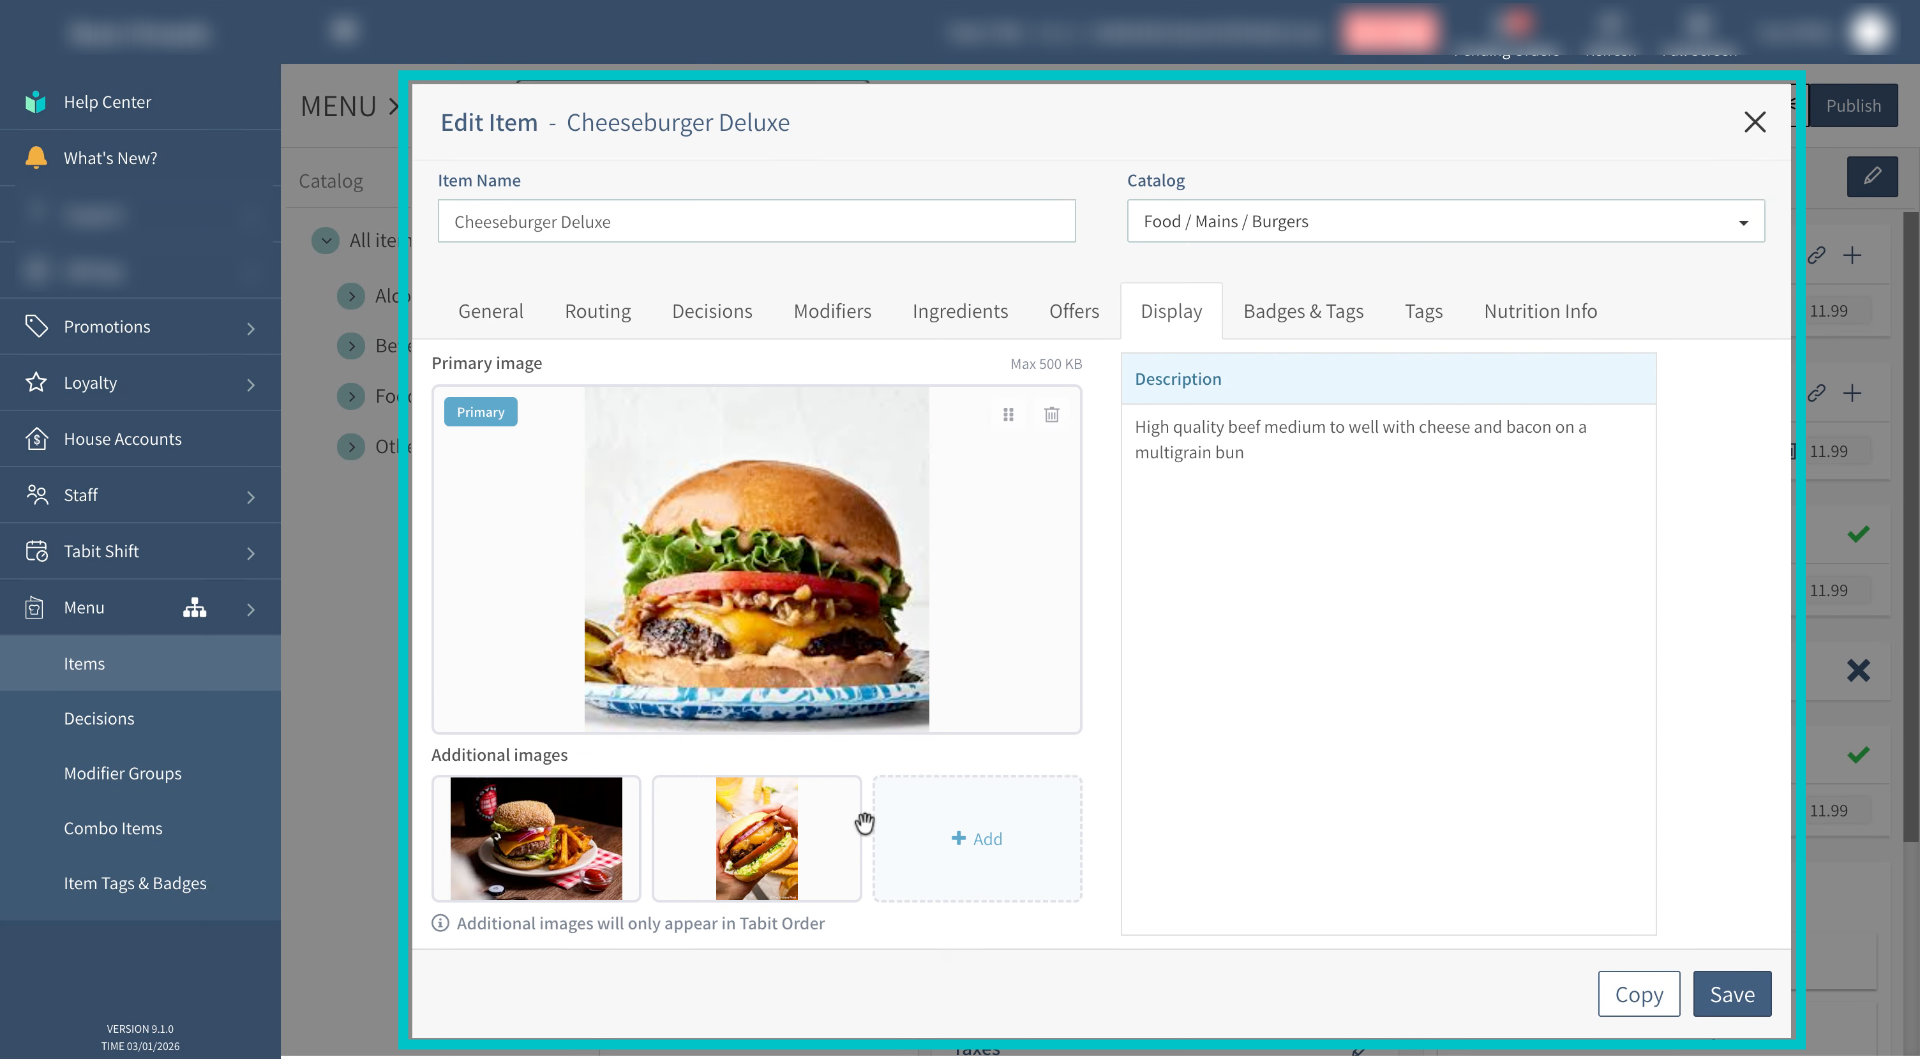
-
Drag to reorder if needed
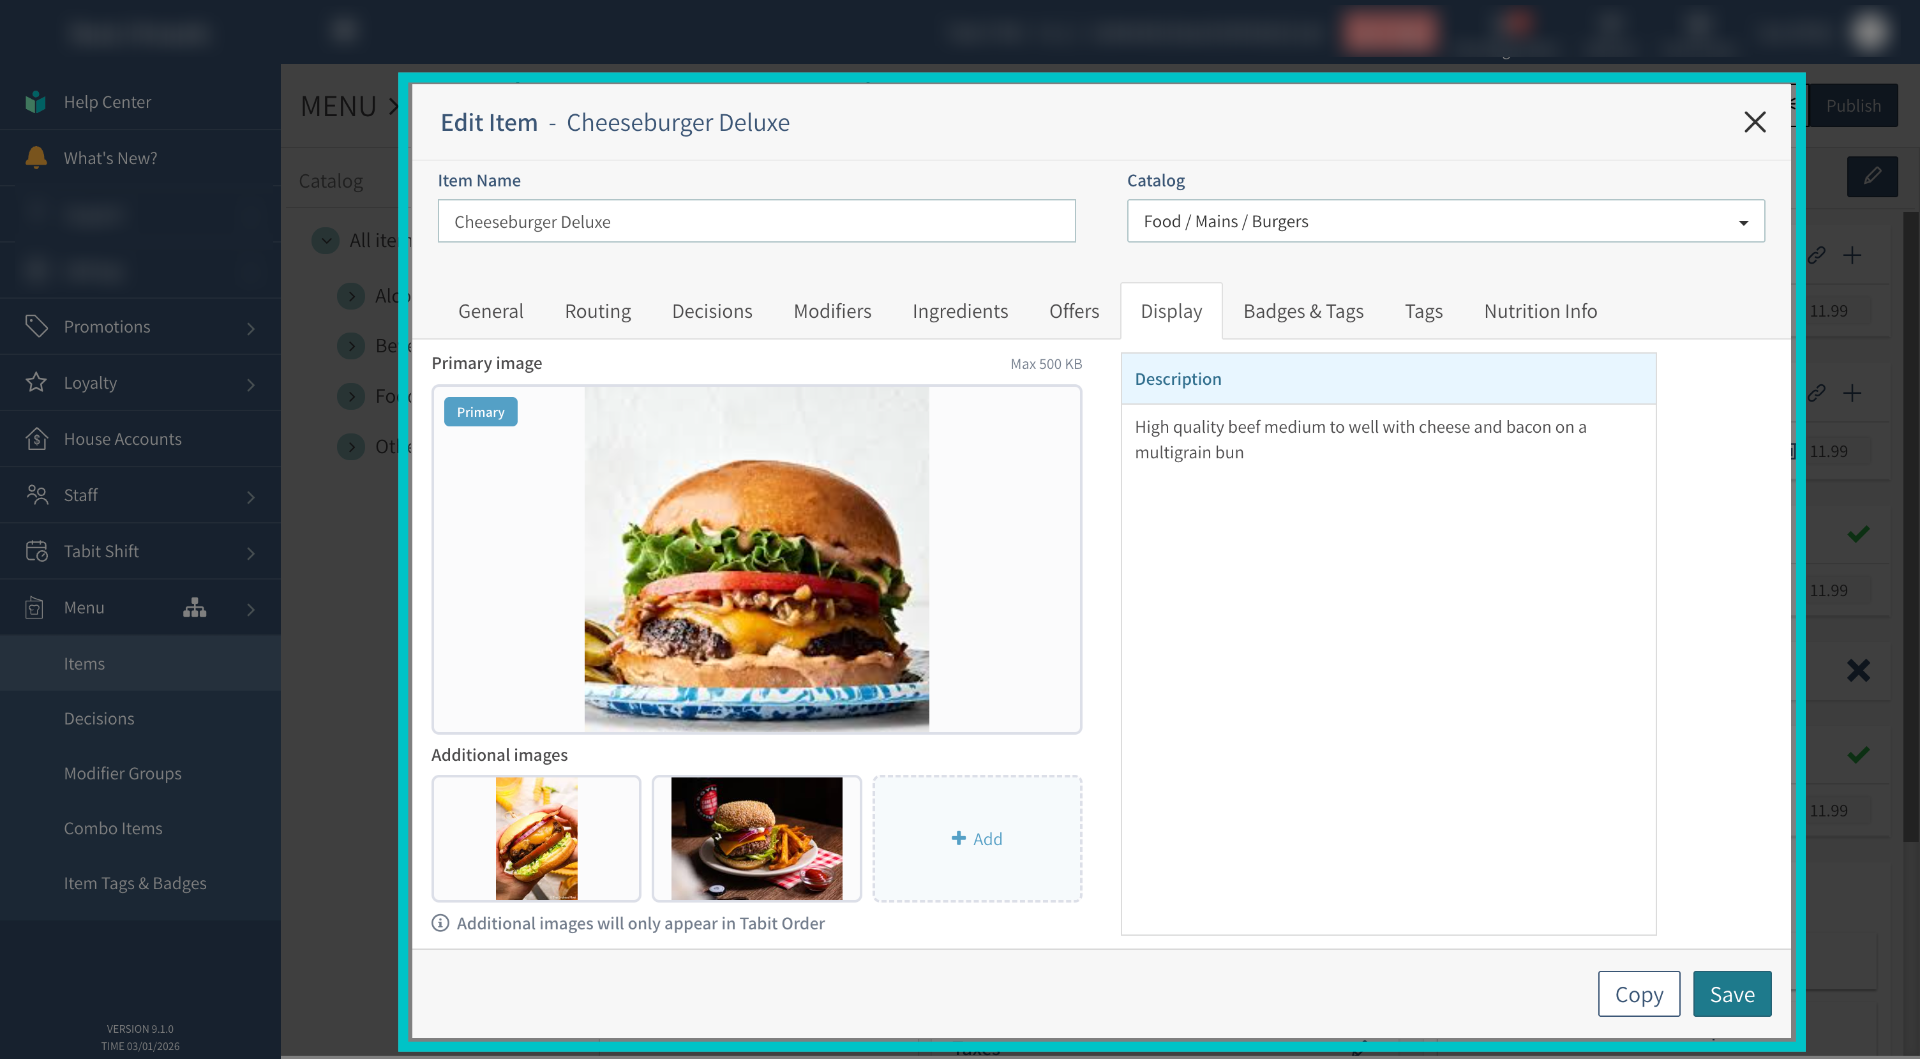
-
Select Save
-
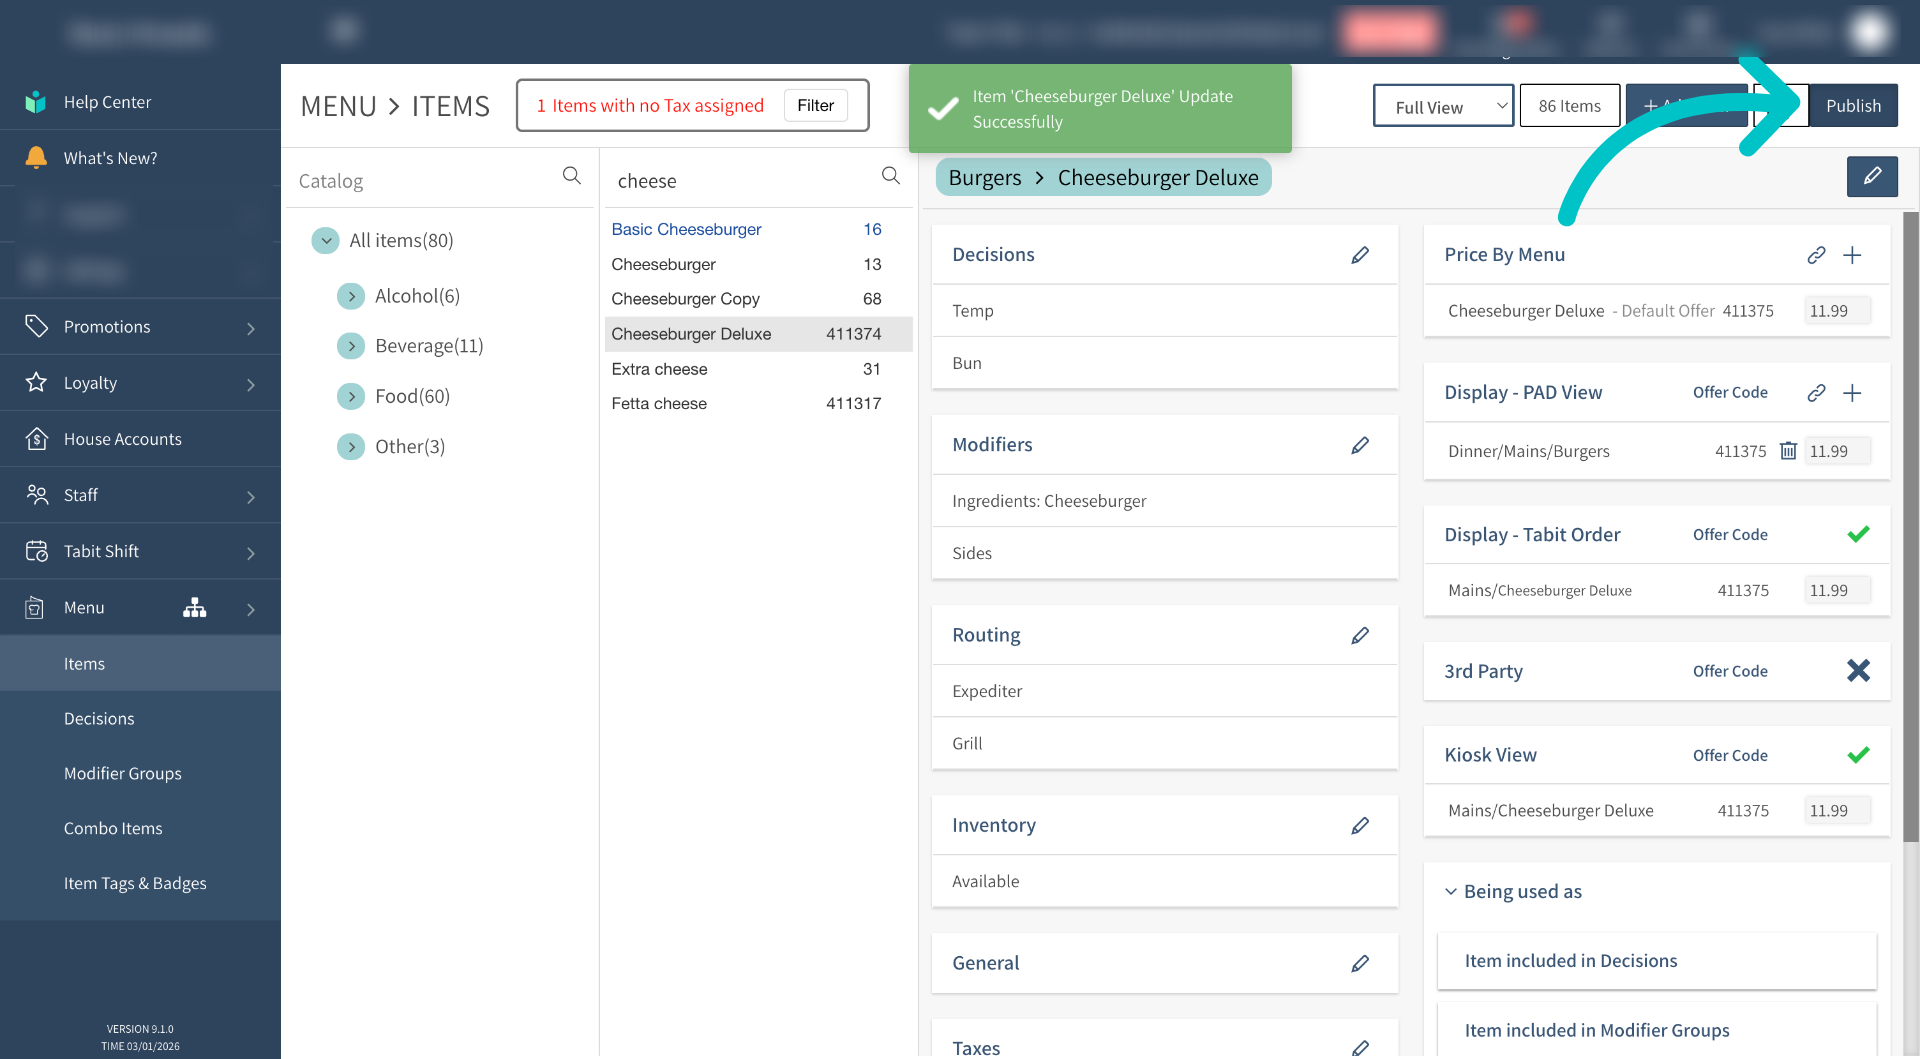
Select Publish to push these changes to the cloud
-
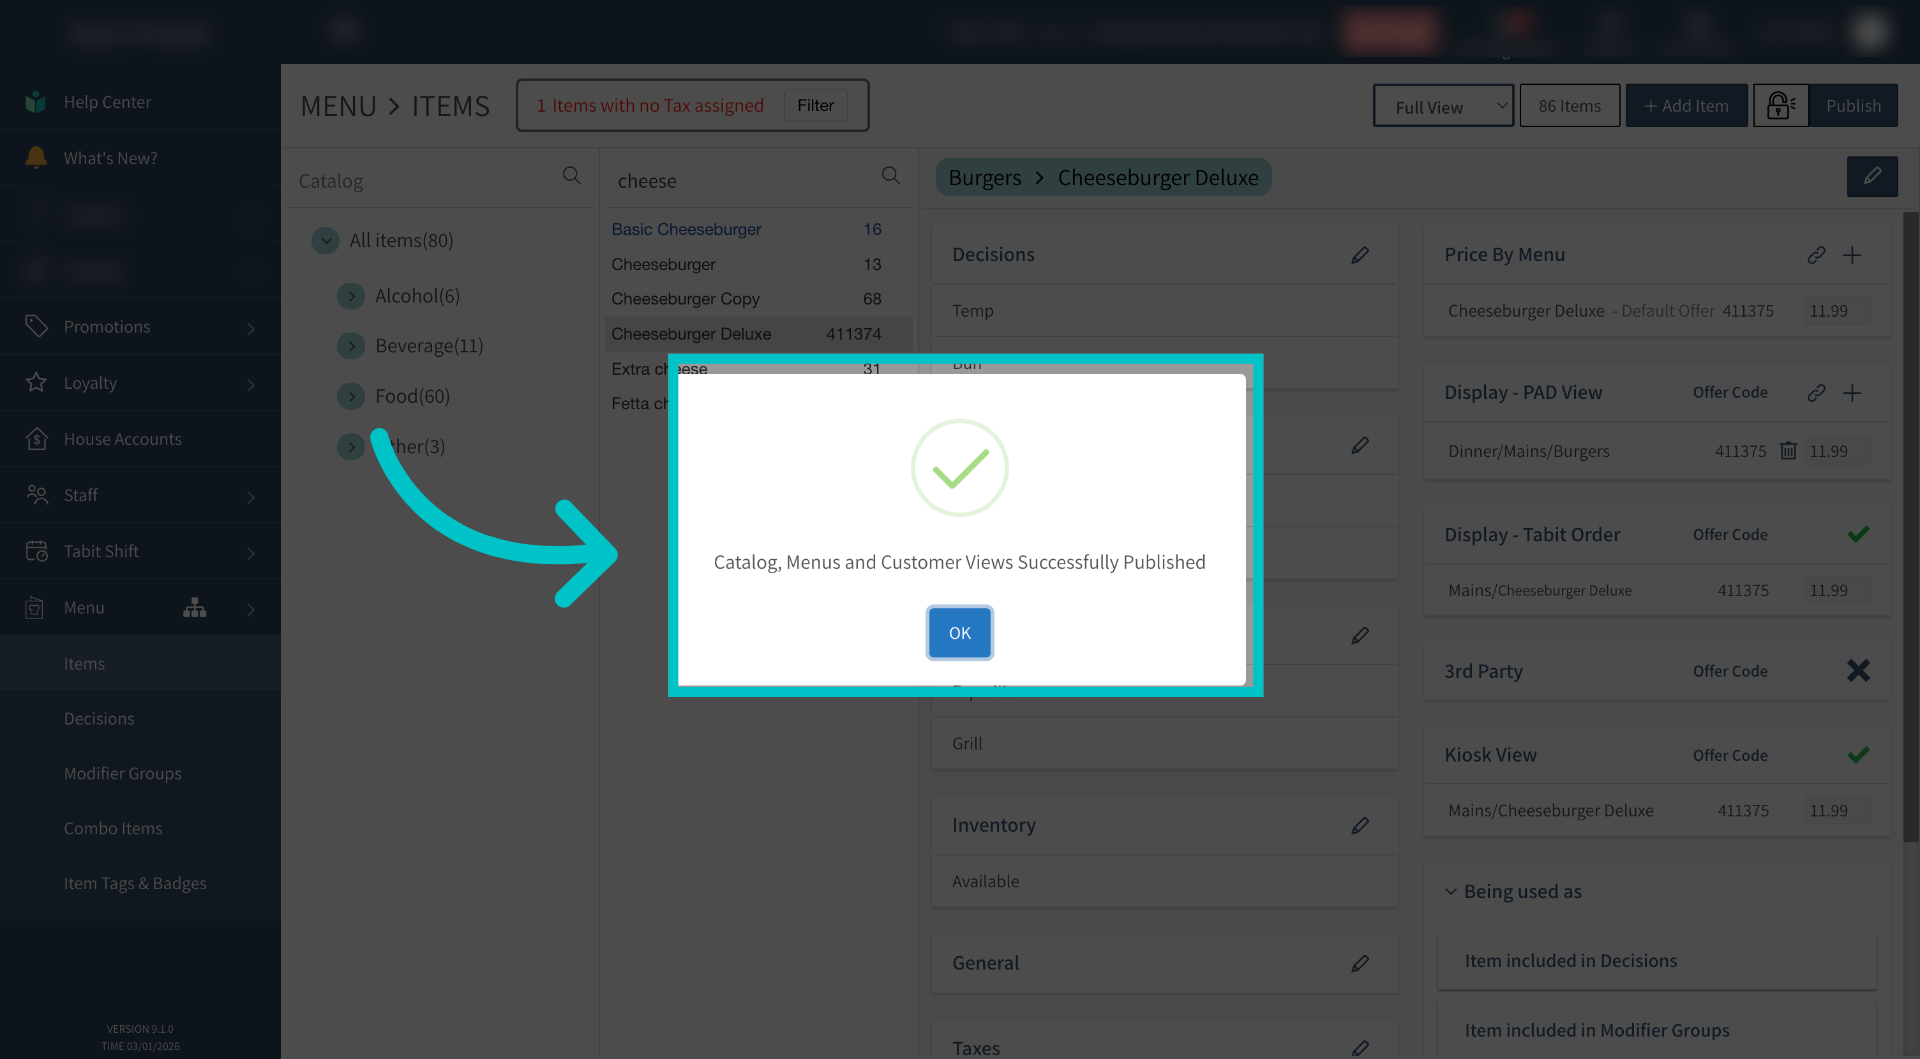
Select OK
-
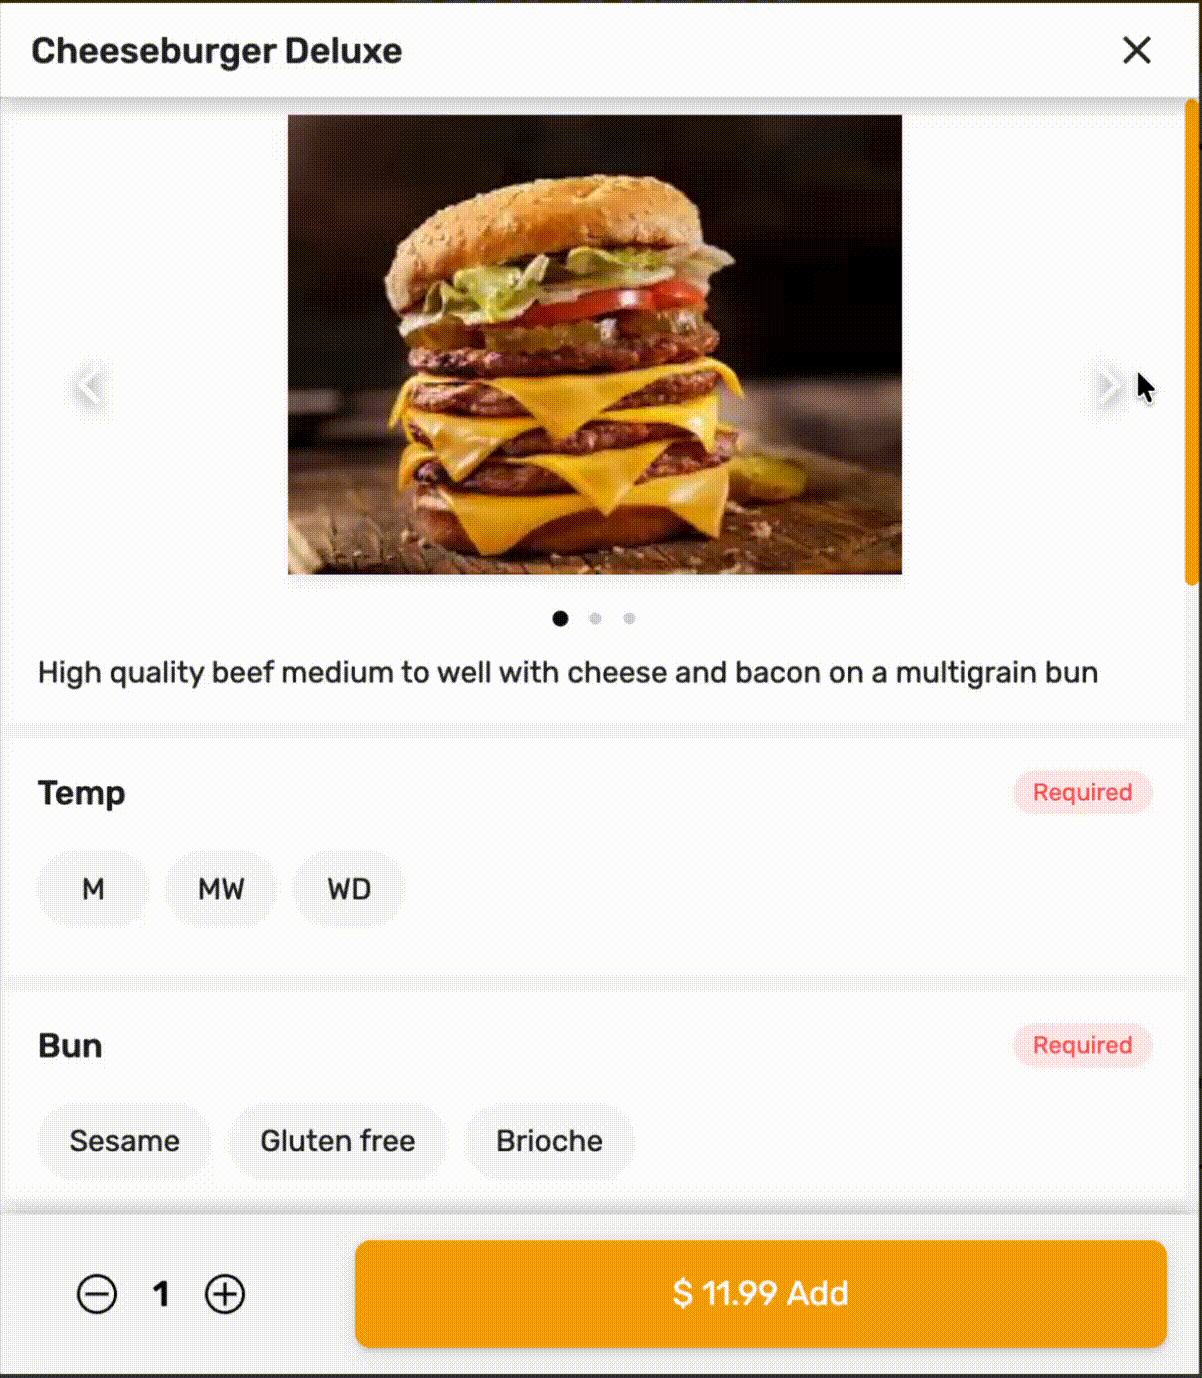
Now, in Tabit Order, the item will have arrows next to the image, indicating that there are additional images, and the customer can scroll through to view them all