Overview
Custom menu icons can be added to the Customer Profile to create a more cohesive and recognizable brand experience. By replacing the default side menu icon with your own branded image, you can align the Customer Profile with your restaurant’s visual identity and maintain consistency across all guest touchpoints. This small but impactful customization helps reinforce brand recognition and gives your digital experience a more polished, professional look.
https://app.guidde.com/share/playbooks/gZPjyKBwvGLVE6sSS8iZ7J
Follow the steps below to learn how to add a custom menu icon to the Customer Profile:
-
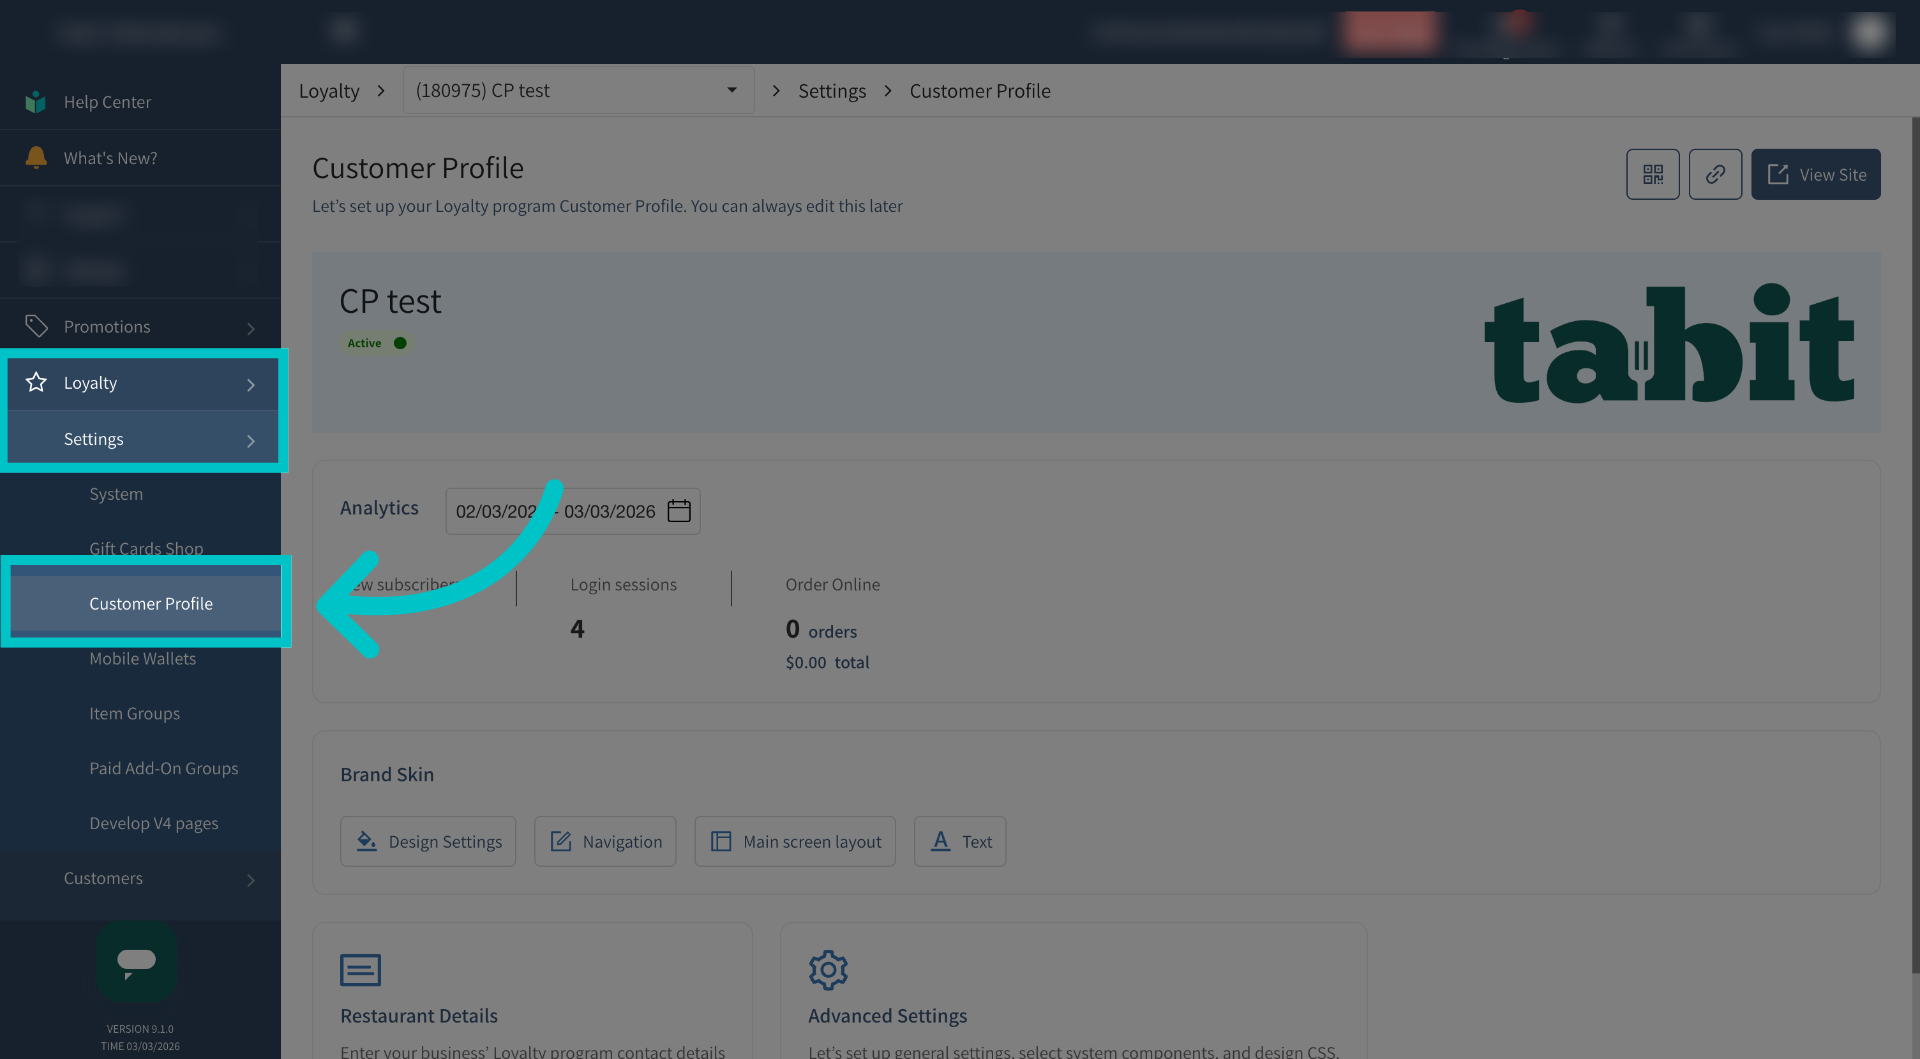
In Tabit Office, go to Loyalty > Settings > Customer Profile
-
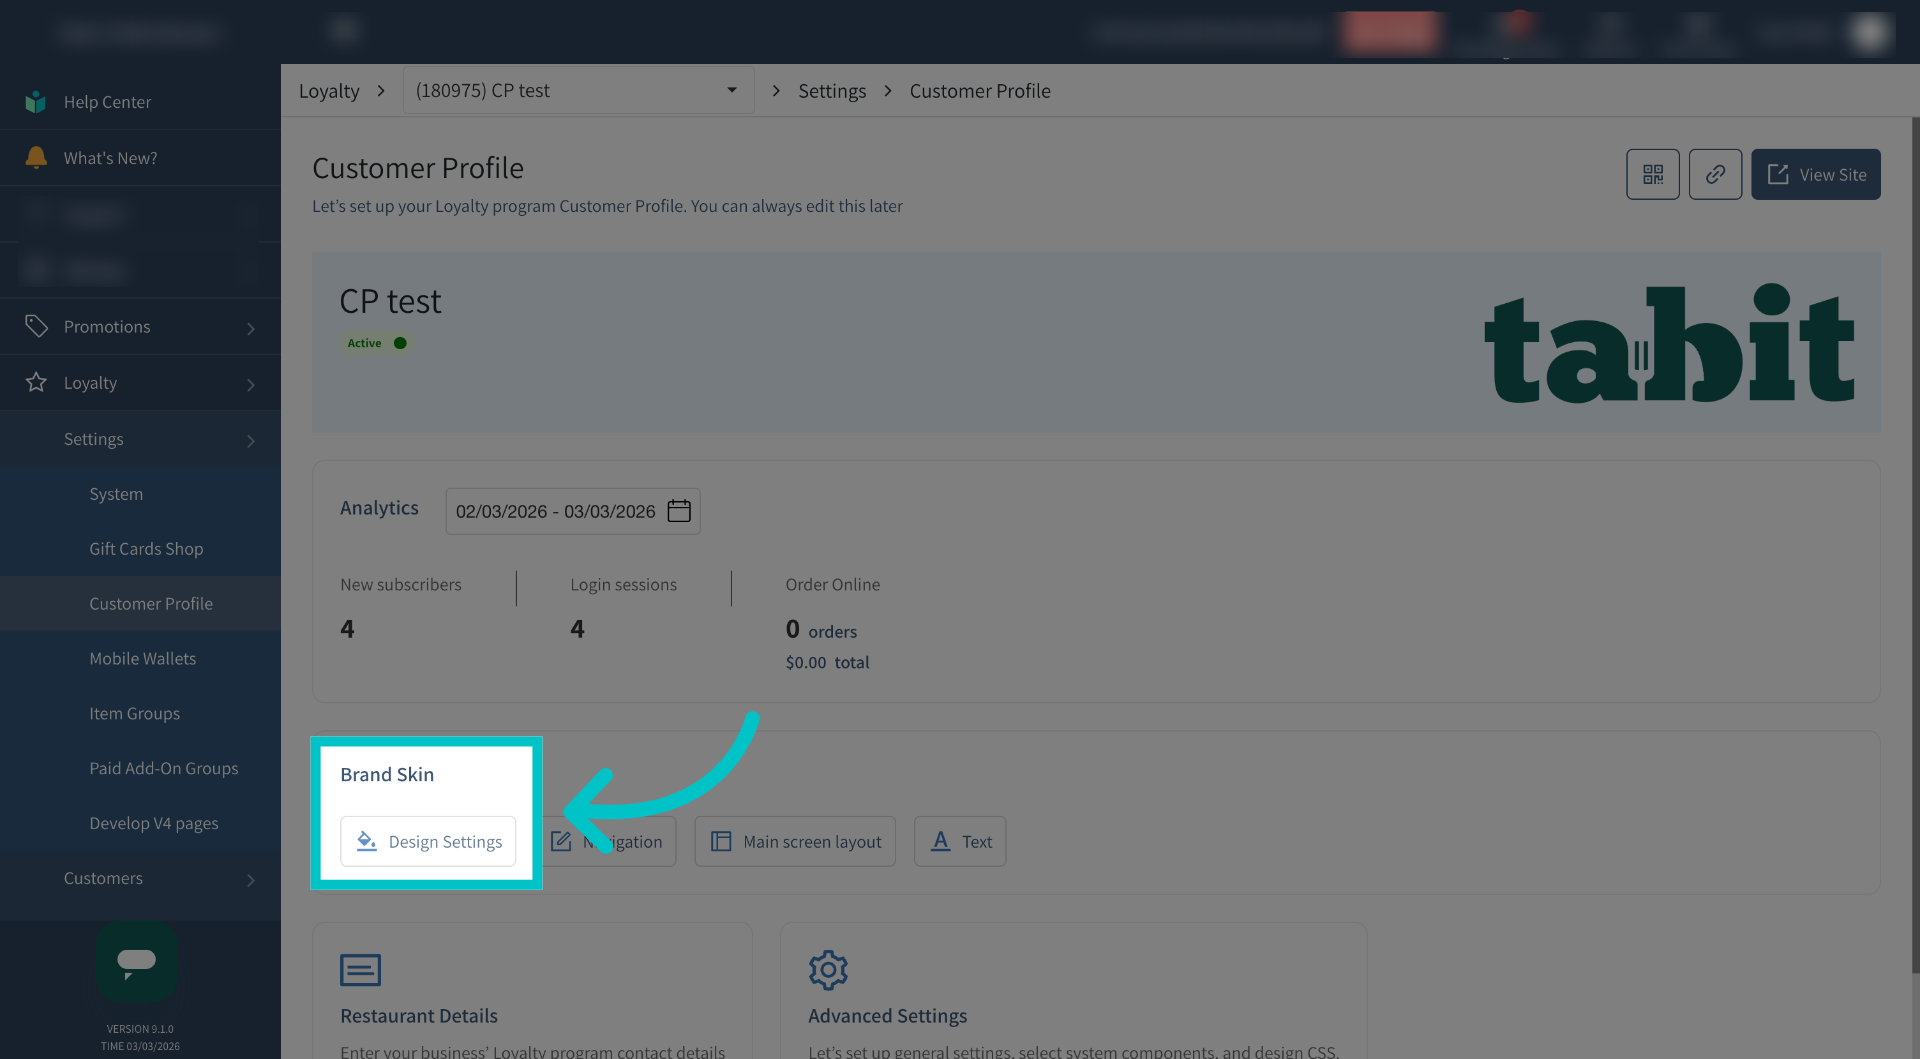
Select Design Settings under Brand Skin
-
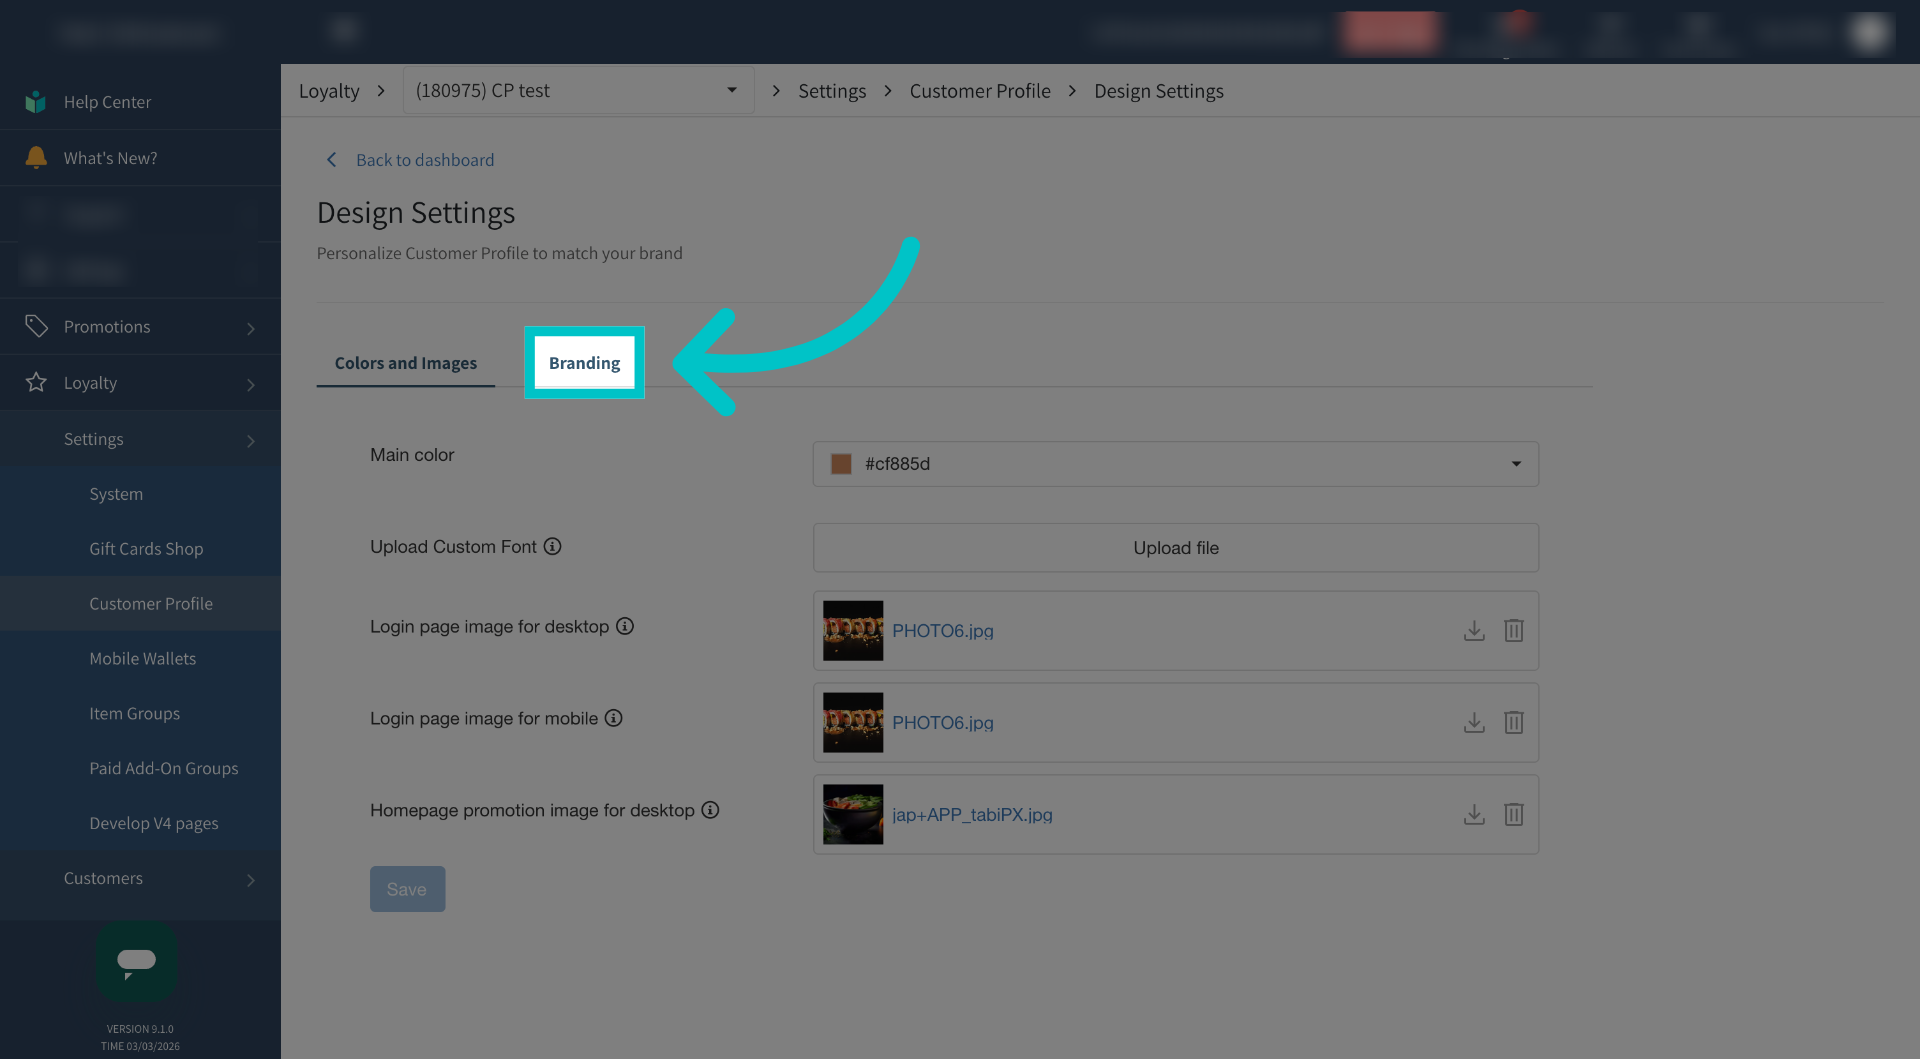
Select the Branding tab
-
Select Upload File next to Side Menu Icon and upload the image you would like to appear as the menu icon
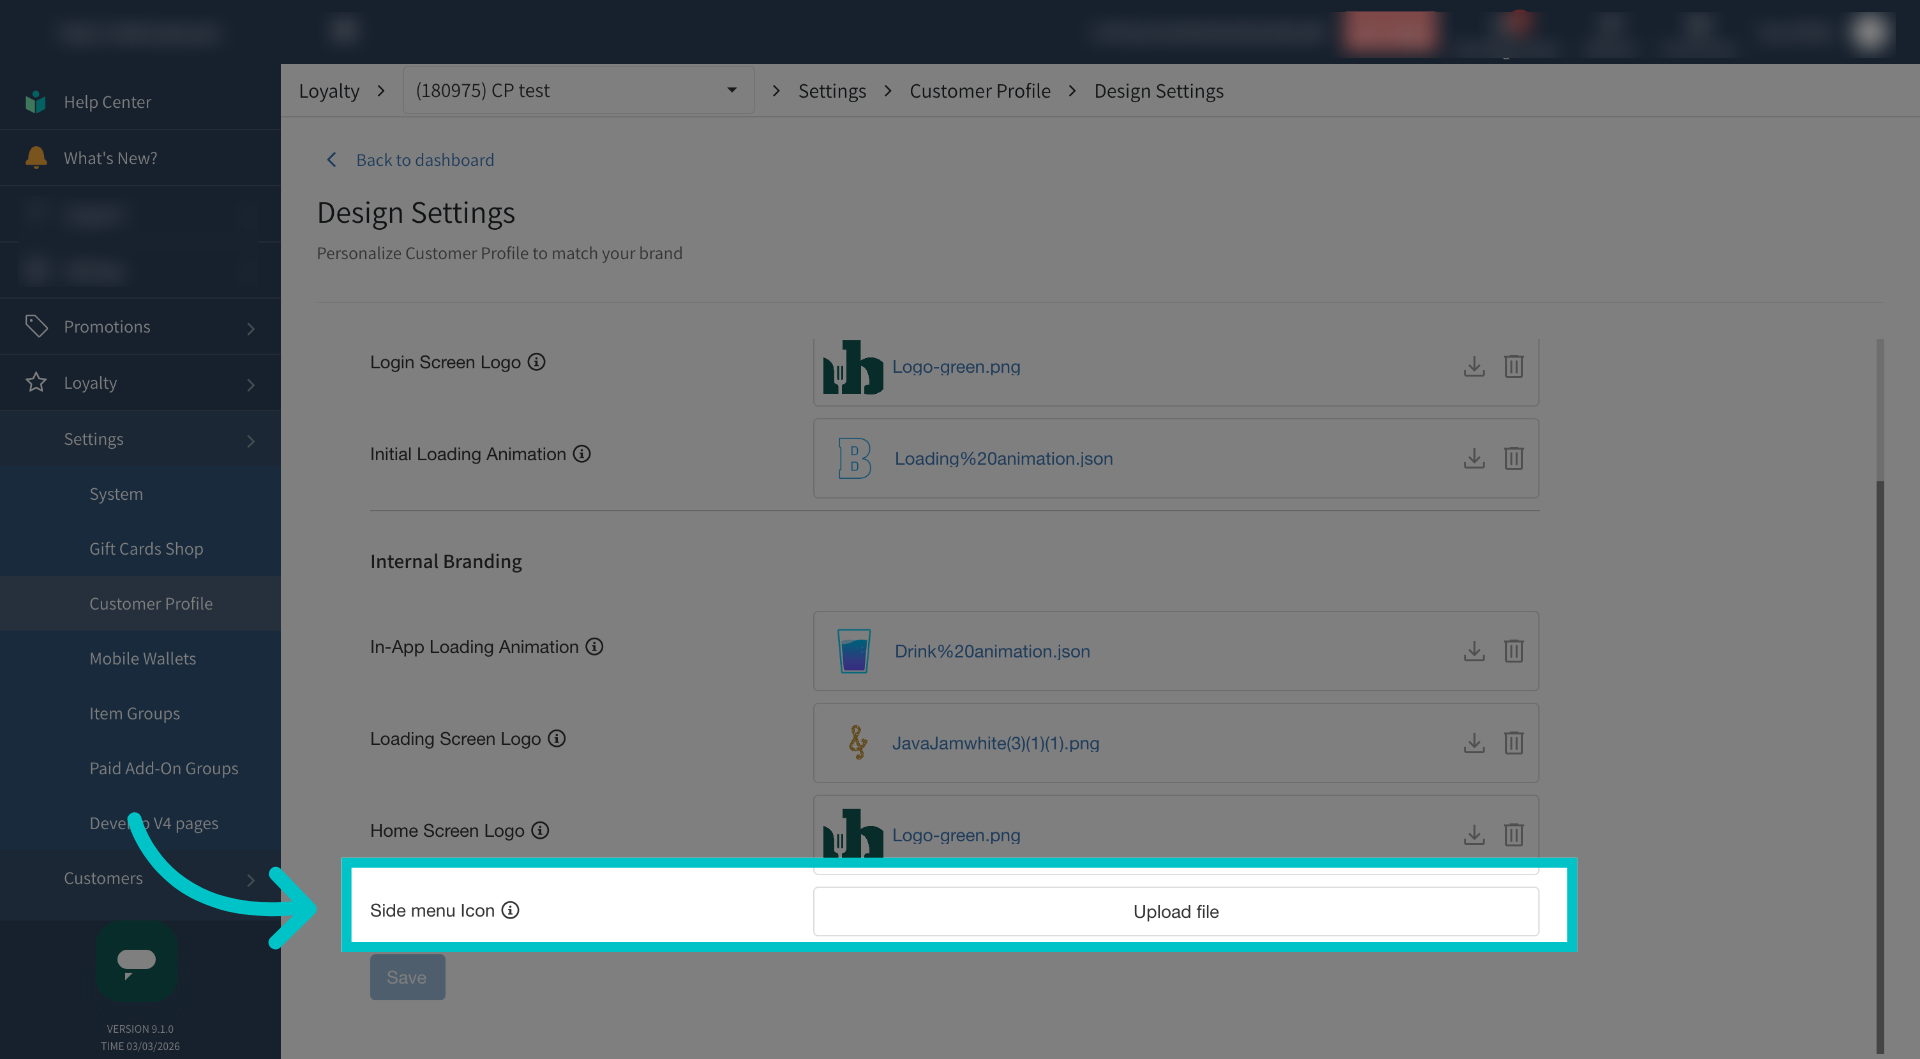
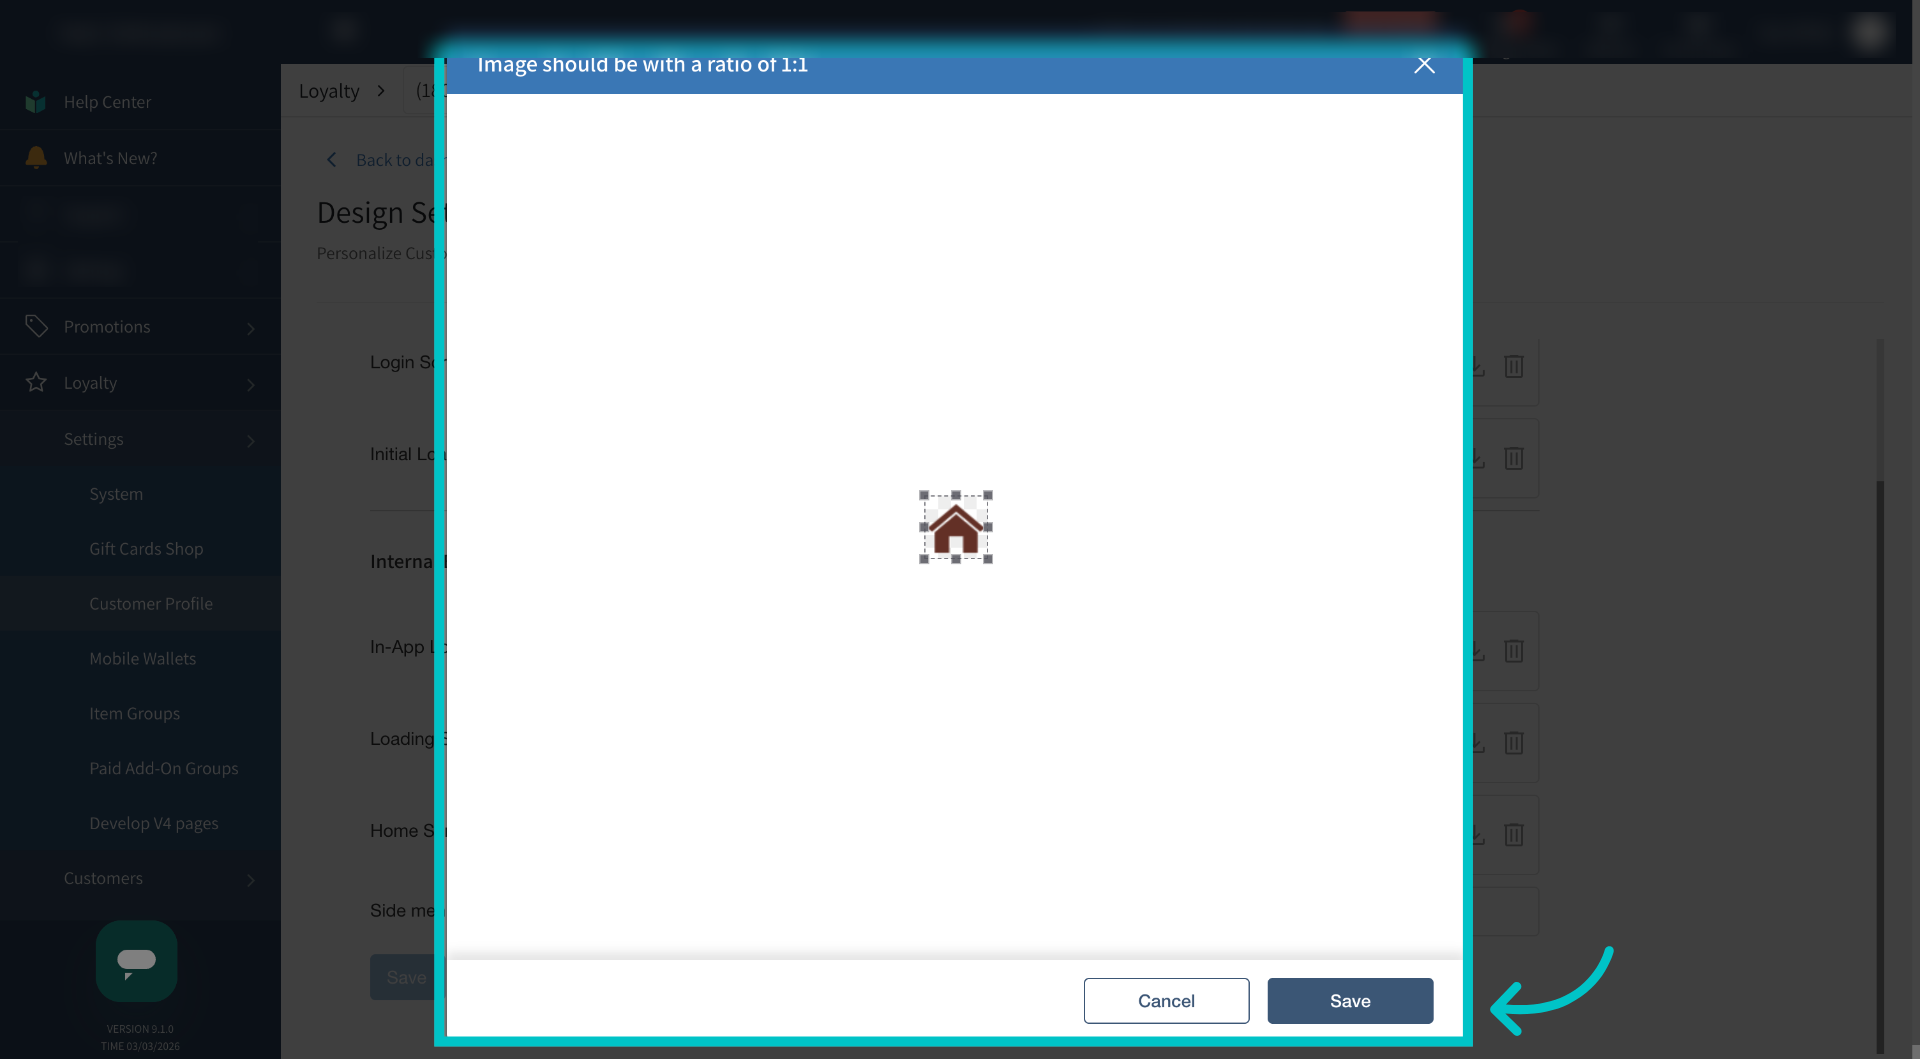
The file must be a .png or .jpg, no more than 0.5MB, with an image ration of 1:1
-
Resize the image if needed and then select Save
-
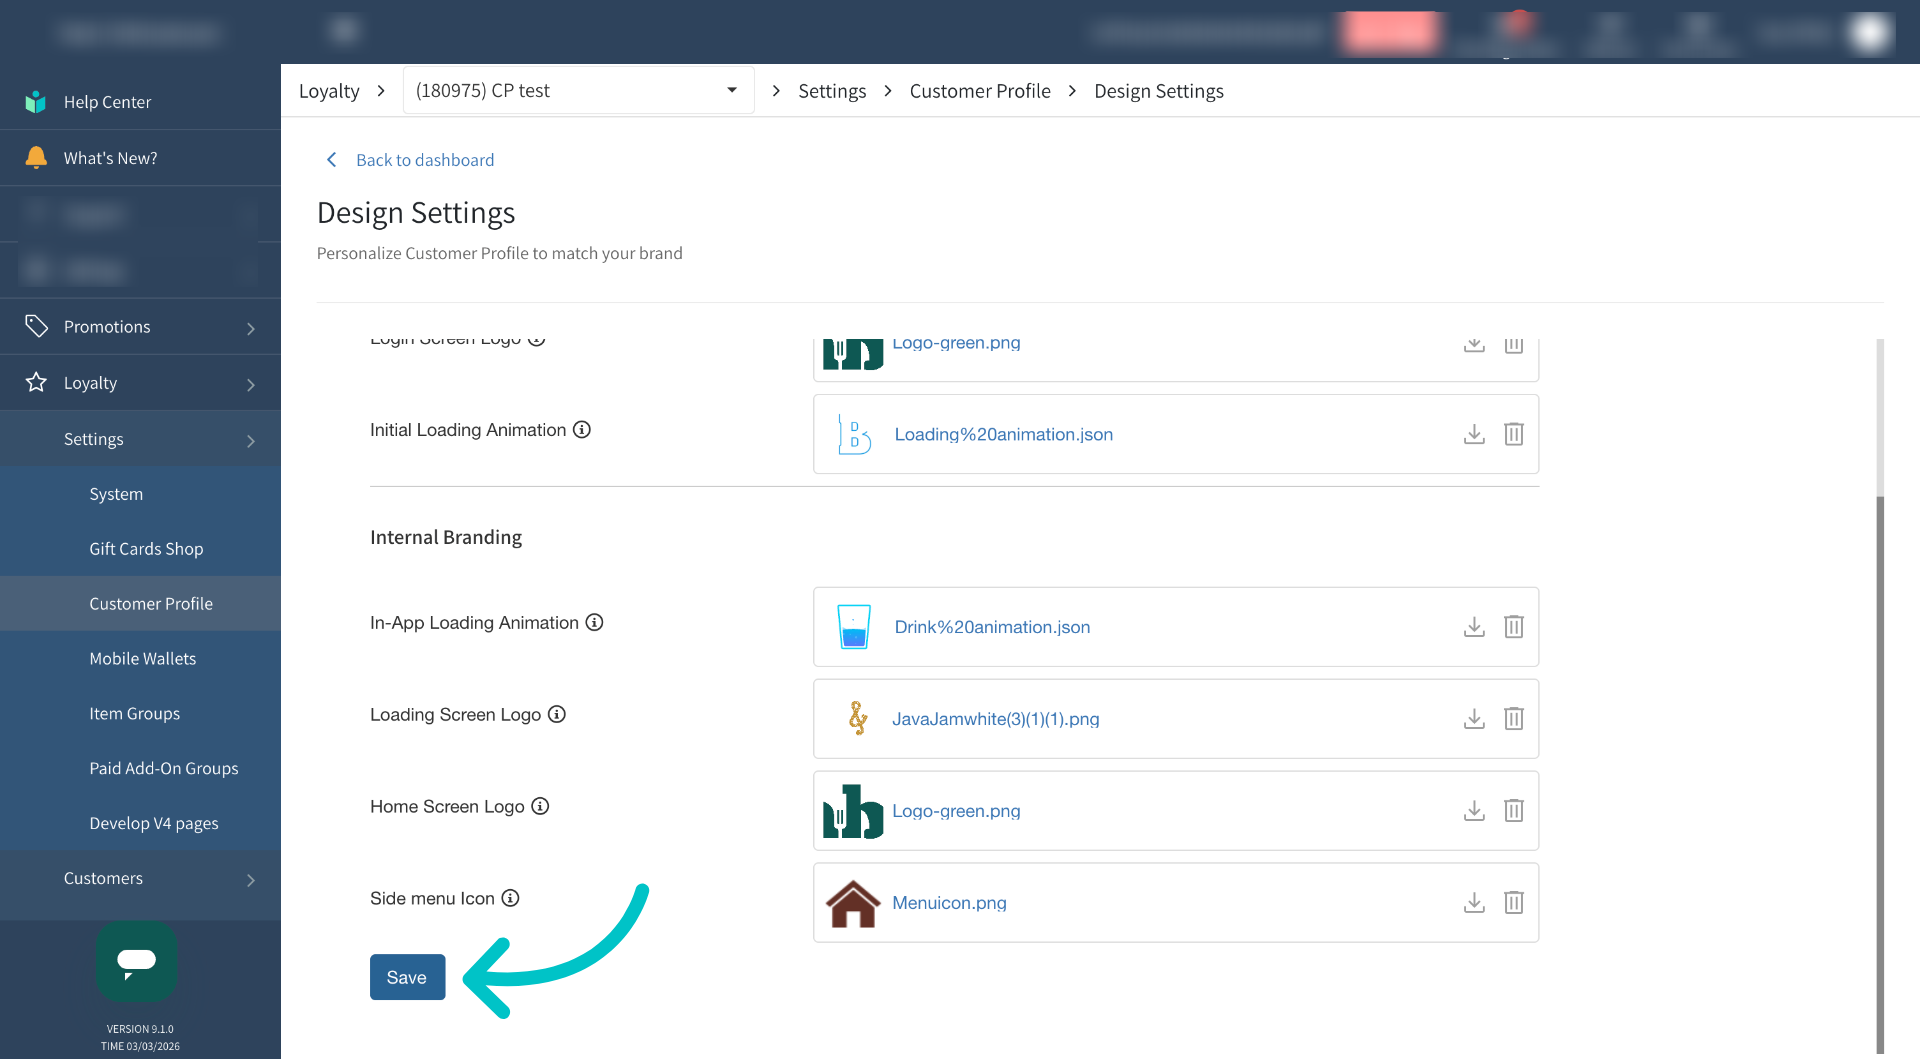
Select Save again
-
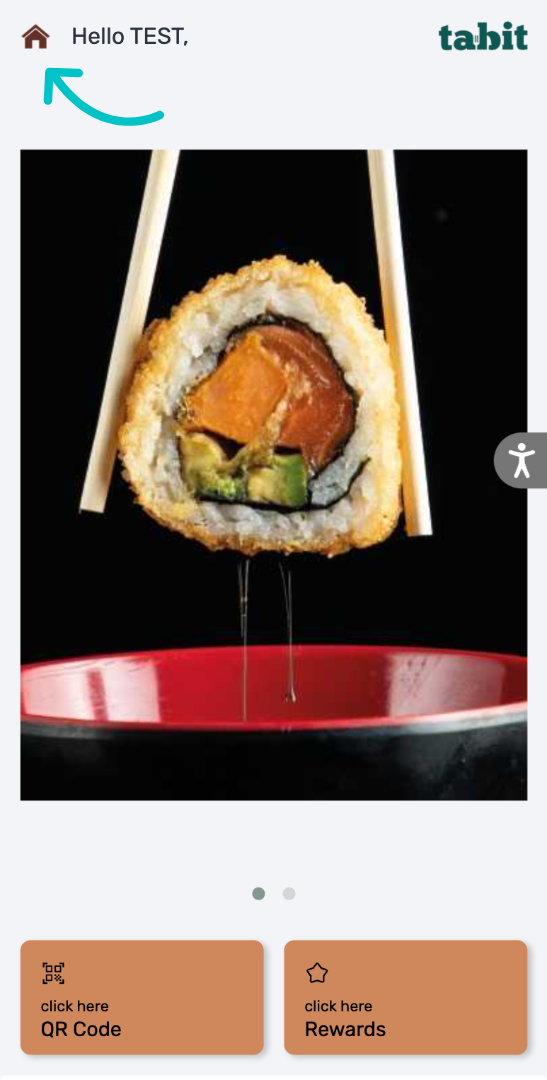
Now the menu icon in the Customer Profile has been replaced with the uploaded image